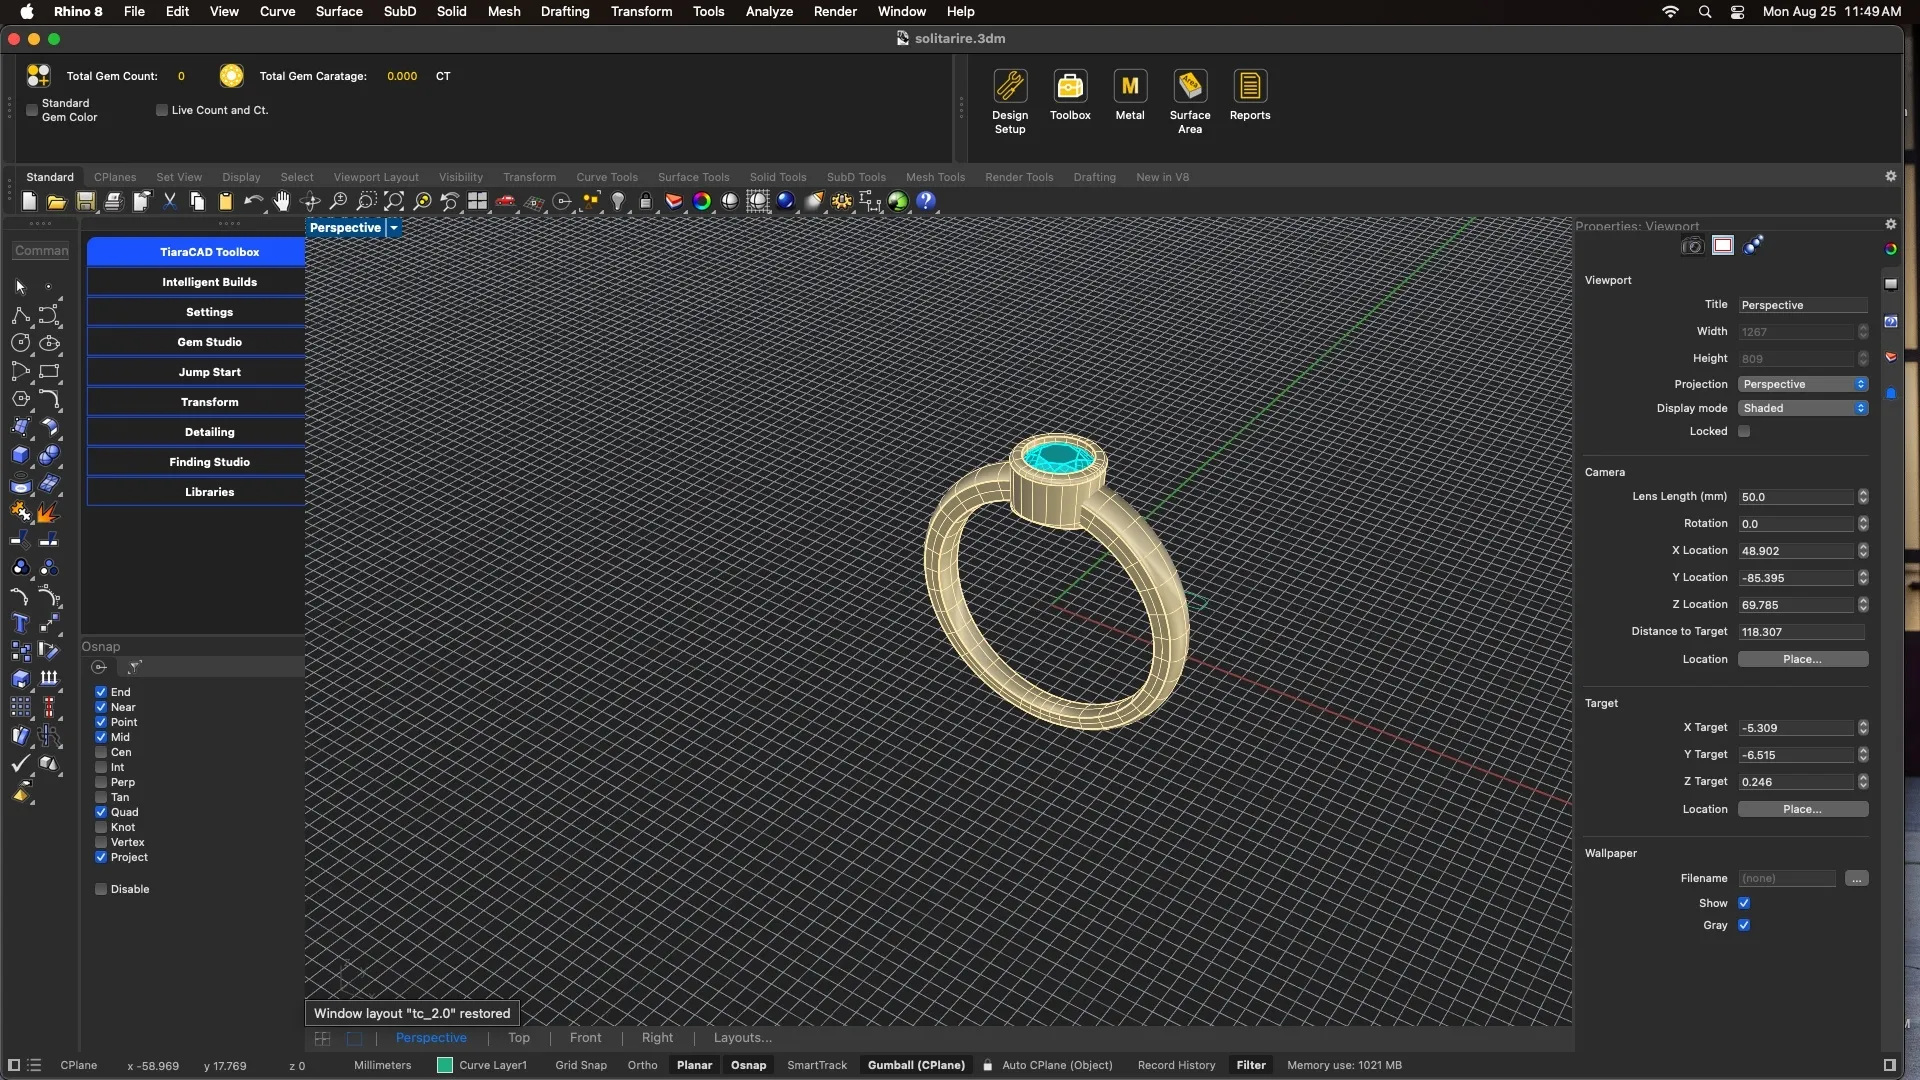
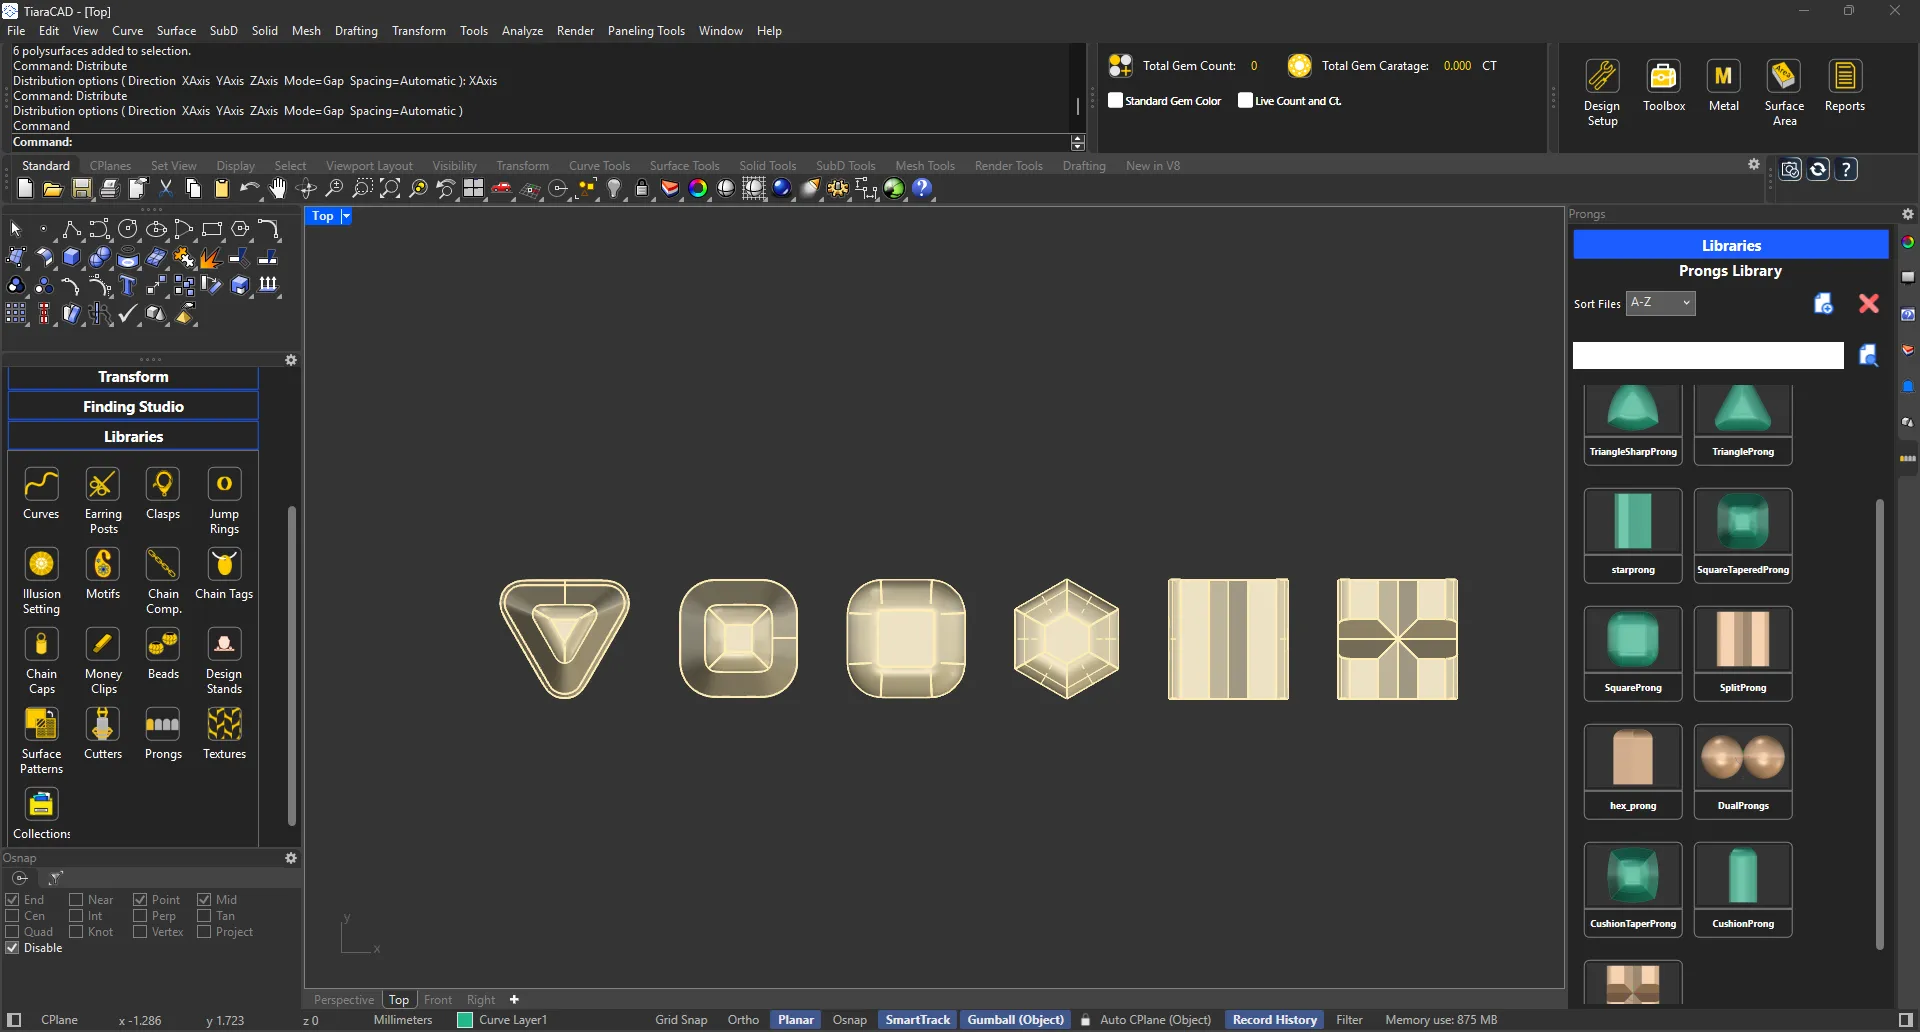
TiaraCAD 2.0 is first Rhino Jewellery plugin to work on Mac as well. So you can now use TiaraCAD natively on MacOS
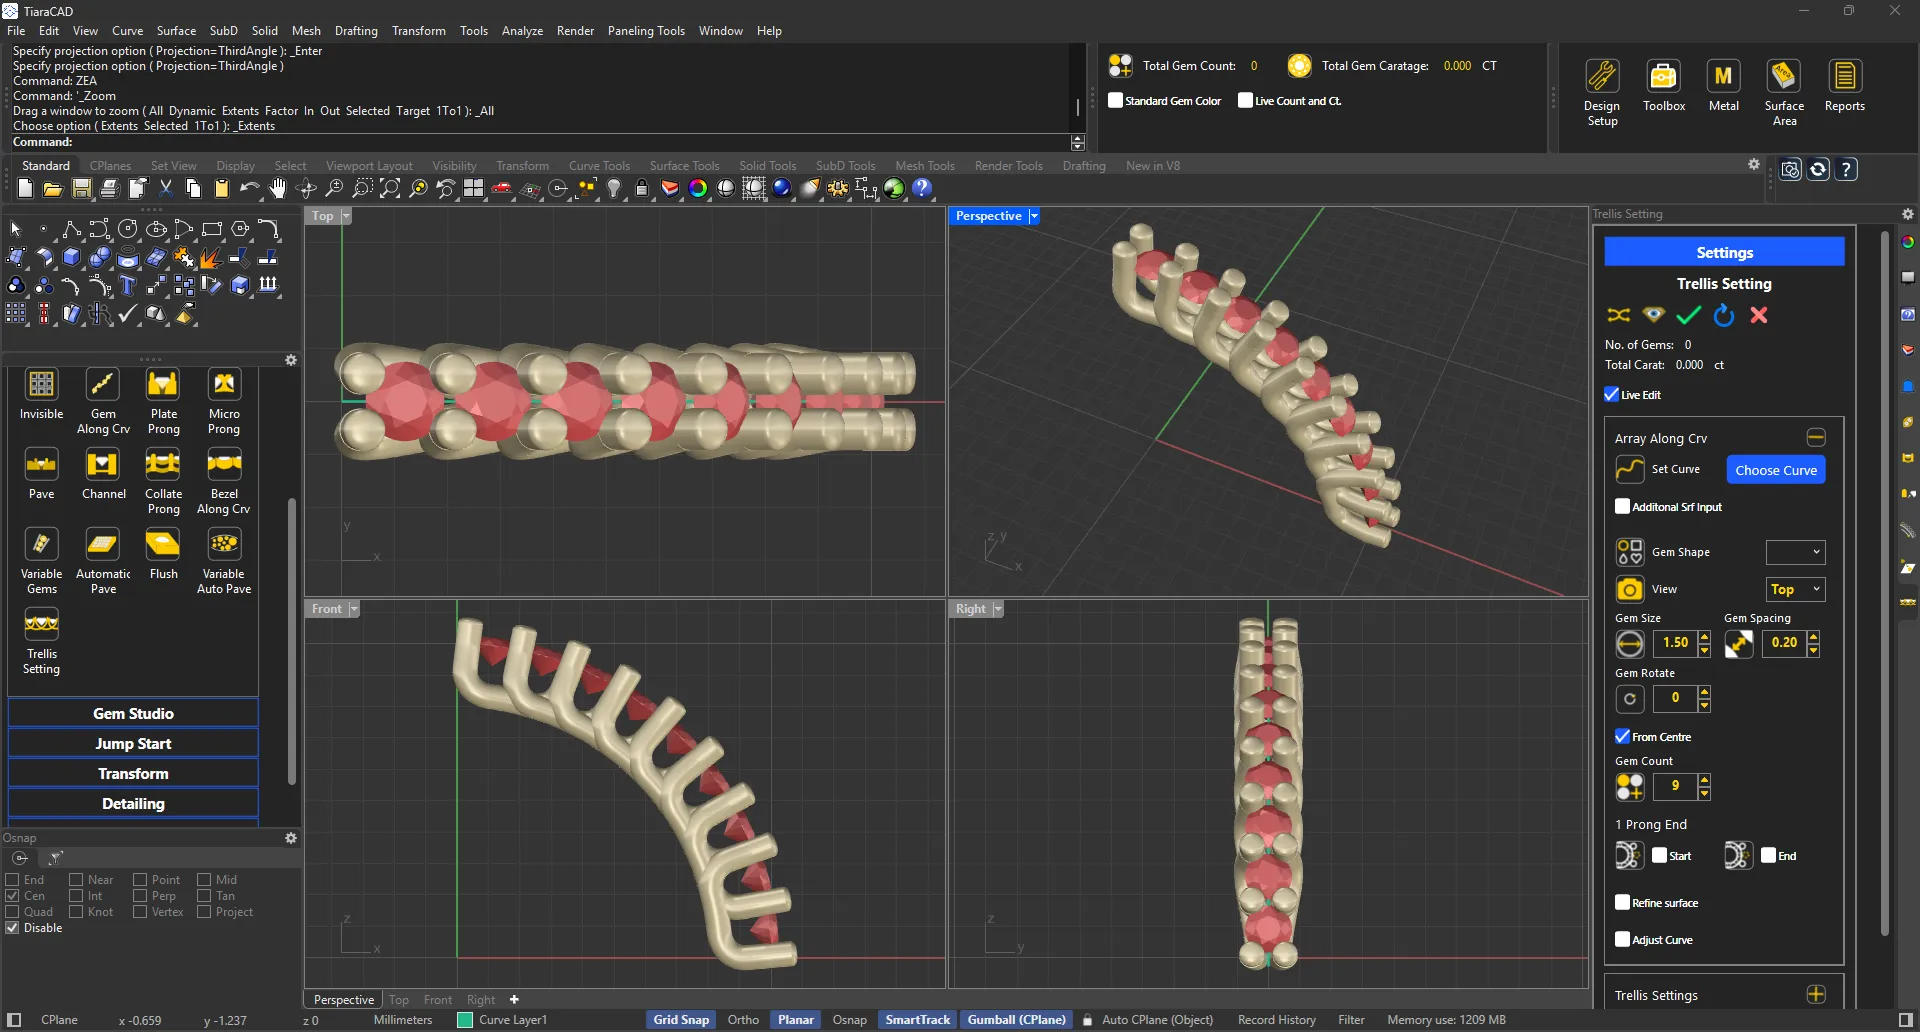
Create Trellis setting on curve or curve along Surface
Select a surface to create chillai wall along the border with one click.
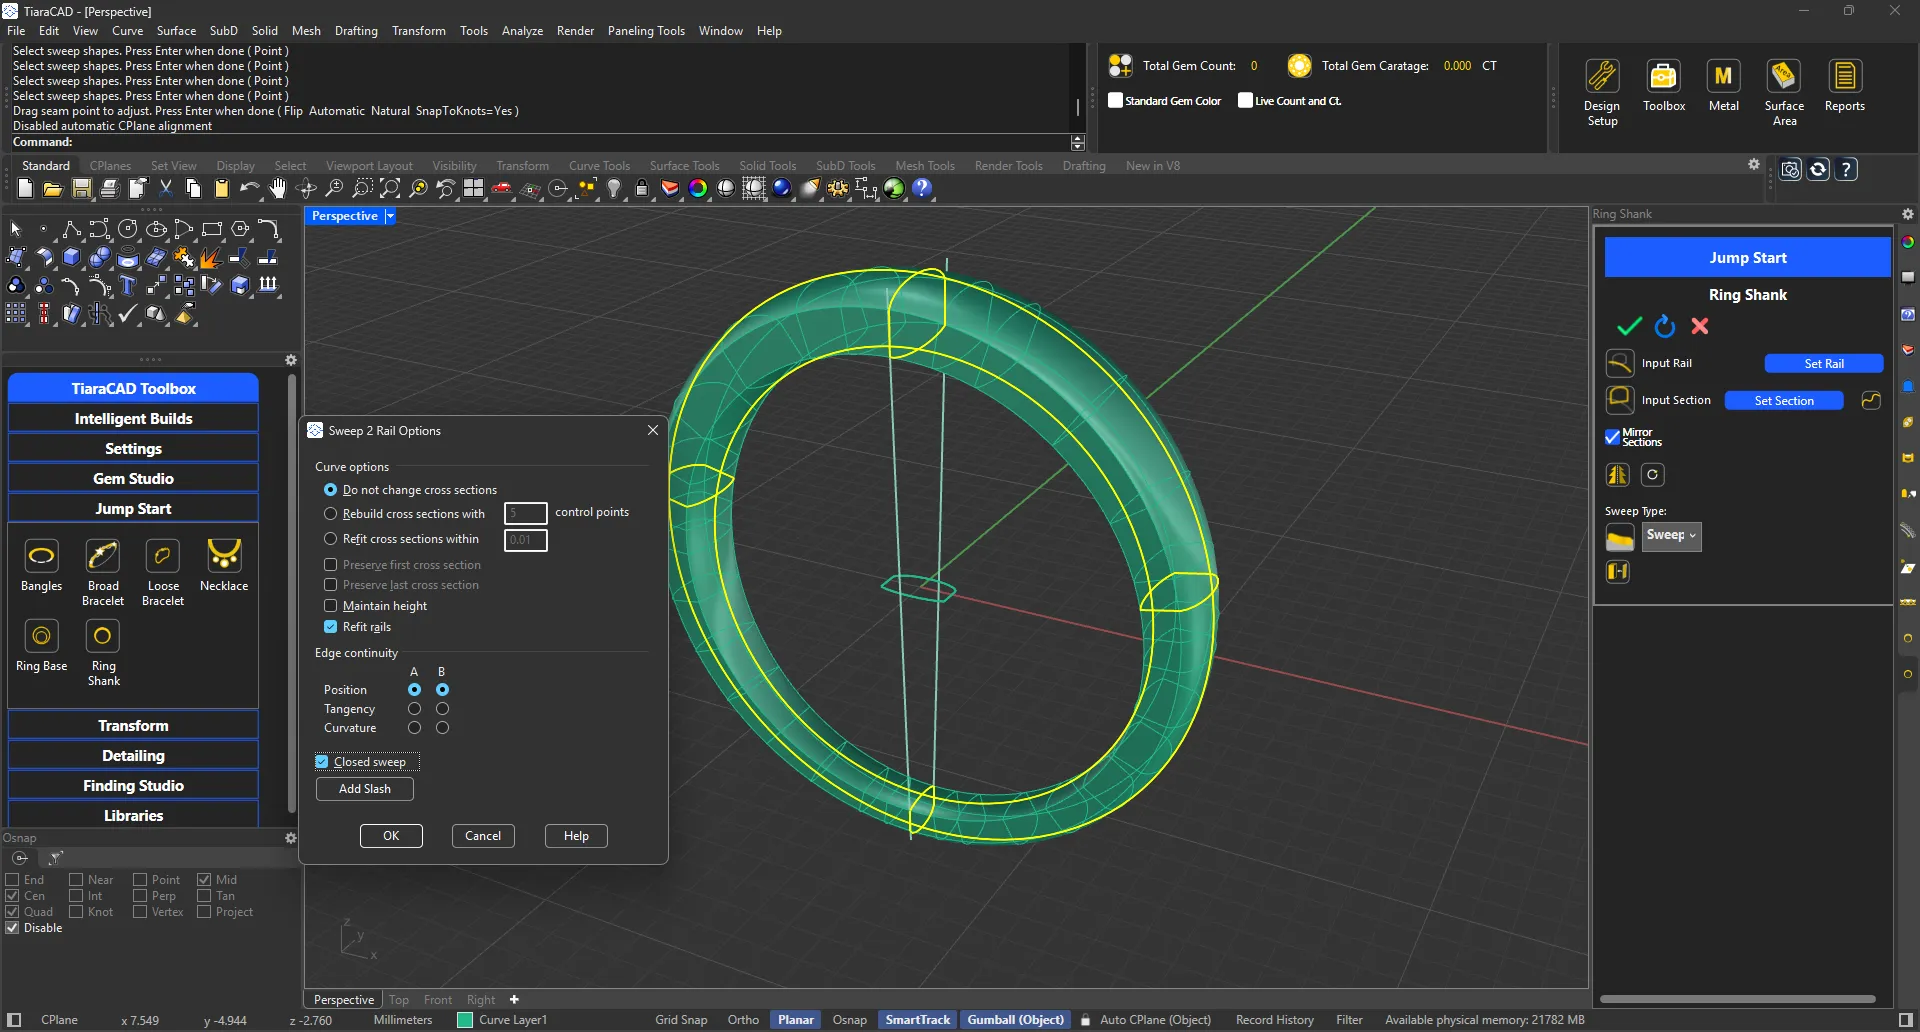
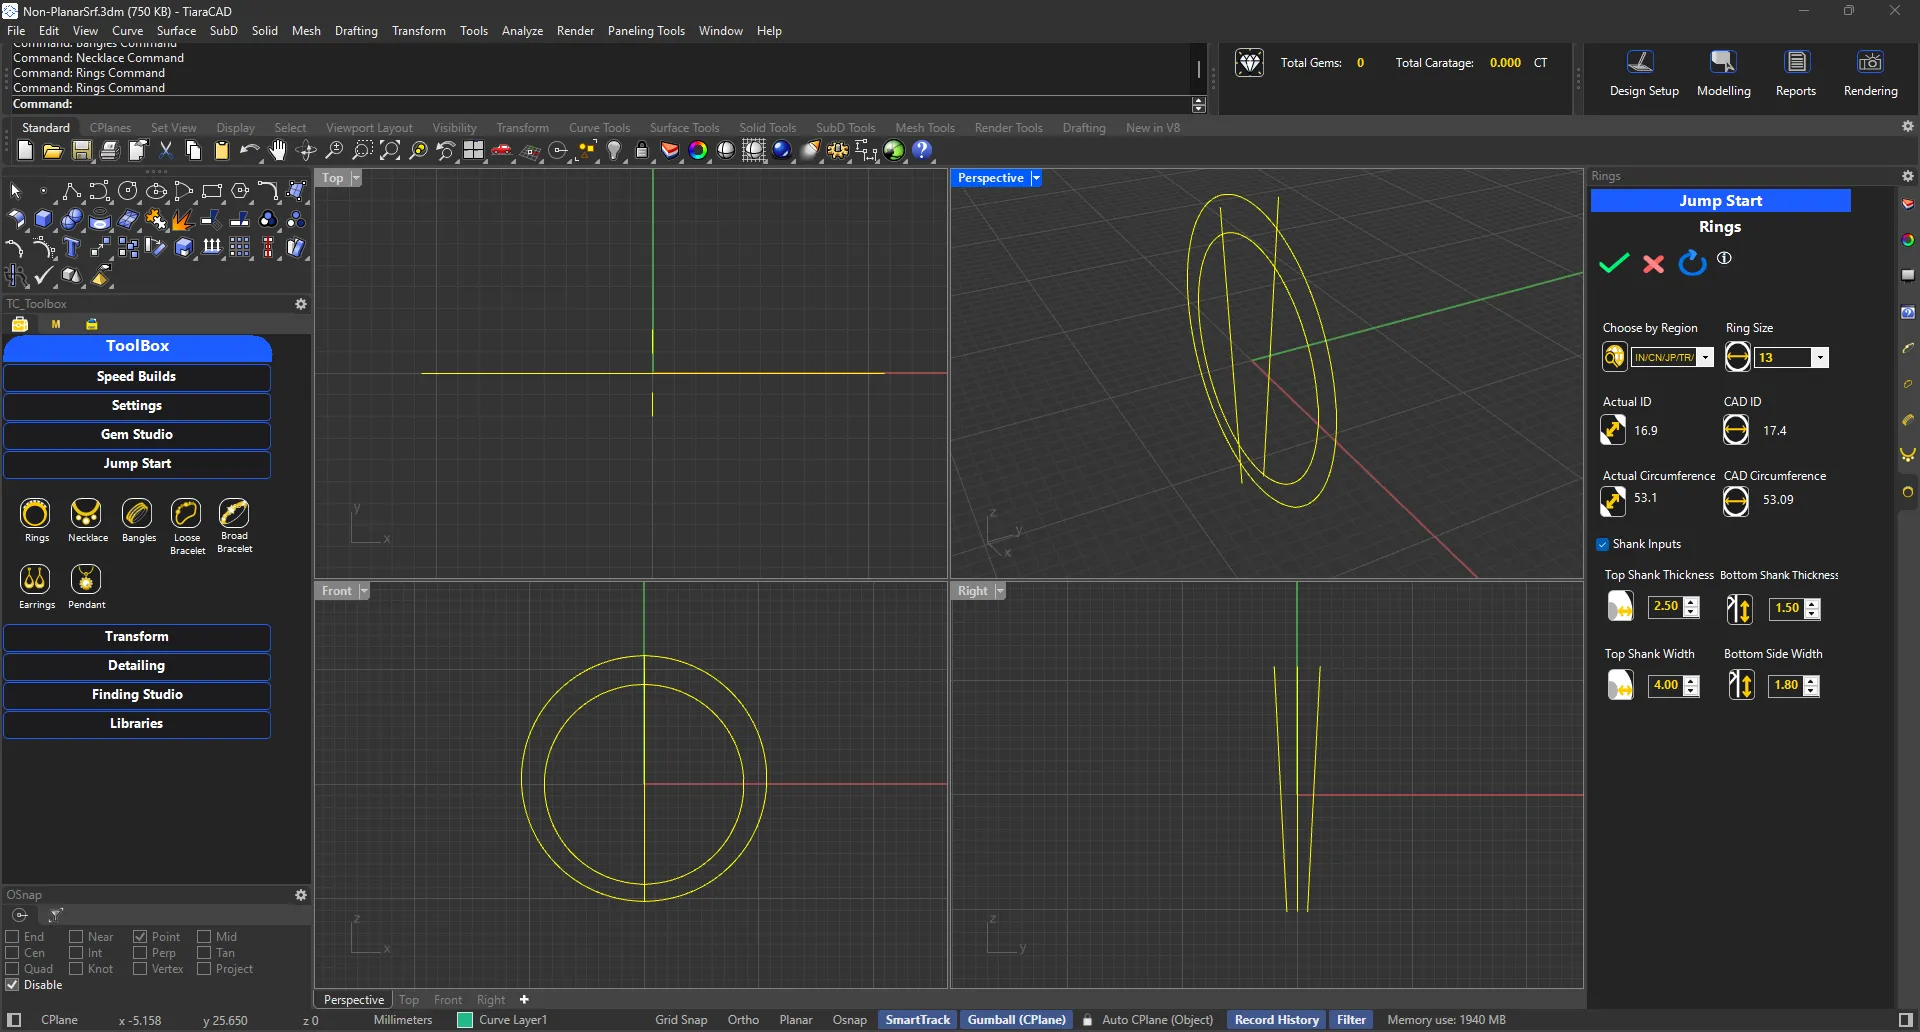
Placing shank profiles has never been easier. Using Ring Shank creator, along with AutoCplane (Object) and Gumball (Object), placing and modifying curve profiles for shanks is much faster.
Just select a surface and a texture to build it with.
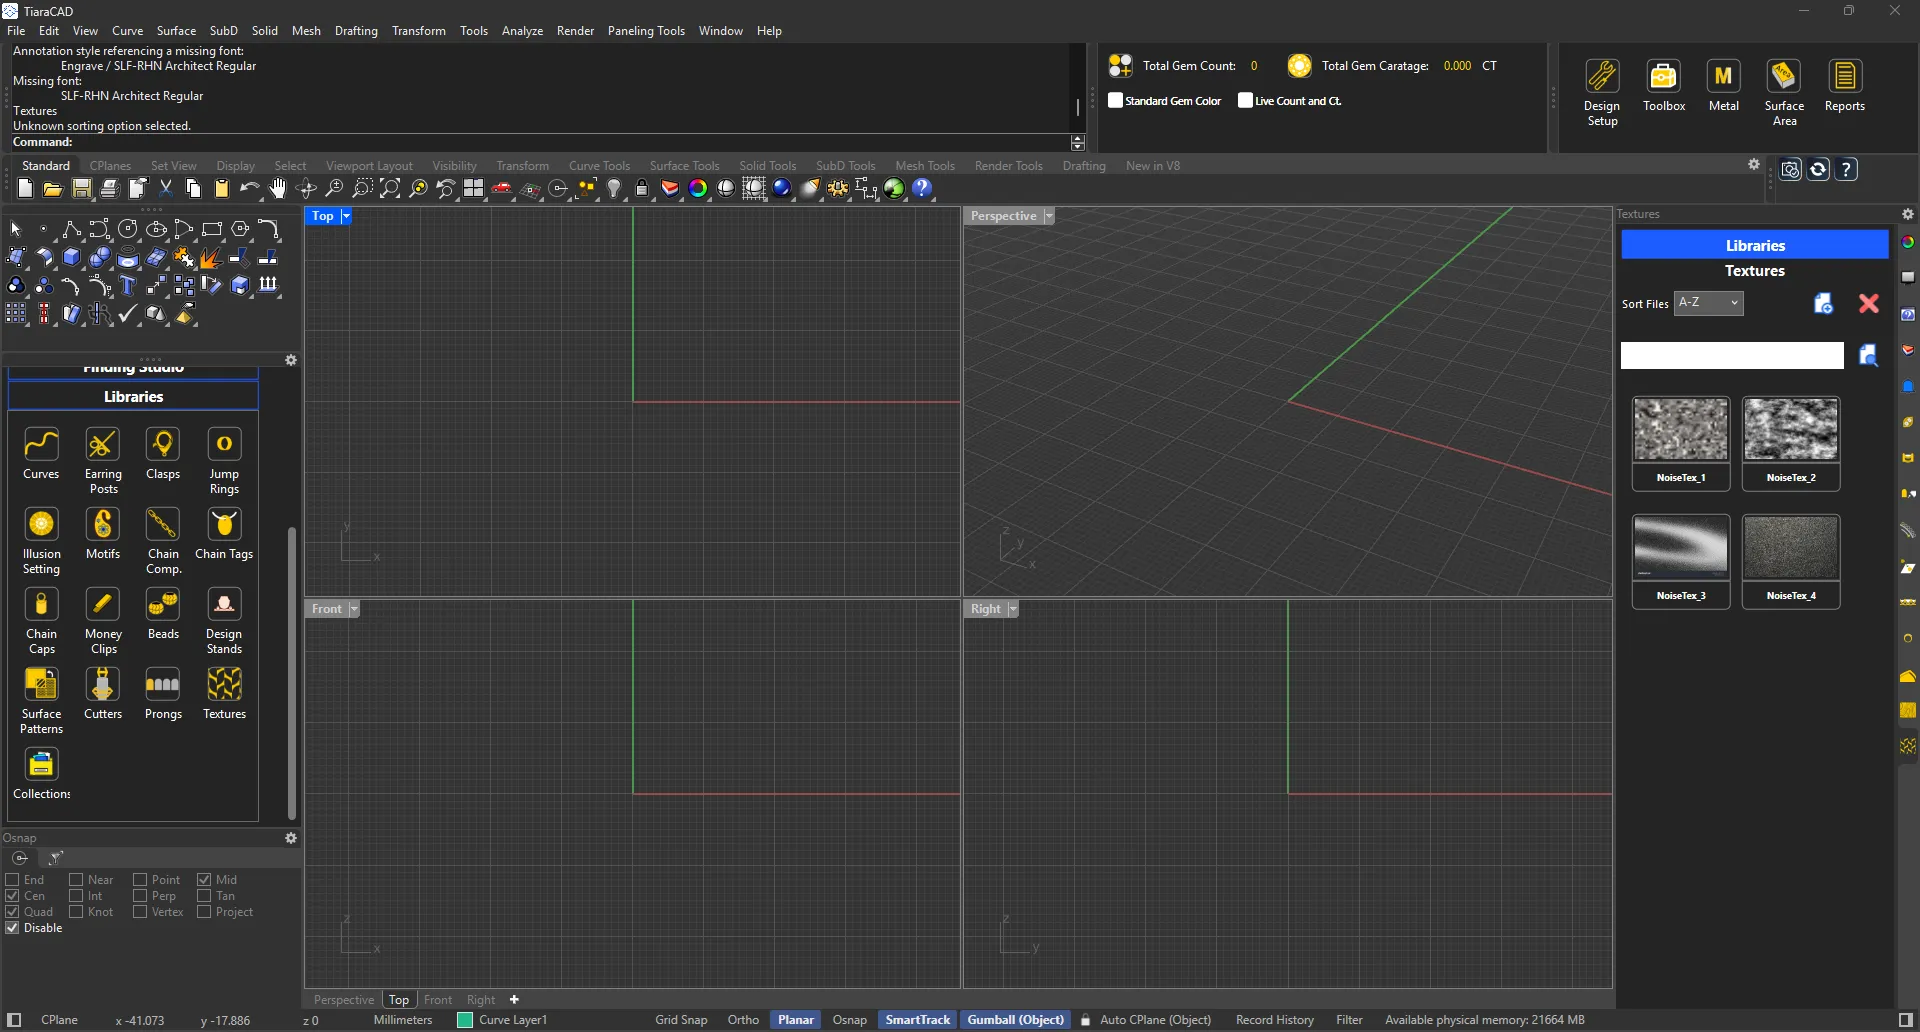
Images that are ideal for Textures on surface have been created. You can add images as well.
Activate Groove for channel setting with one check box. Choose the thickness as required.
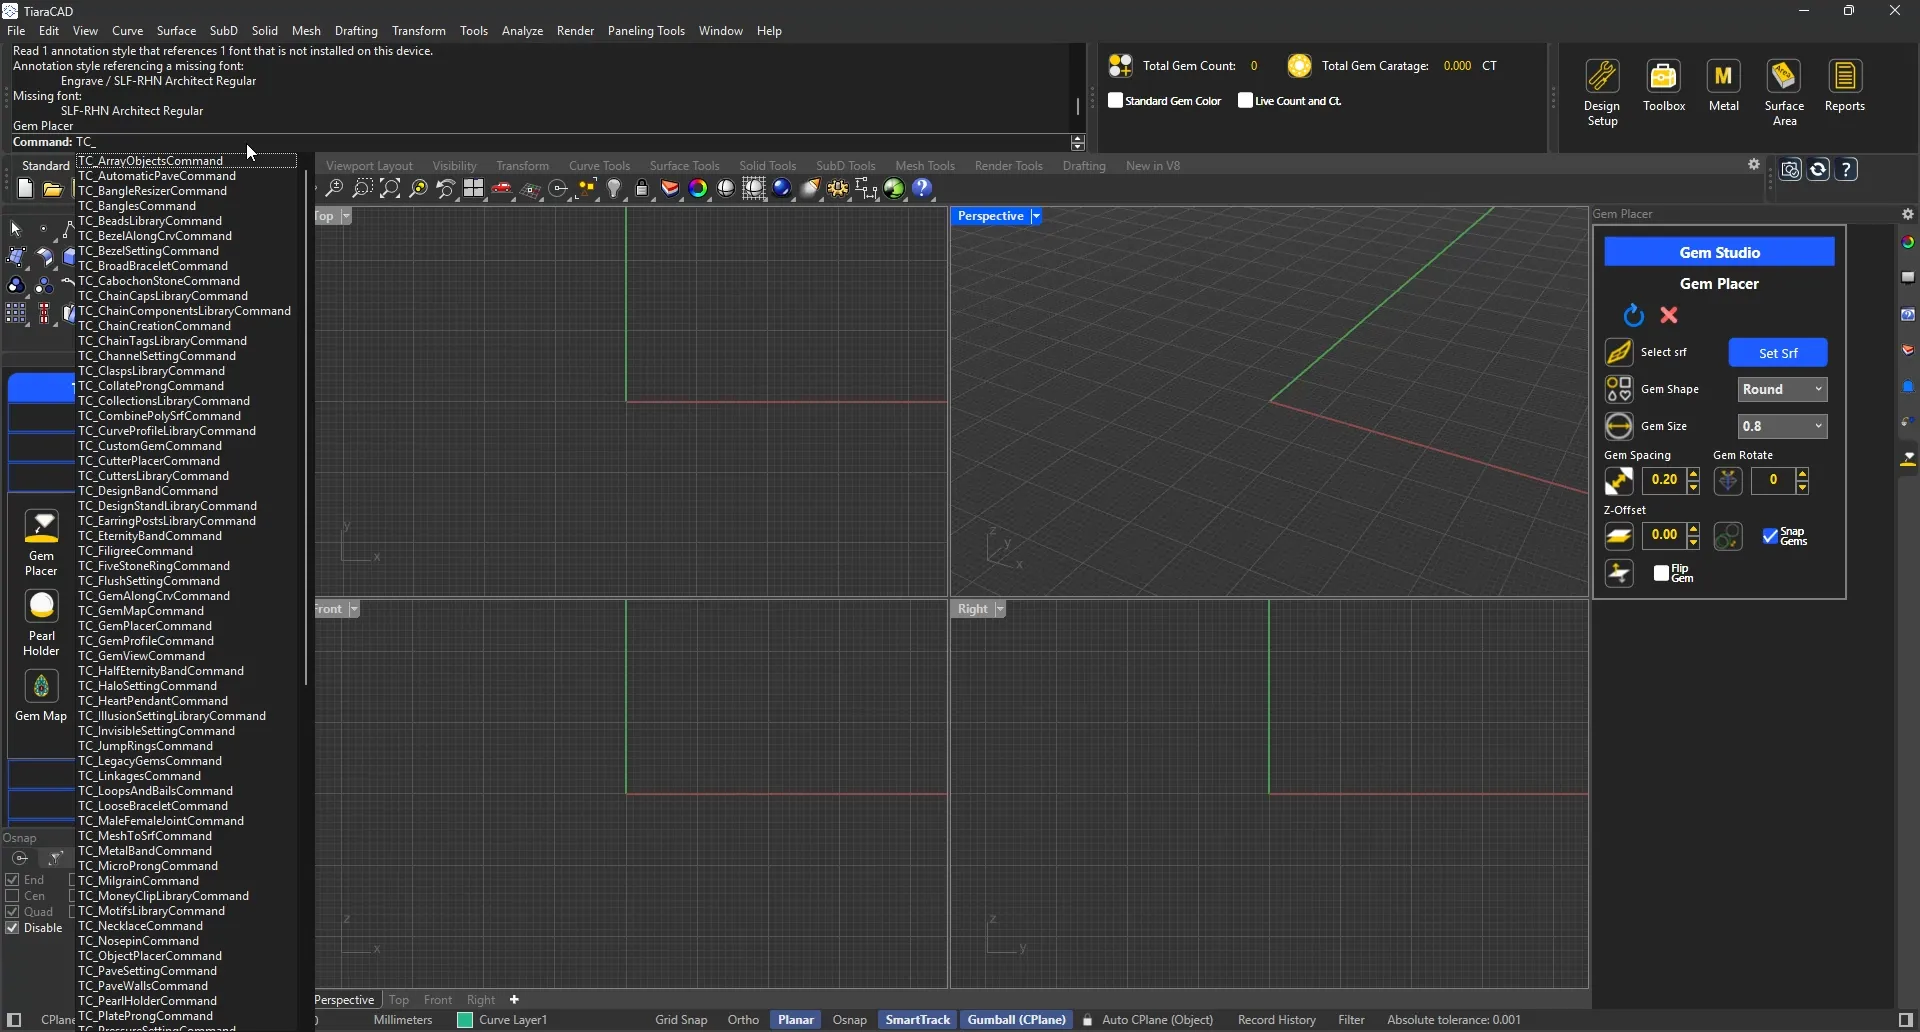
Now all TiaraCAD commands are available to be used in Command Prompt, as Aliases or with Keyboard shortcuts.
It has features similar to Orient on Surface.
You can add your own folders that are as current projects for easy access.

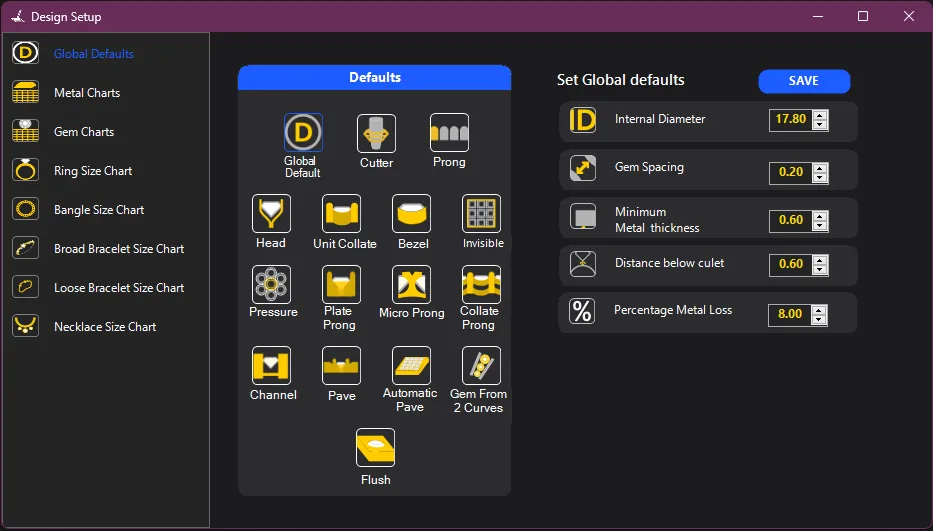
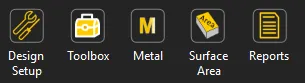
Set up parameters as per your manufacturing to get the correct defaults every time you design. Specify your company details as well to be printed in the standard reports.
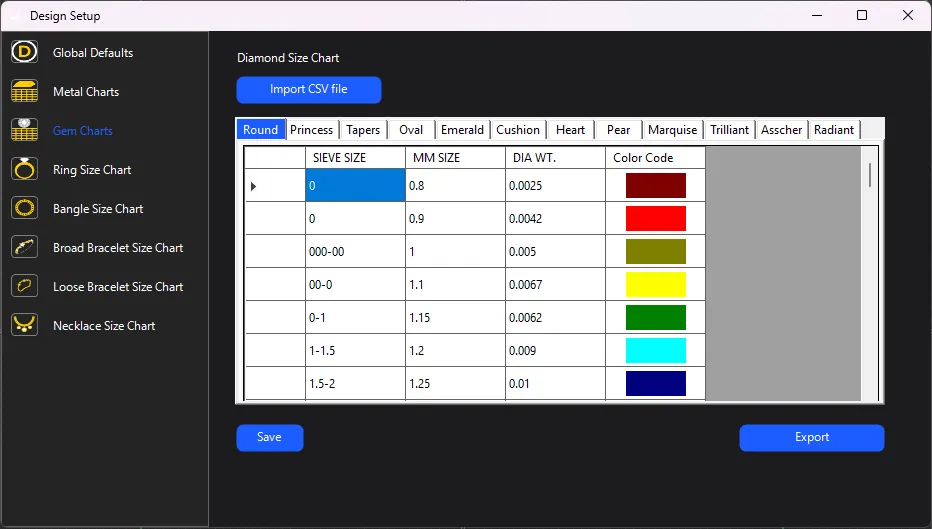
You can import your company based gem chart per cut and carat. This ensures all gems created in the design follow only these sizes unless specified otherwise. Also, in gem reports, carat weight calculation is 100% accurate.
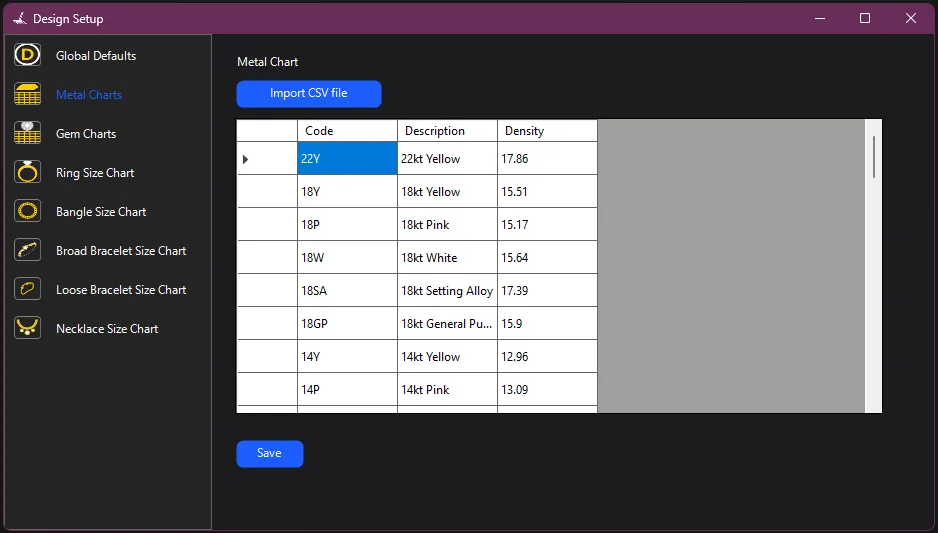
Input the metal density charts as per the alloys used in the company. This allows for reliable weight calculation.
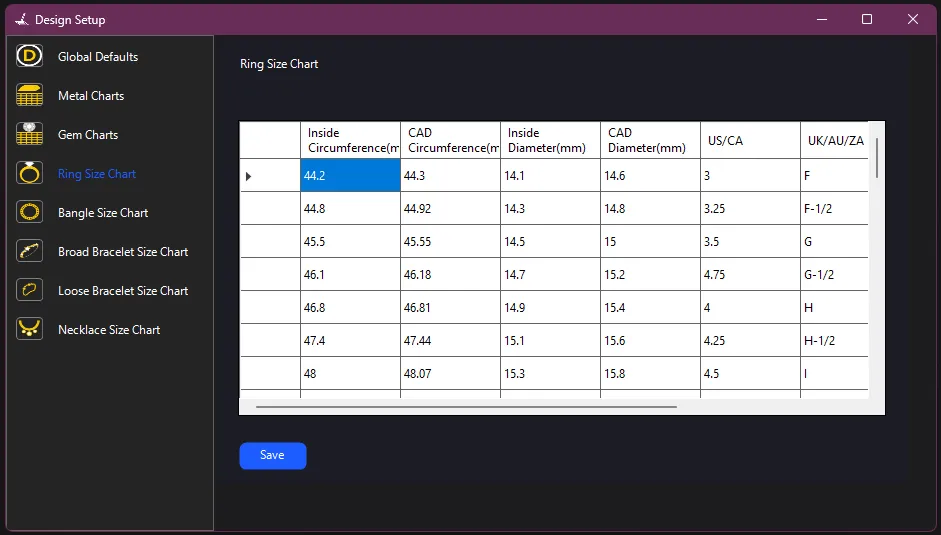
Tiara CAD also allows you to change the standards of Ring, Bangles, Bracelets and Necklace Size Charts.
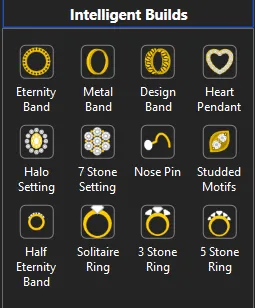
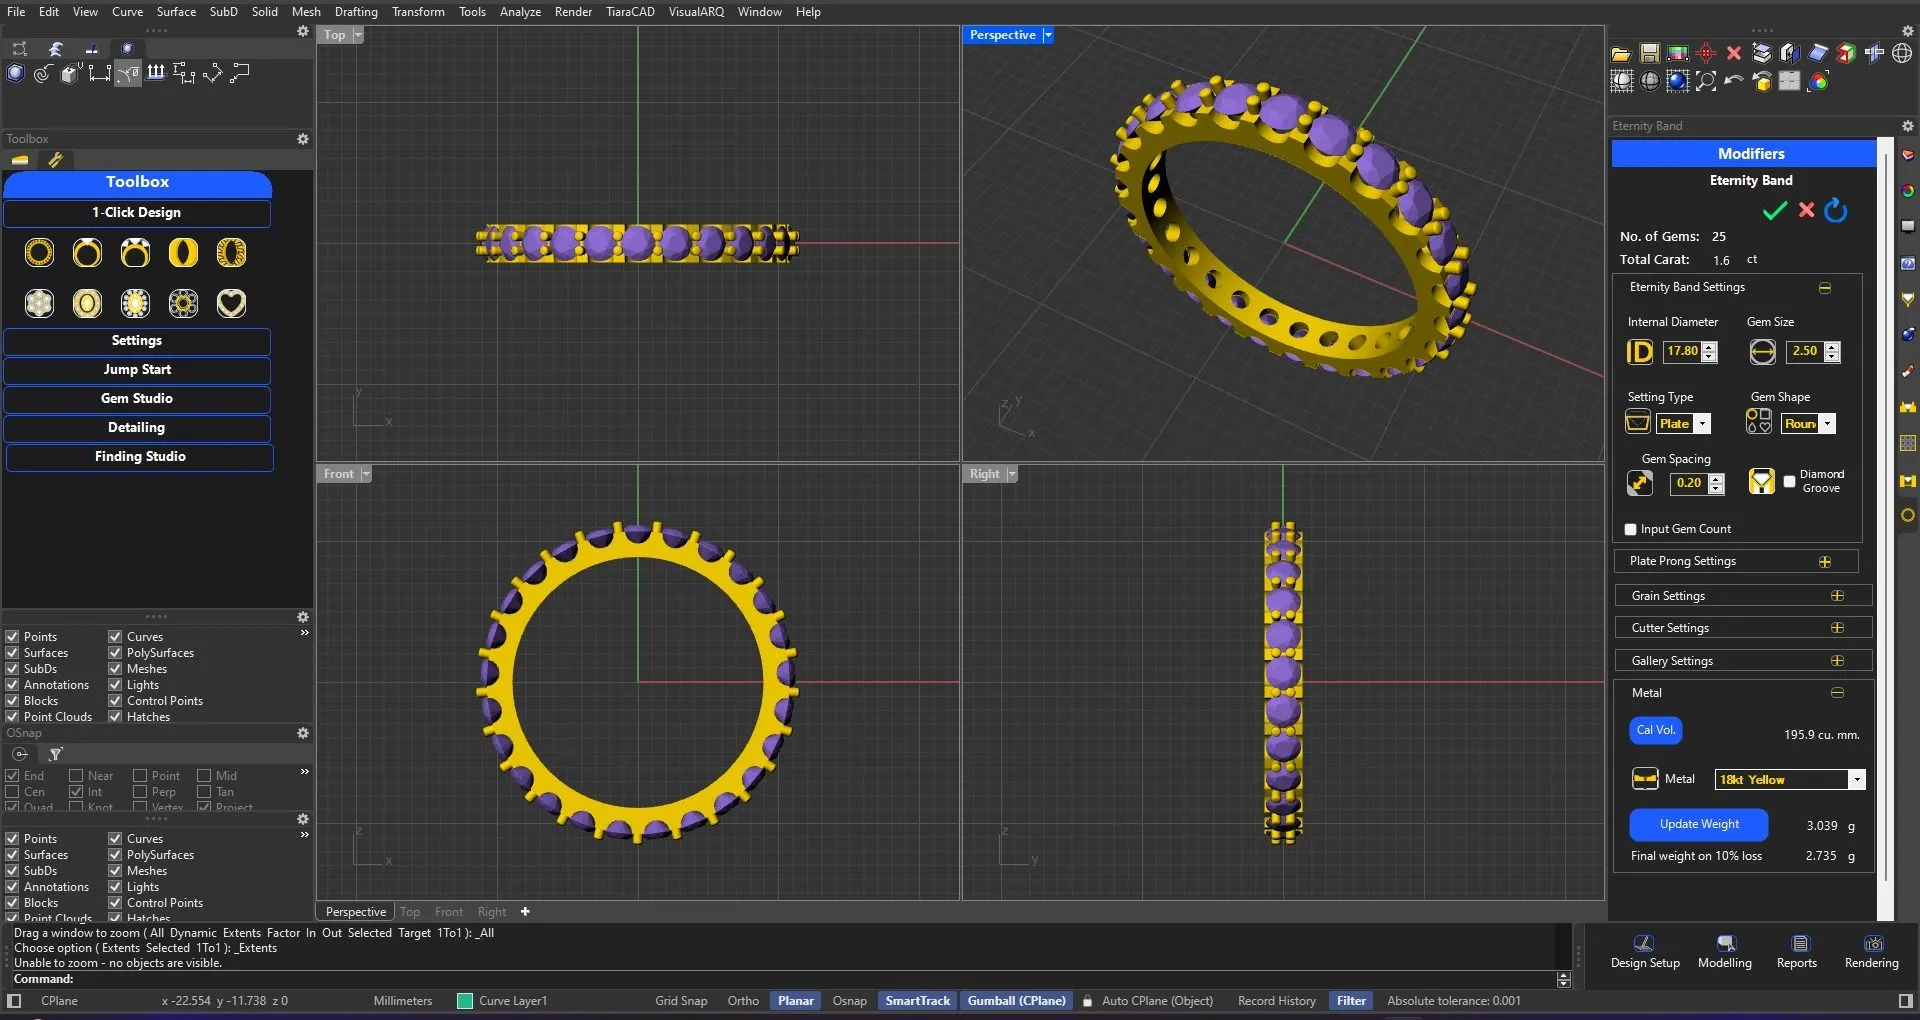
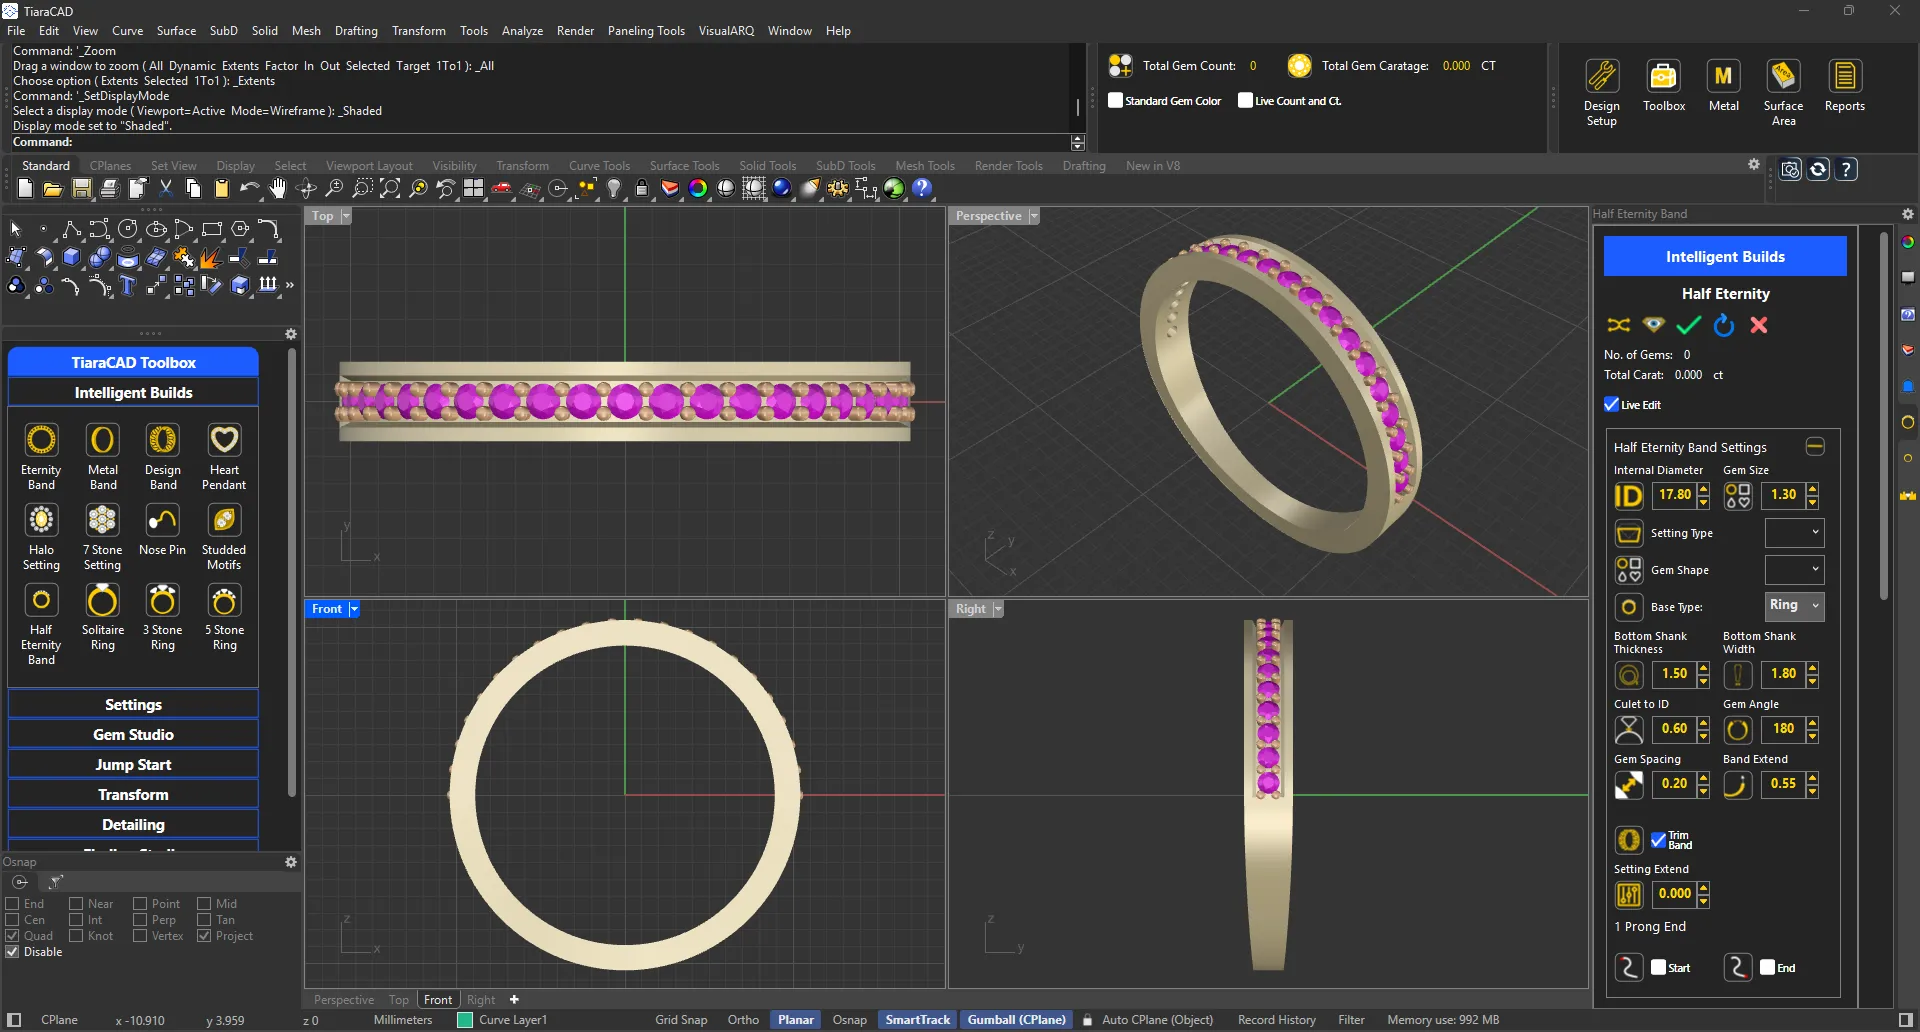
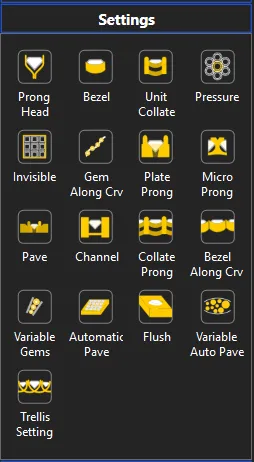
Enter the Ring size and Gem size only. Choose your setting style and the design is ready with total Carat Weight and Metal Volume. In just one tool, you can use channel, plate-prong, collate-prong, nick, pave, bezel and even trellis setting without compromising on the manufacturing details.
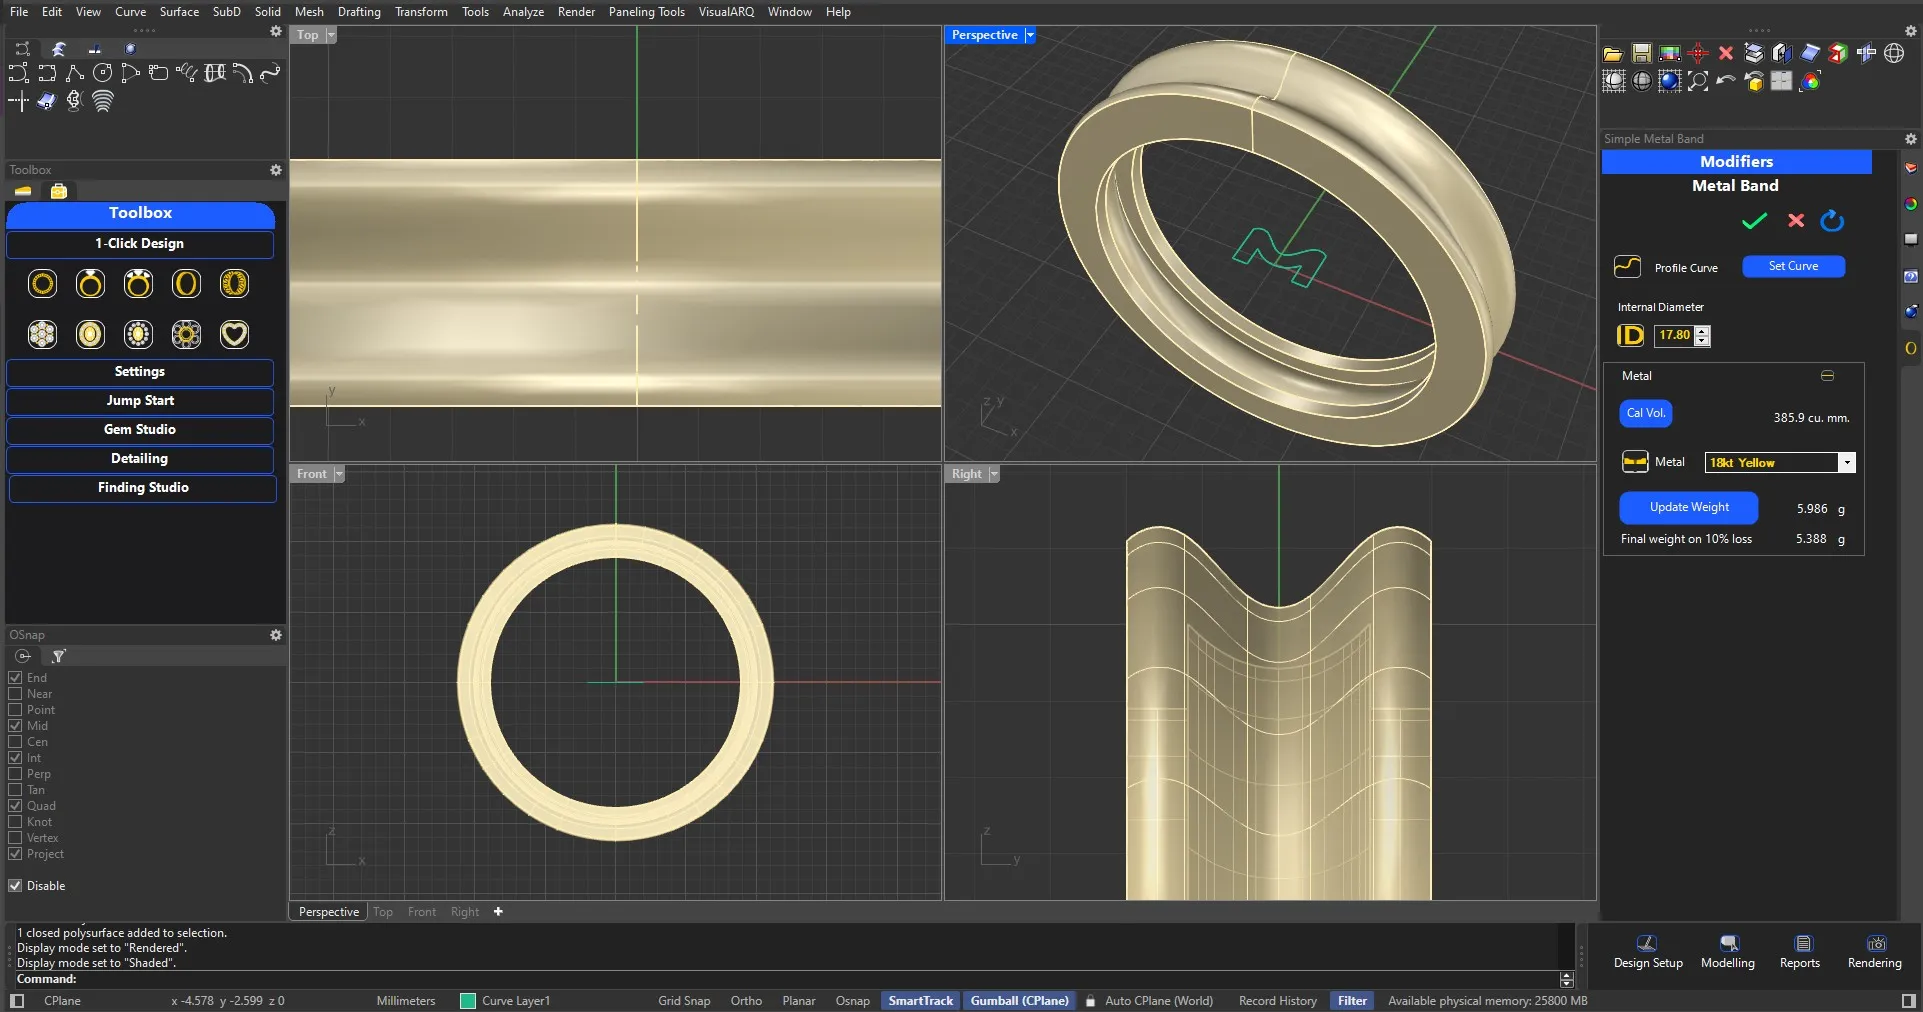
Simply add the desired ring size and the profile curve. If you convert the Band to Ring, you can choose the bottom thickness and Width.
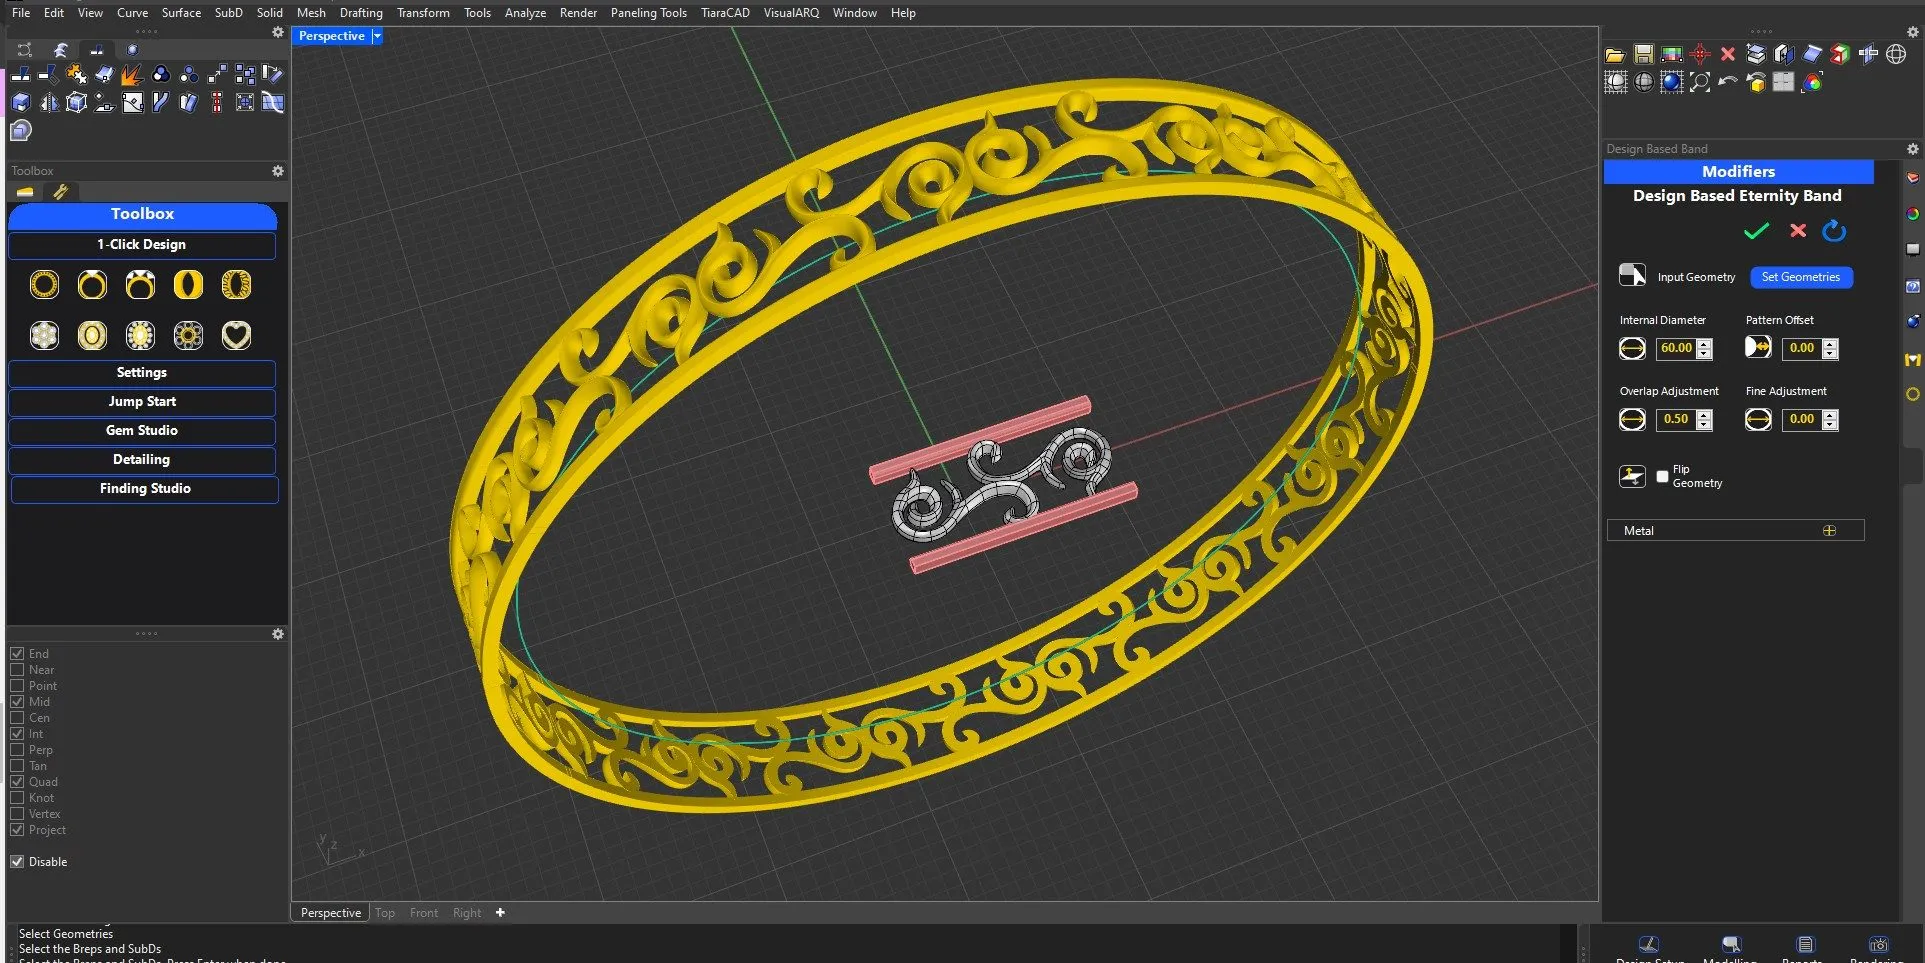
Choose the design for repetition, identify the overlap area and choose the ring / bangle size. Design will be placed over the ring / bangle with additional height modifications as per your requirement. You may also add your own oval bangle to do the design.
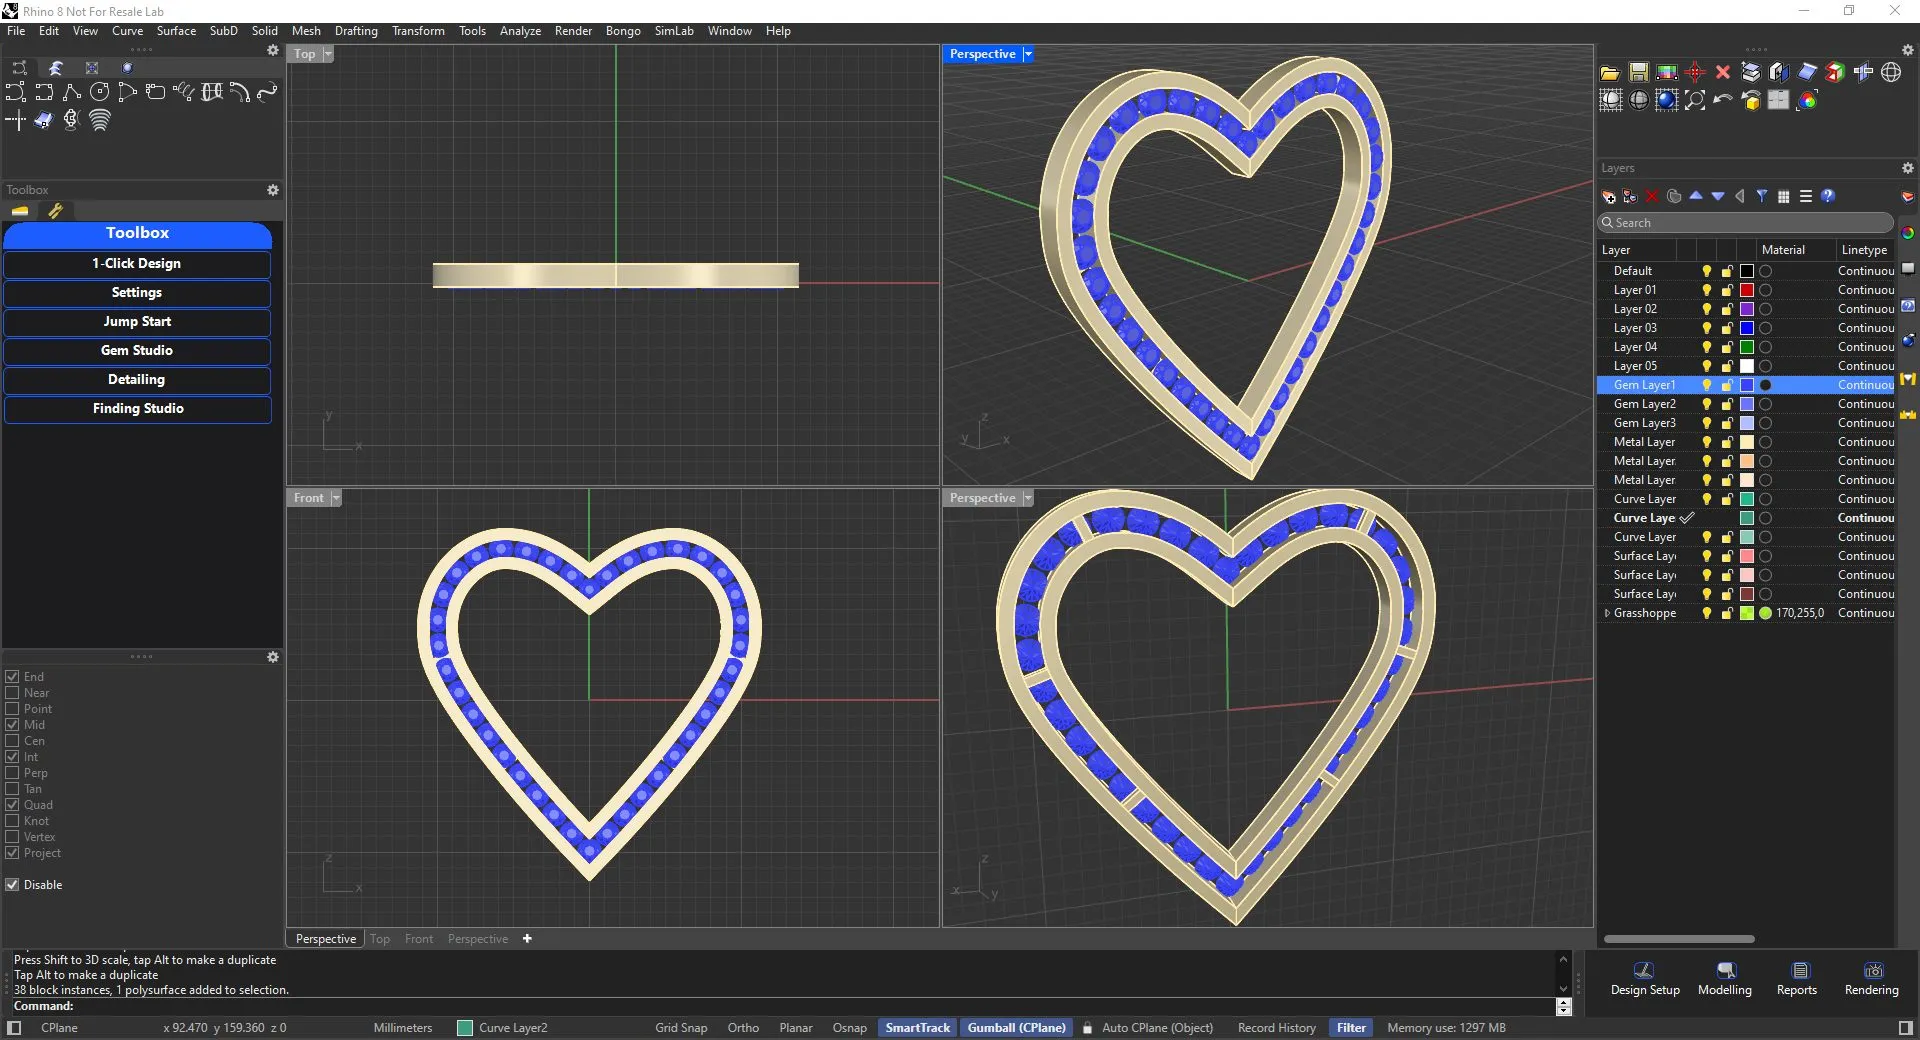
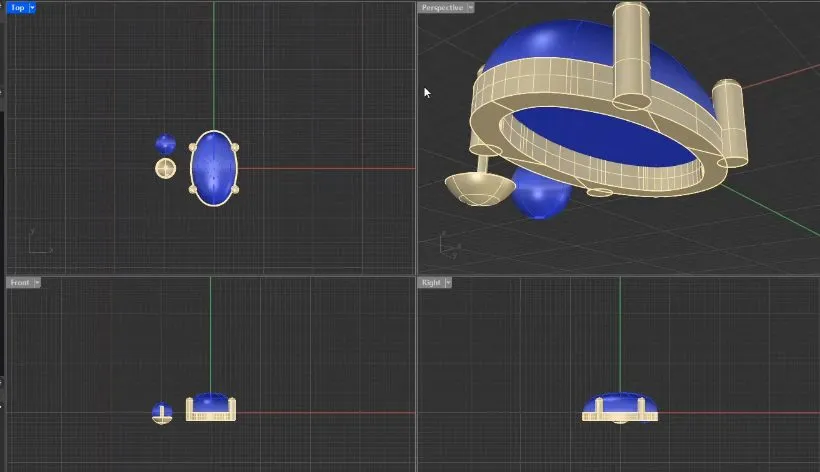
Choose gem size, overall heart size and setting for the gem. Optionally, add a gallery. Add a jumpring and loop from linkages to complete your design.
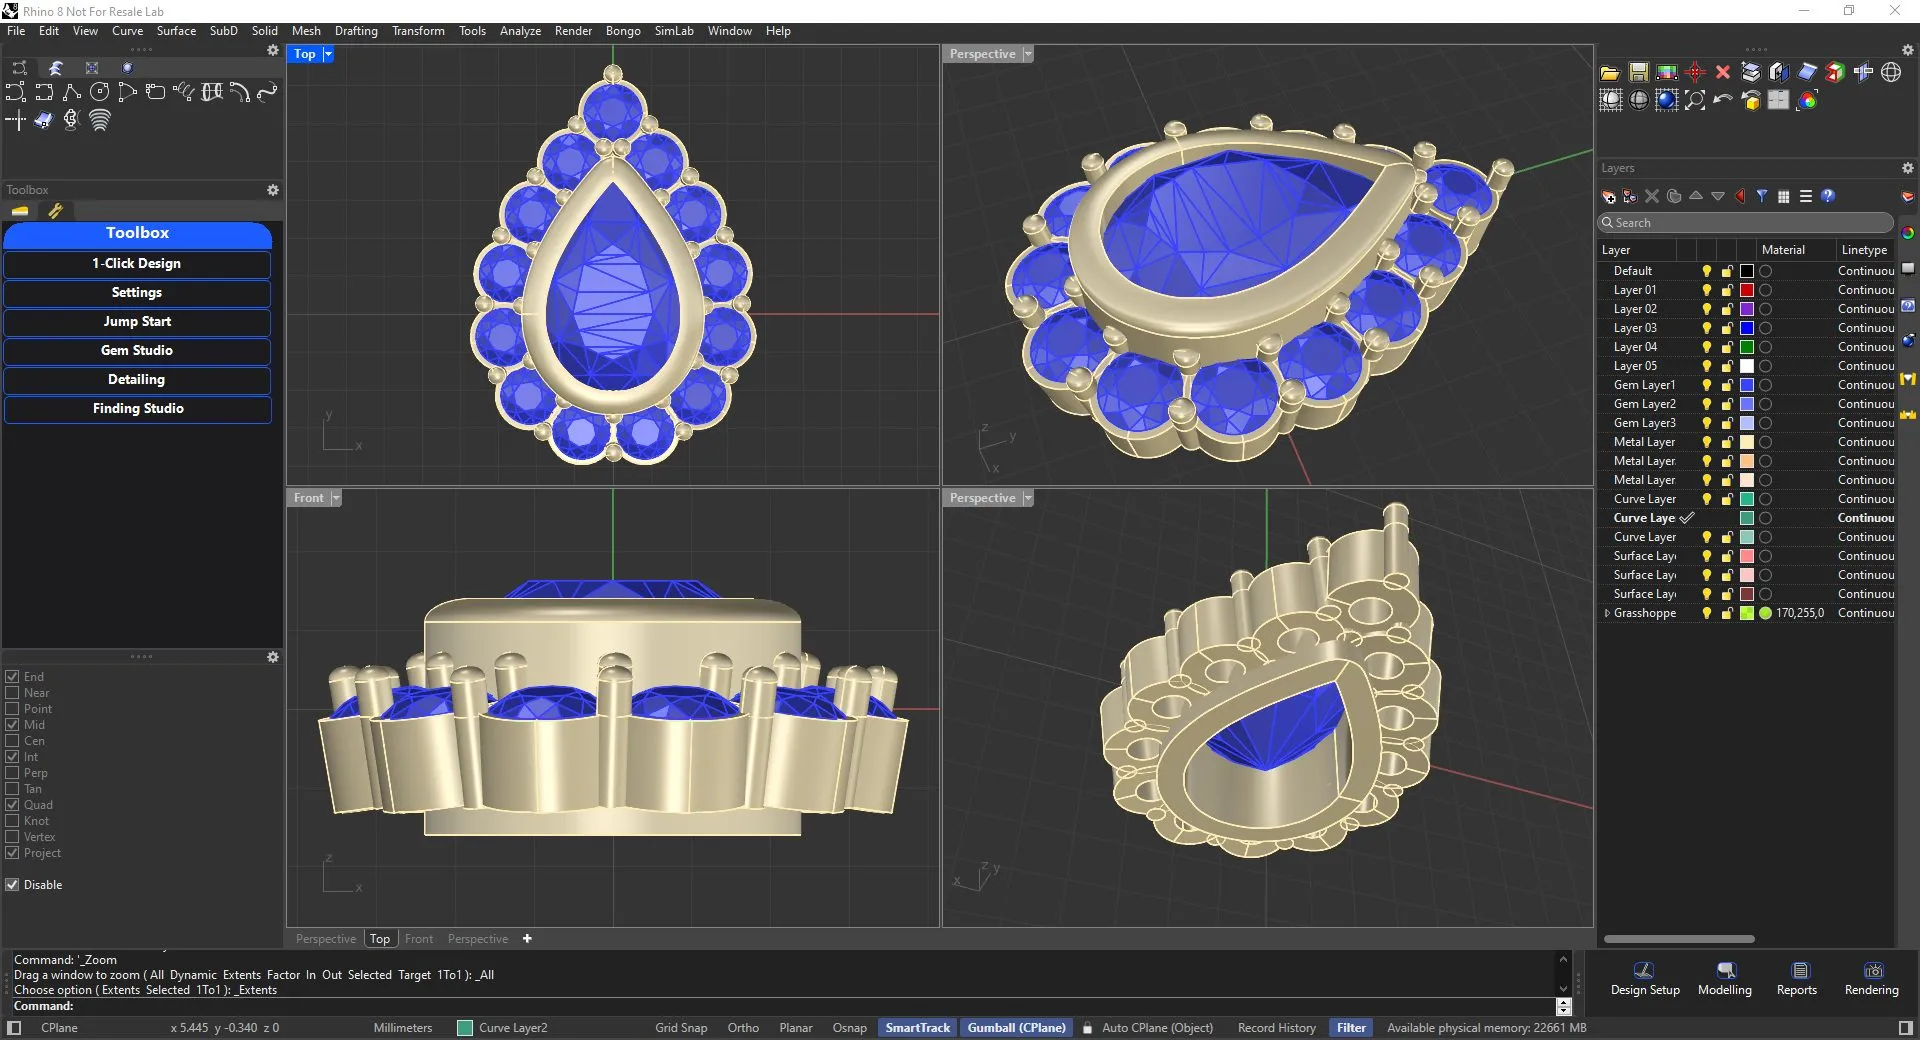
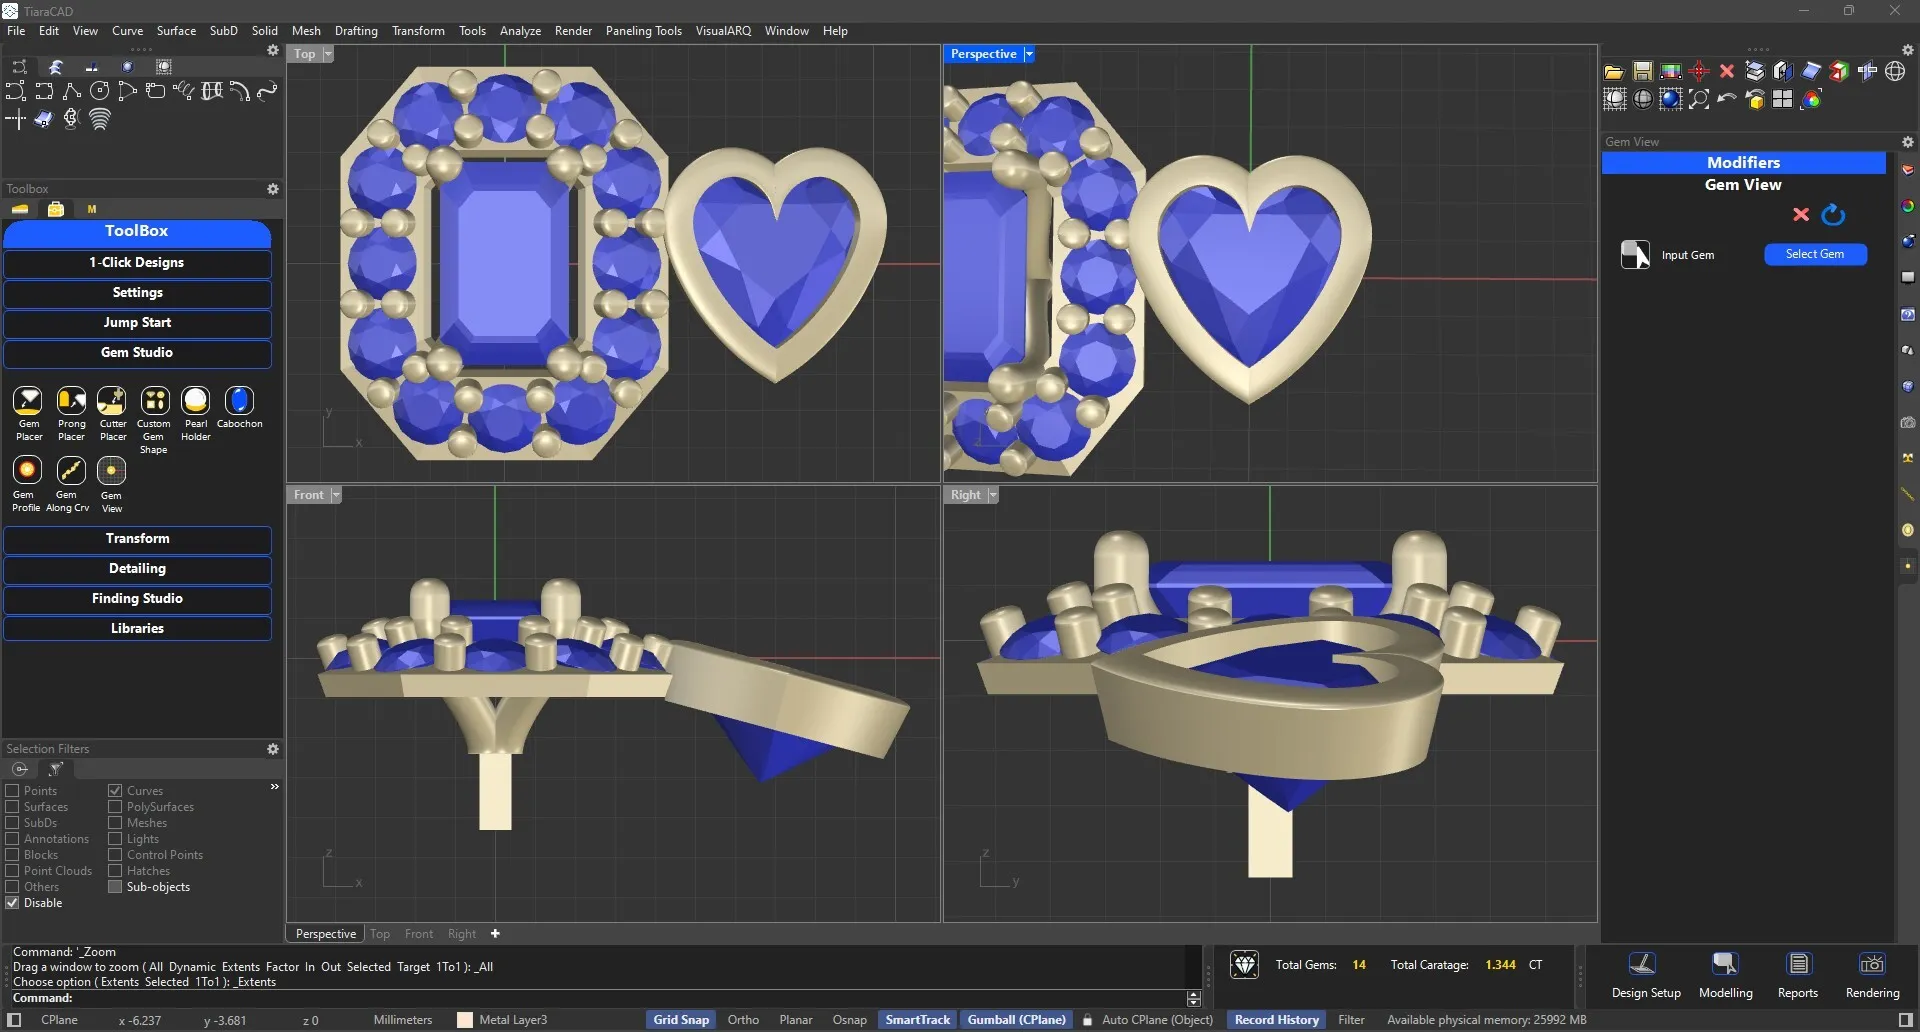
Choose center Stone shape and size and corresponding gems to have Halo setting readily designed for you. Adjust the step heights or angles of gems to complete your design in a short time.
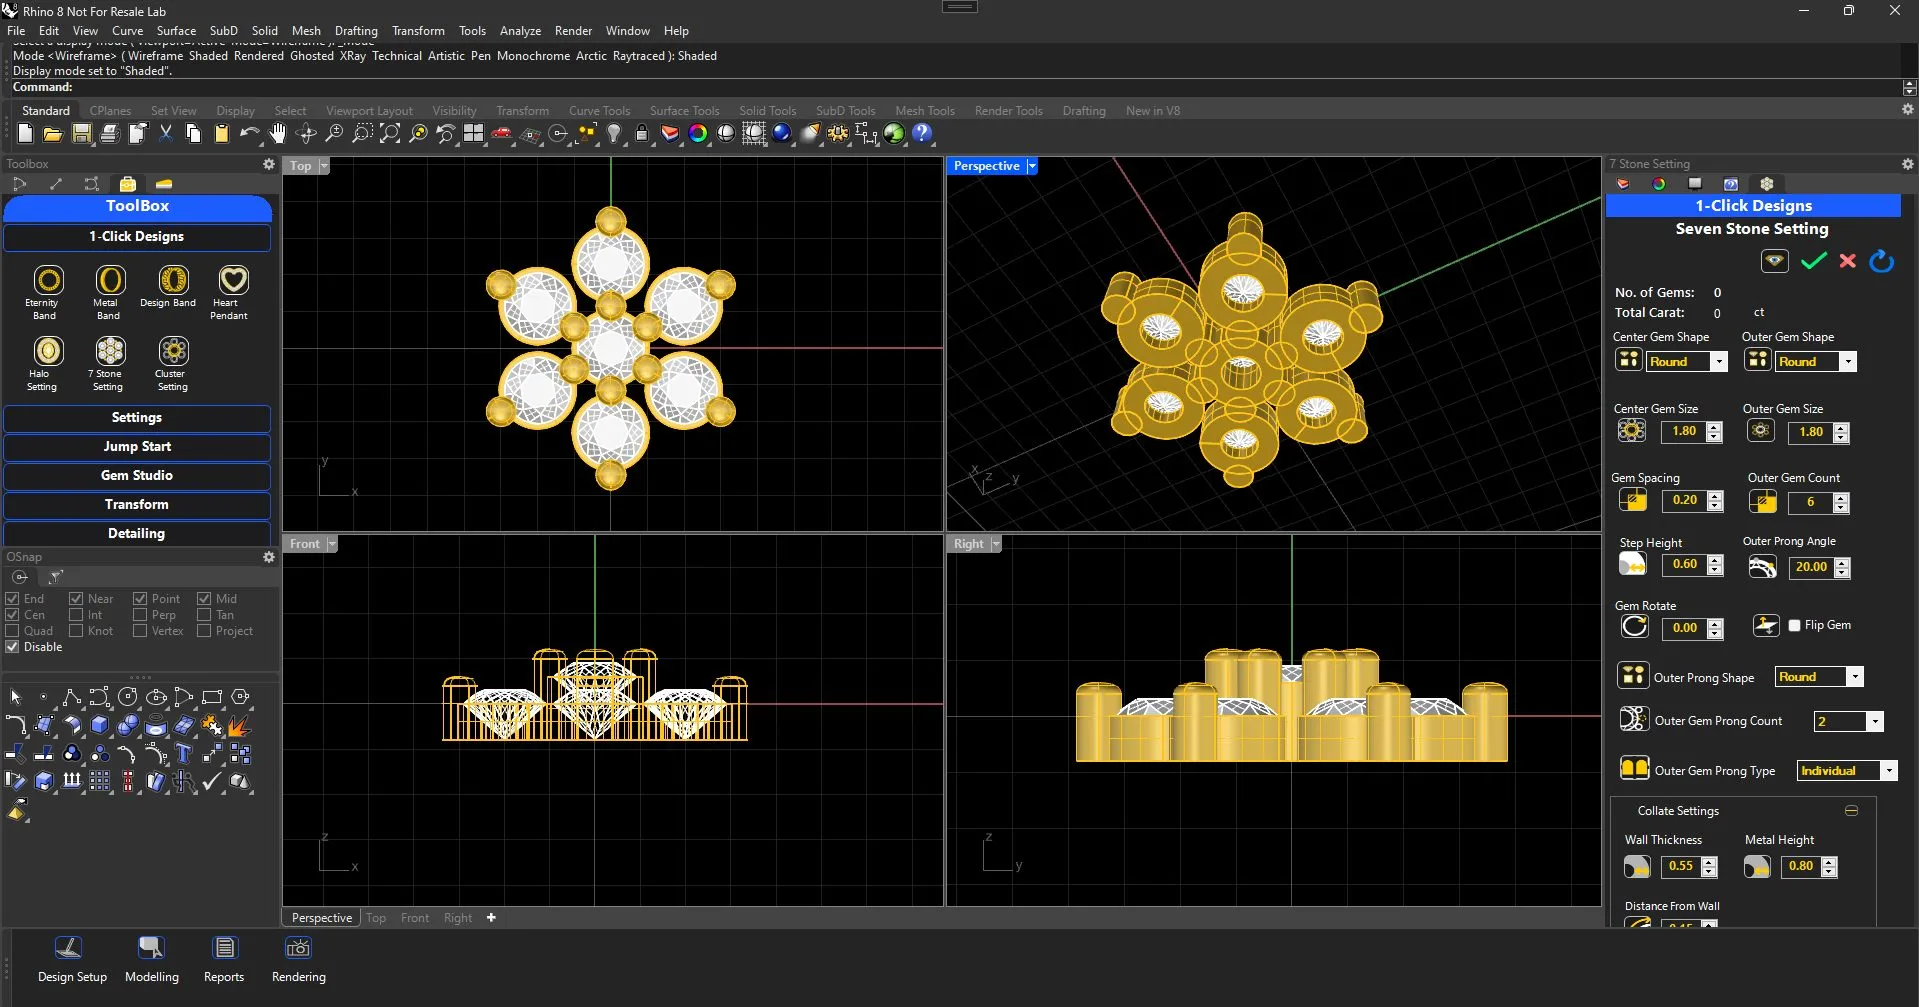
Choose the Center Gem shape, setting along with outer gem shape and desired setting. Make easy adjustments as per need and your Halo setting is done.
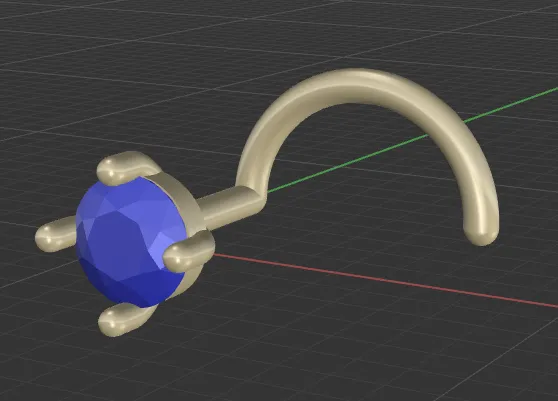
Create a Nose pin with standard prong setting parameters for a round diamond and metal with length, thickness and fillet parameters.
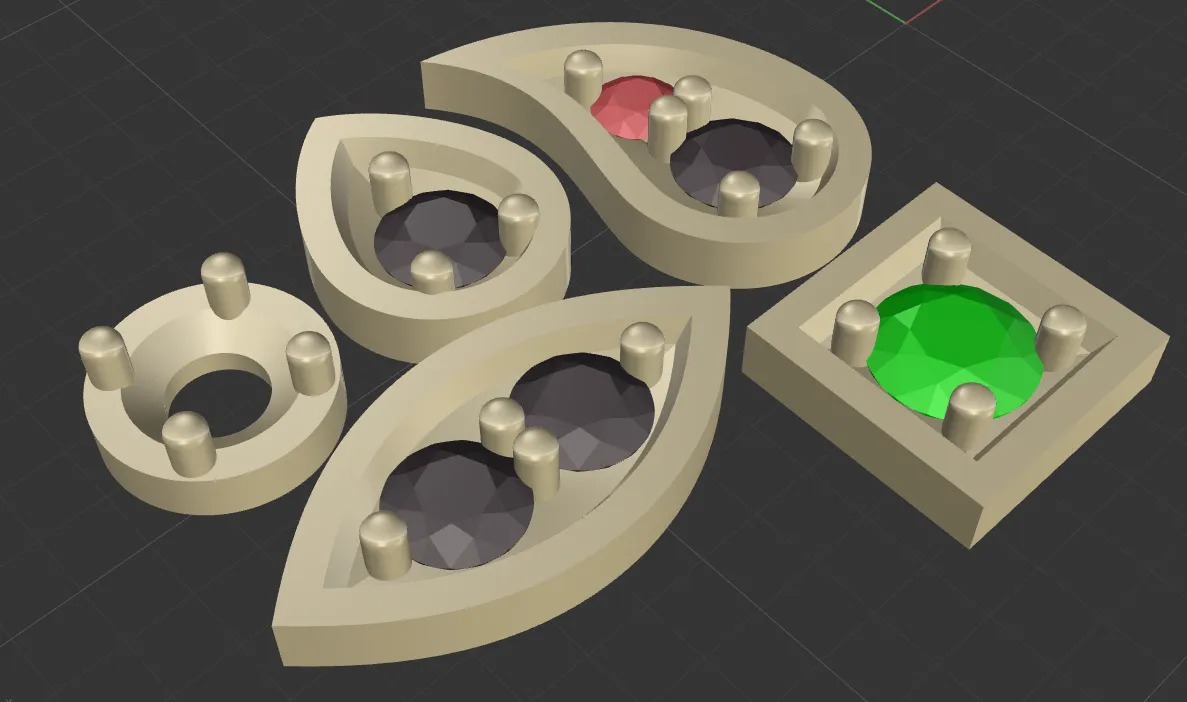
Create Studded 1 or 2 stone drops, paisley, marquise, round or square shapes with Plate or Pave setting, complete with depth control.
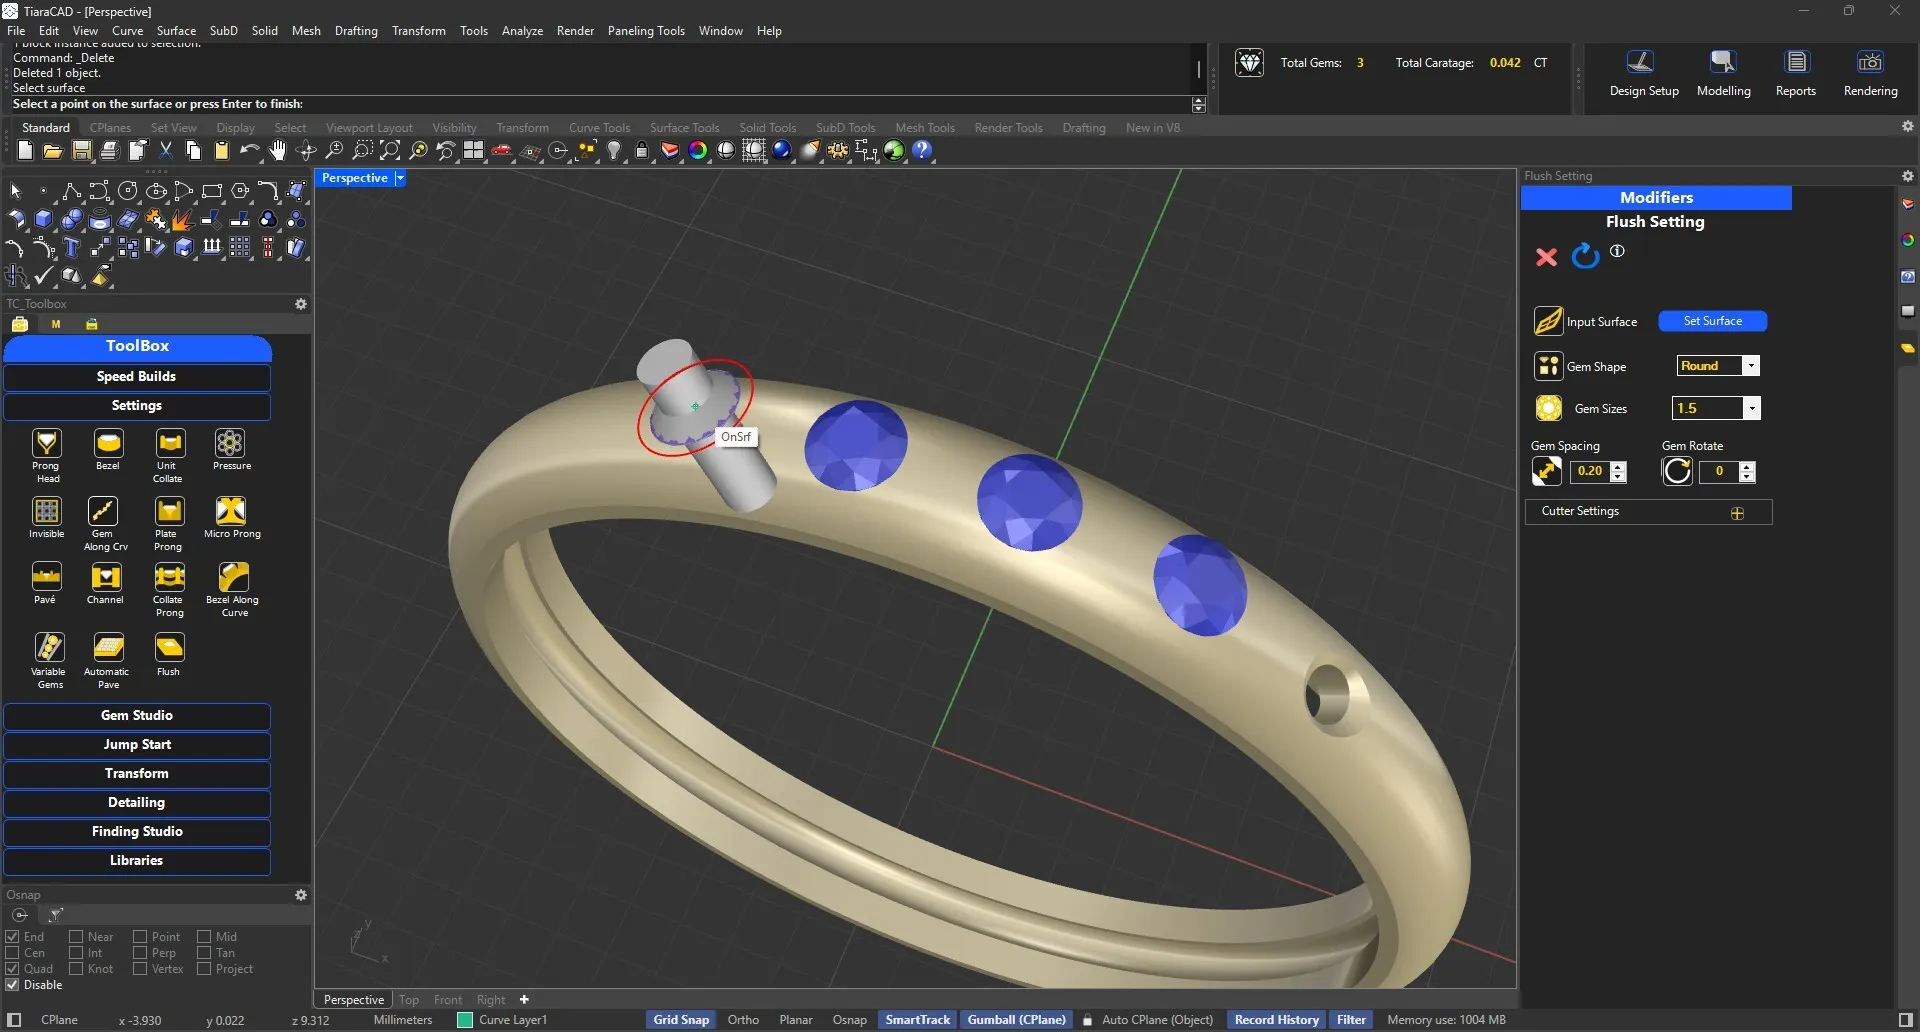
Create single line studded band / ring with options of stone from 45 to 270 degrees for plate / pave/ channel, collate / micro-prong settings.
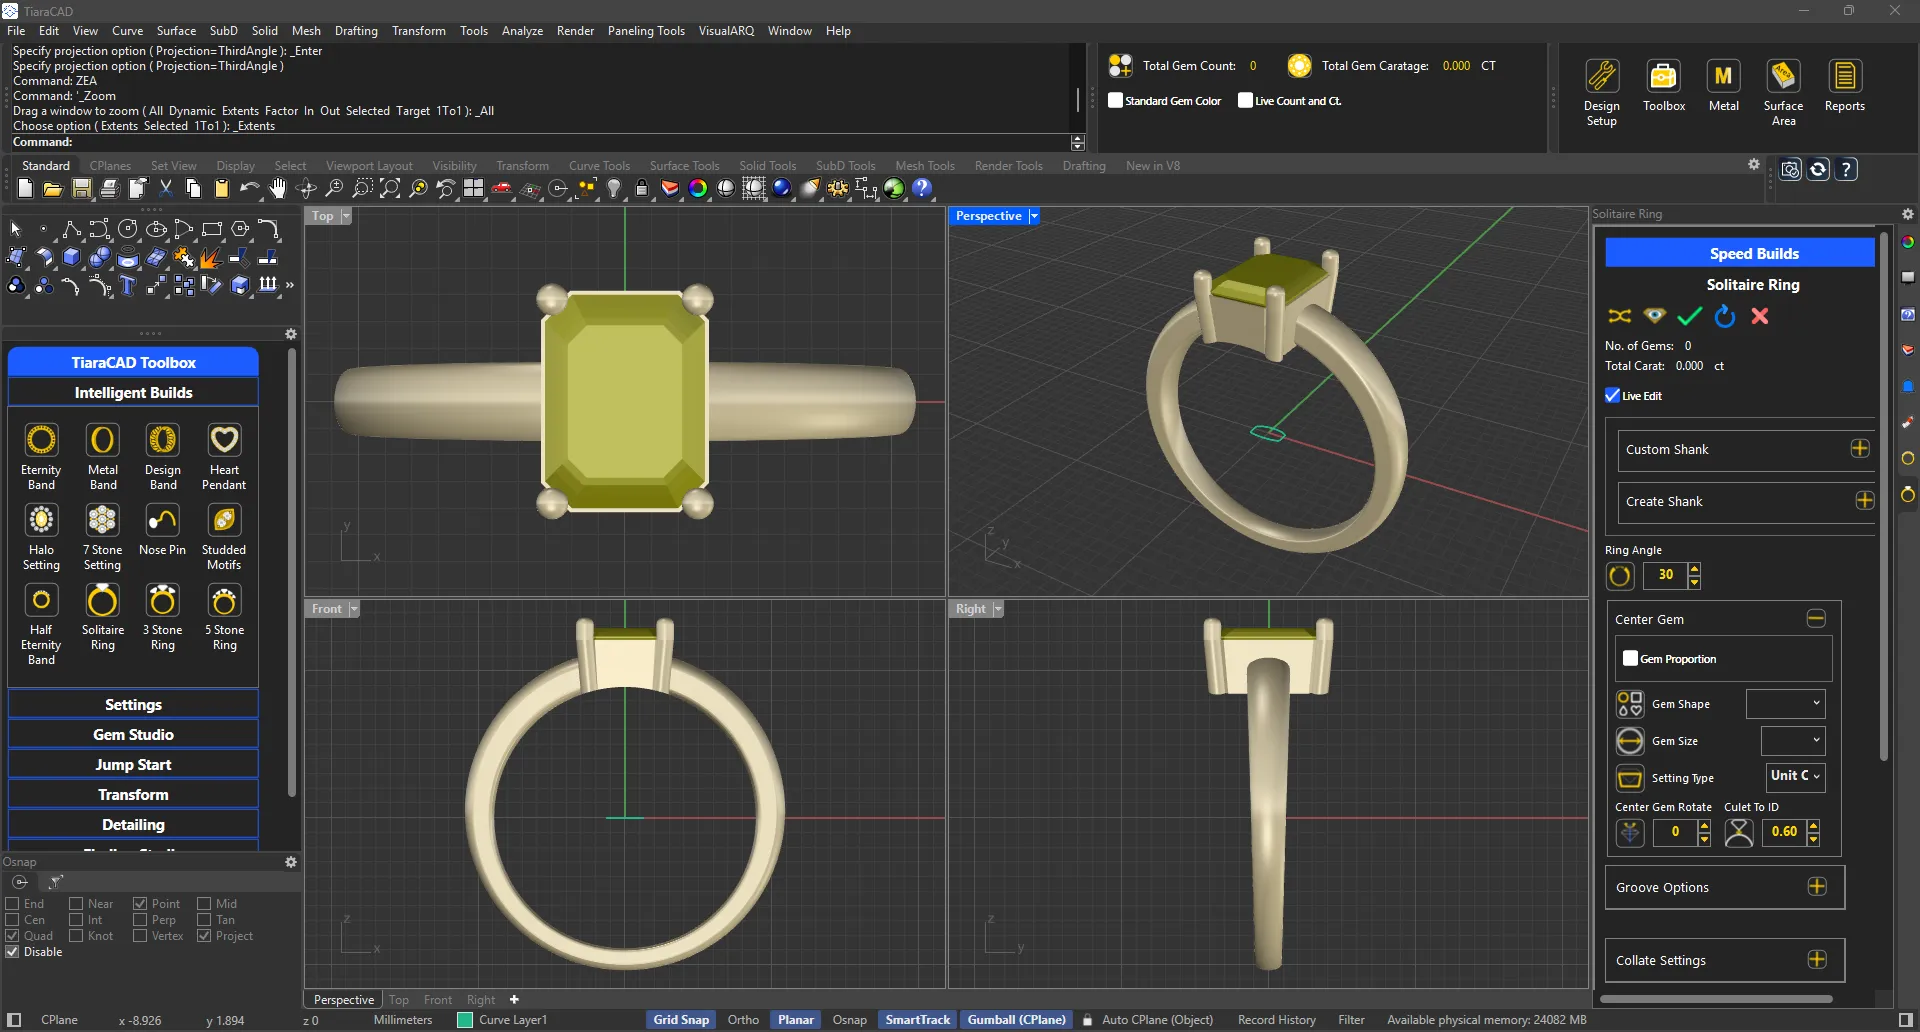
Create ring shank with inputs from ring thickness and width at top and bottom and then choose the centre stone with Bezel, Collate or Prong Head for any stone shape.
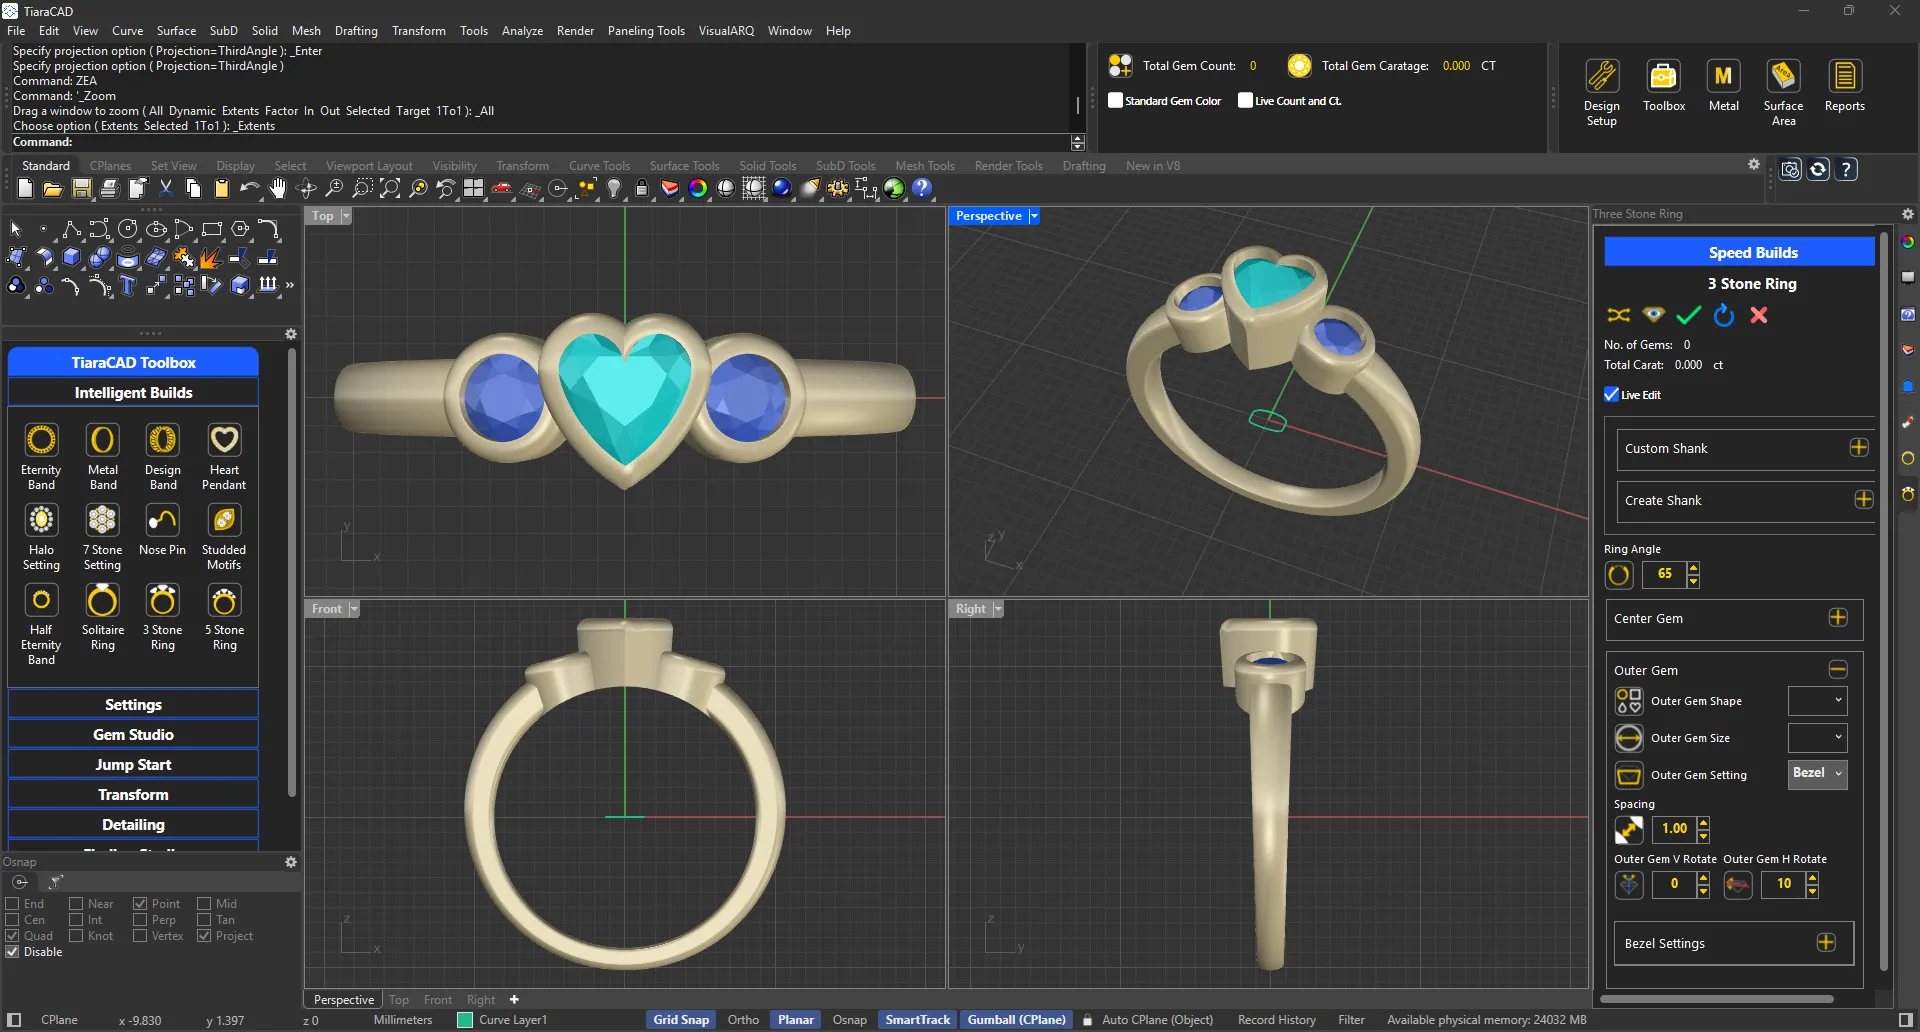
Create ring shank and then choose size, shape and rotation angles of the centre and side stones.
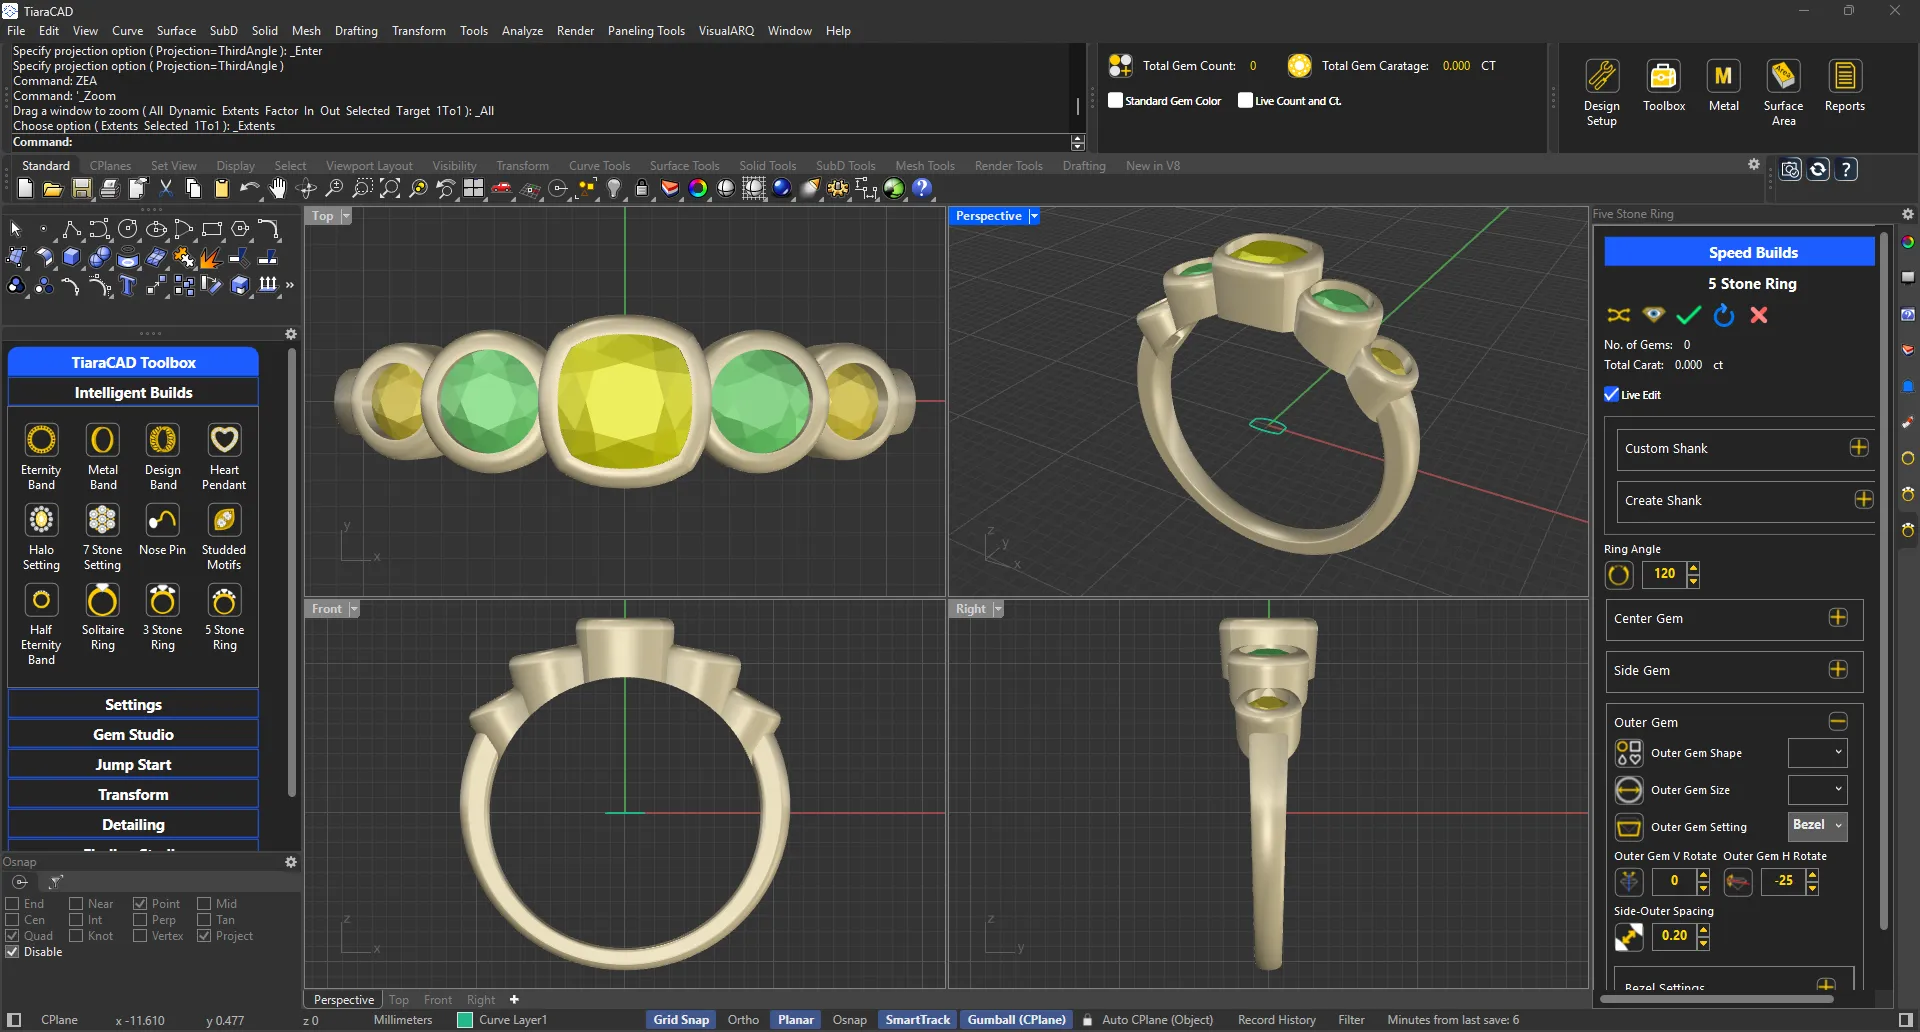
Create ring shank and then choose size, shape and rotation angles of the centre, side and outer stones.
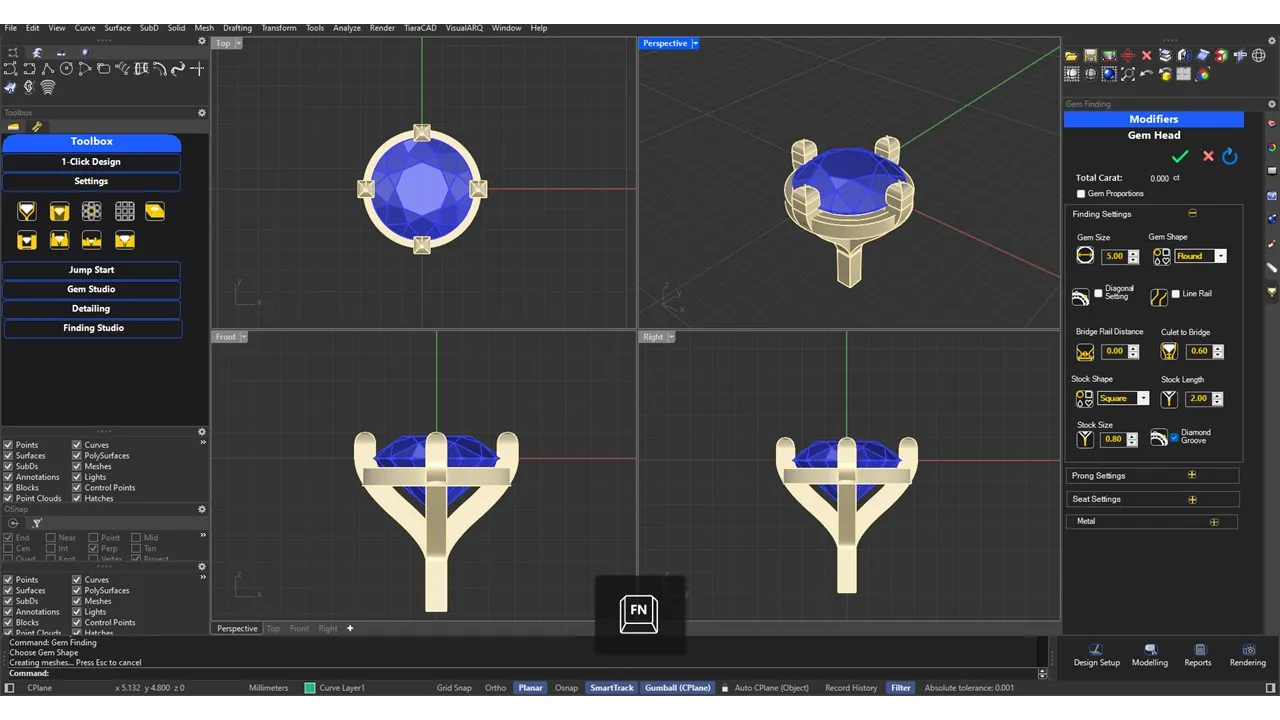
Adjust Gem Proportions, Prong, & Seat Settings to obtain your desired Prong Head.
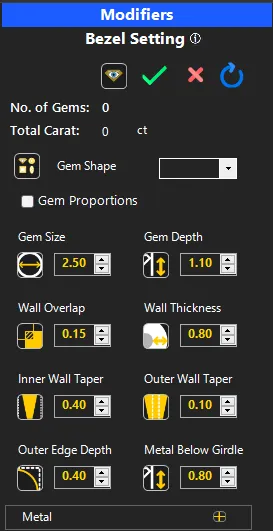
Add a Bezel Setting to the design with one click.
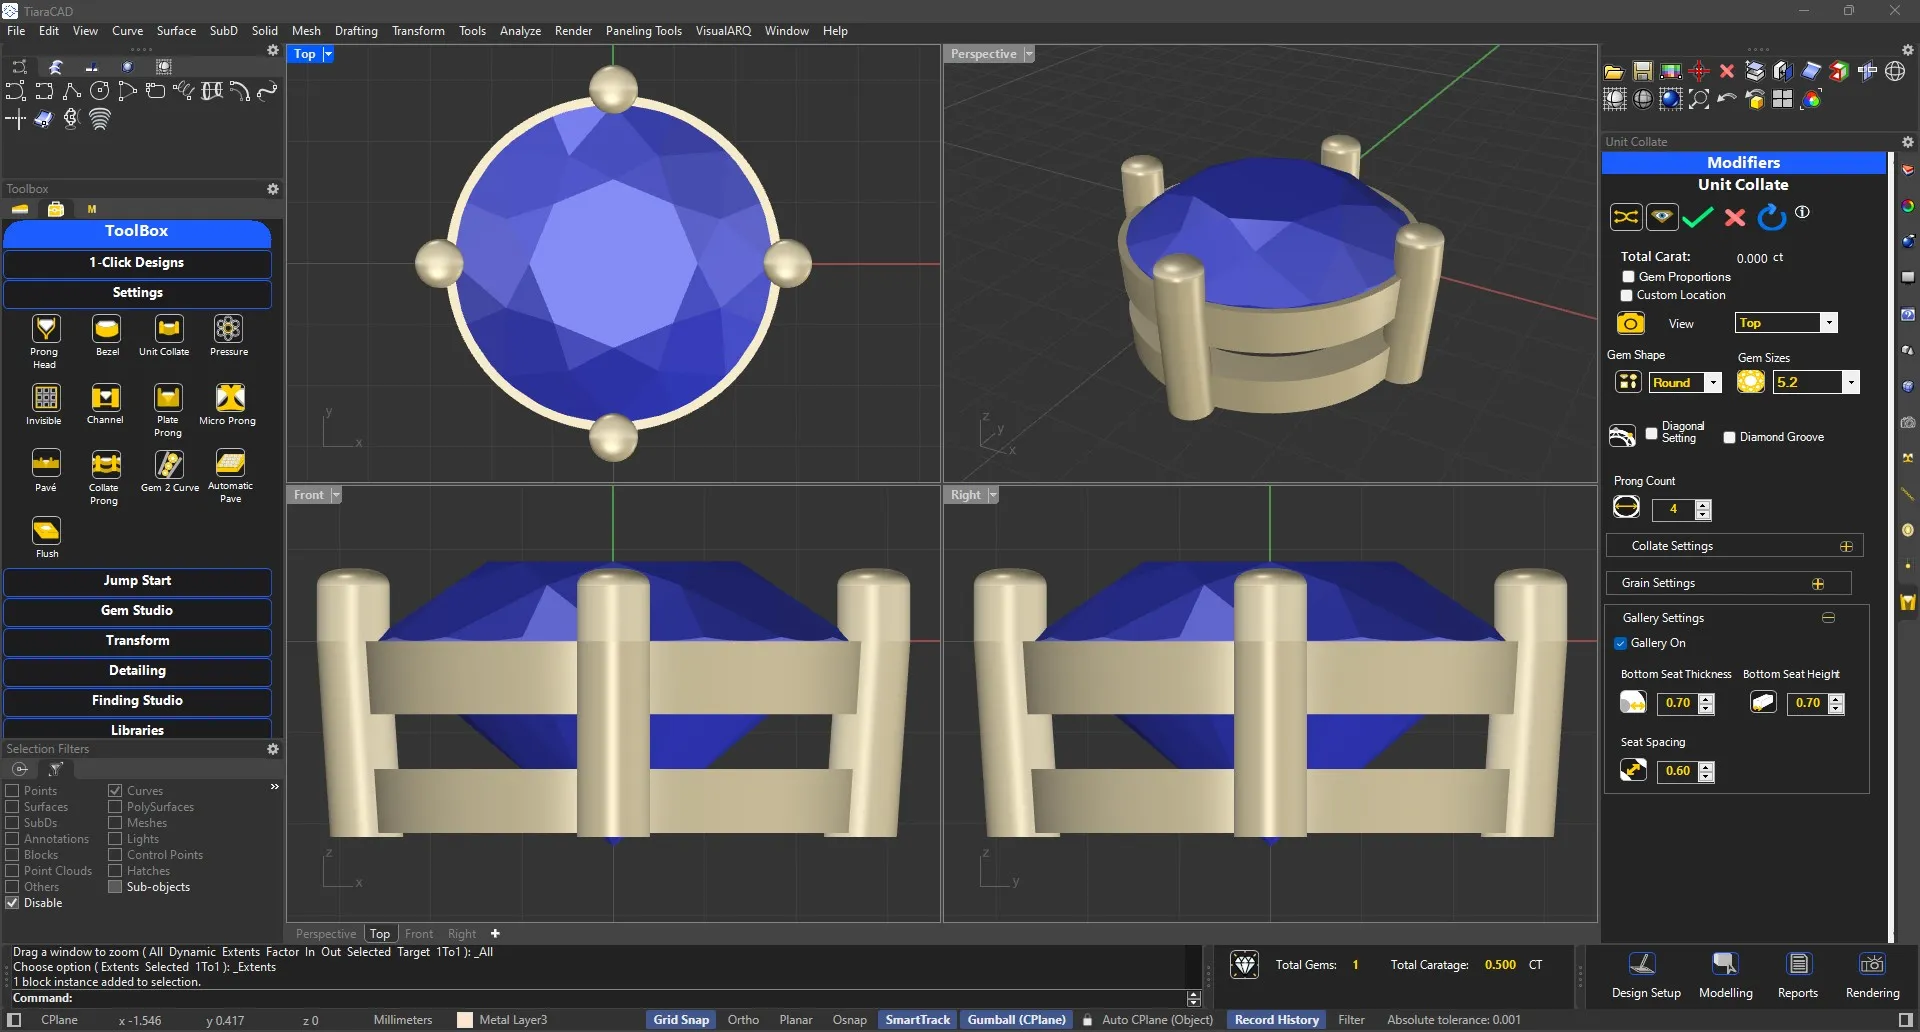
Choose a gem shape and size. As per the collate thickness and prong sizes , a unit collate is generated along with gallery if required.
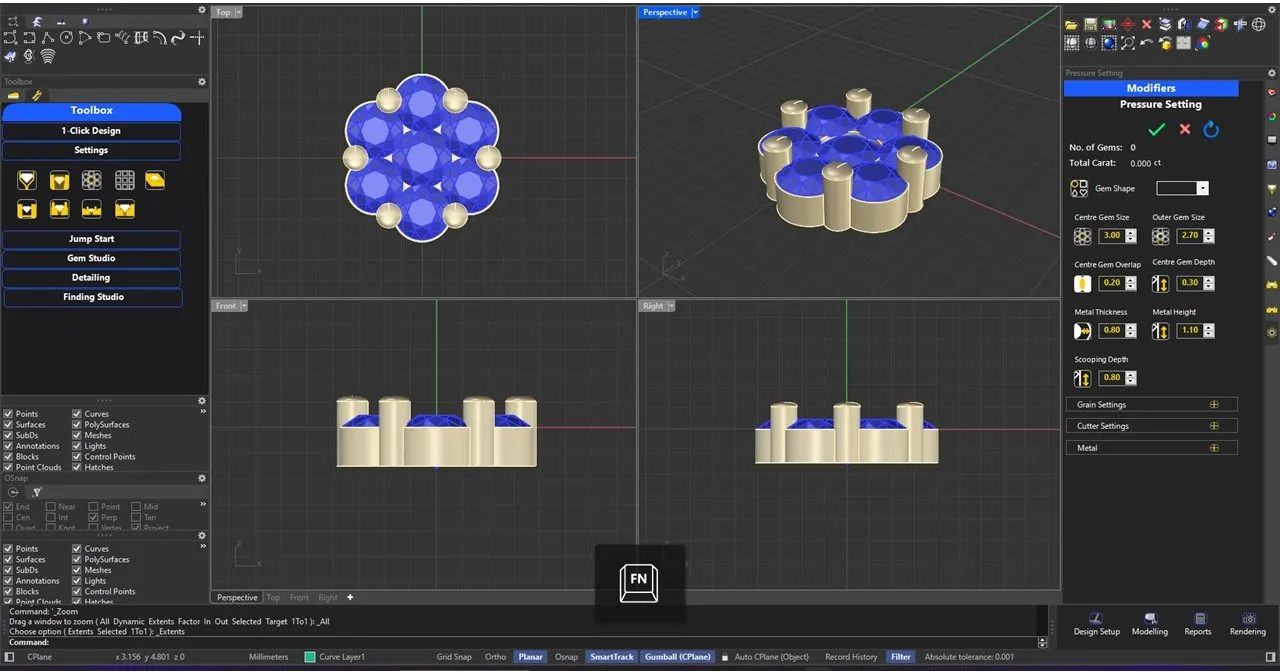
Choose the sizes of center stone and surrounding stones. Adjust the height of metal as required and the scooping will also be ready.
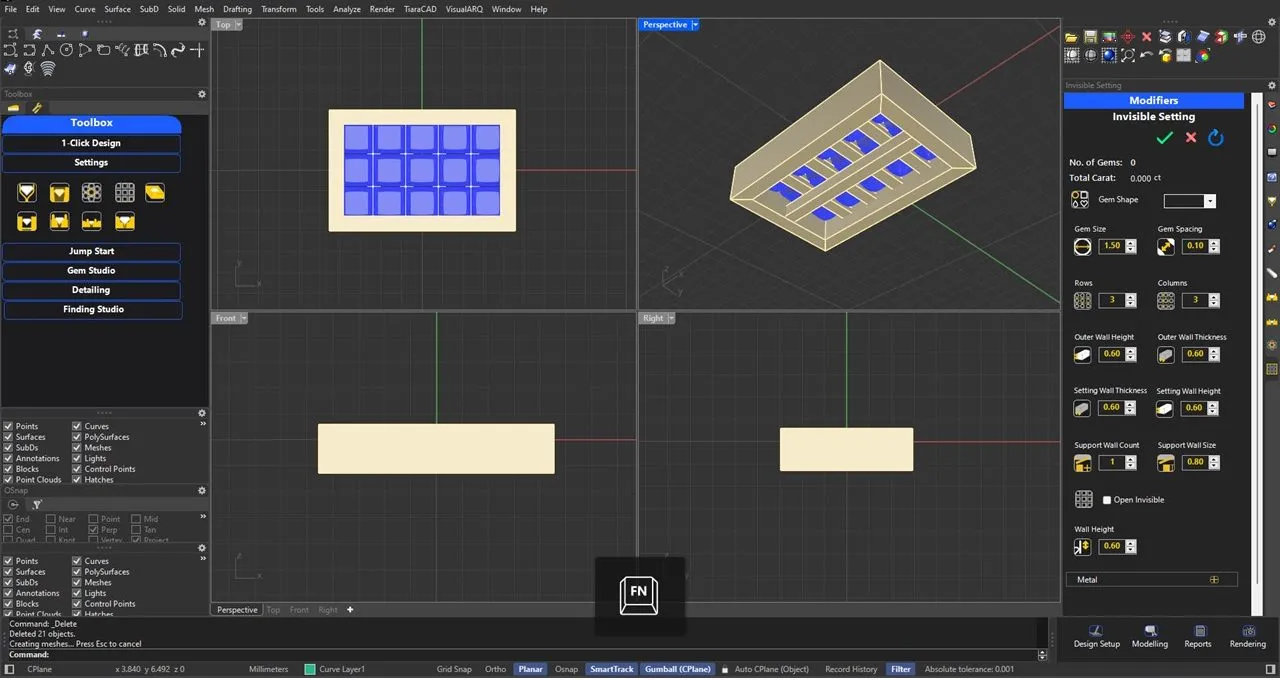
Only choose the diamond size and the desired rows and columns. Open or Closed Invisible flat setting along with setting walls and support walls will be ready for your perusal.
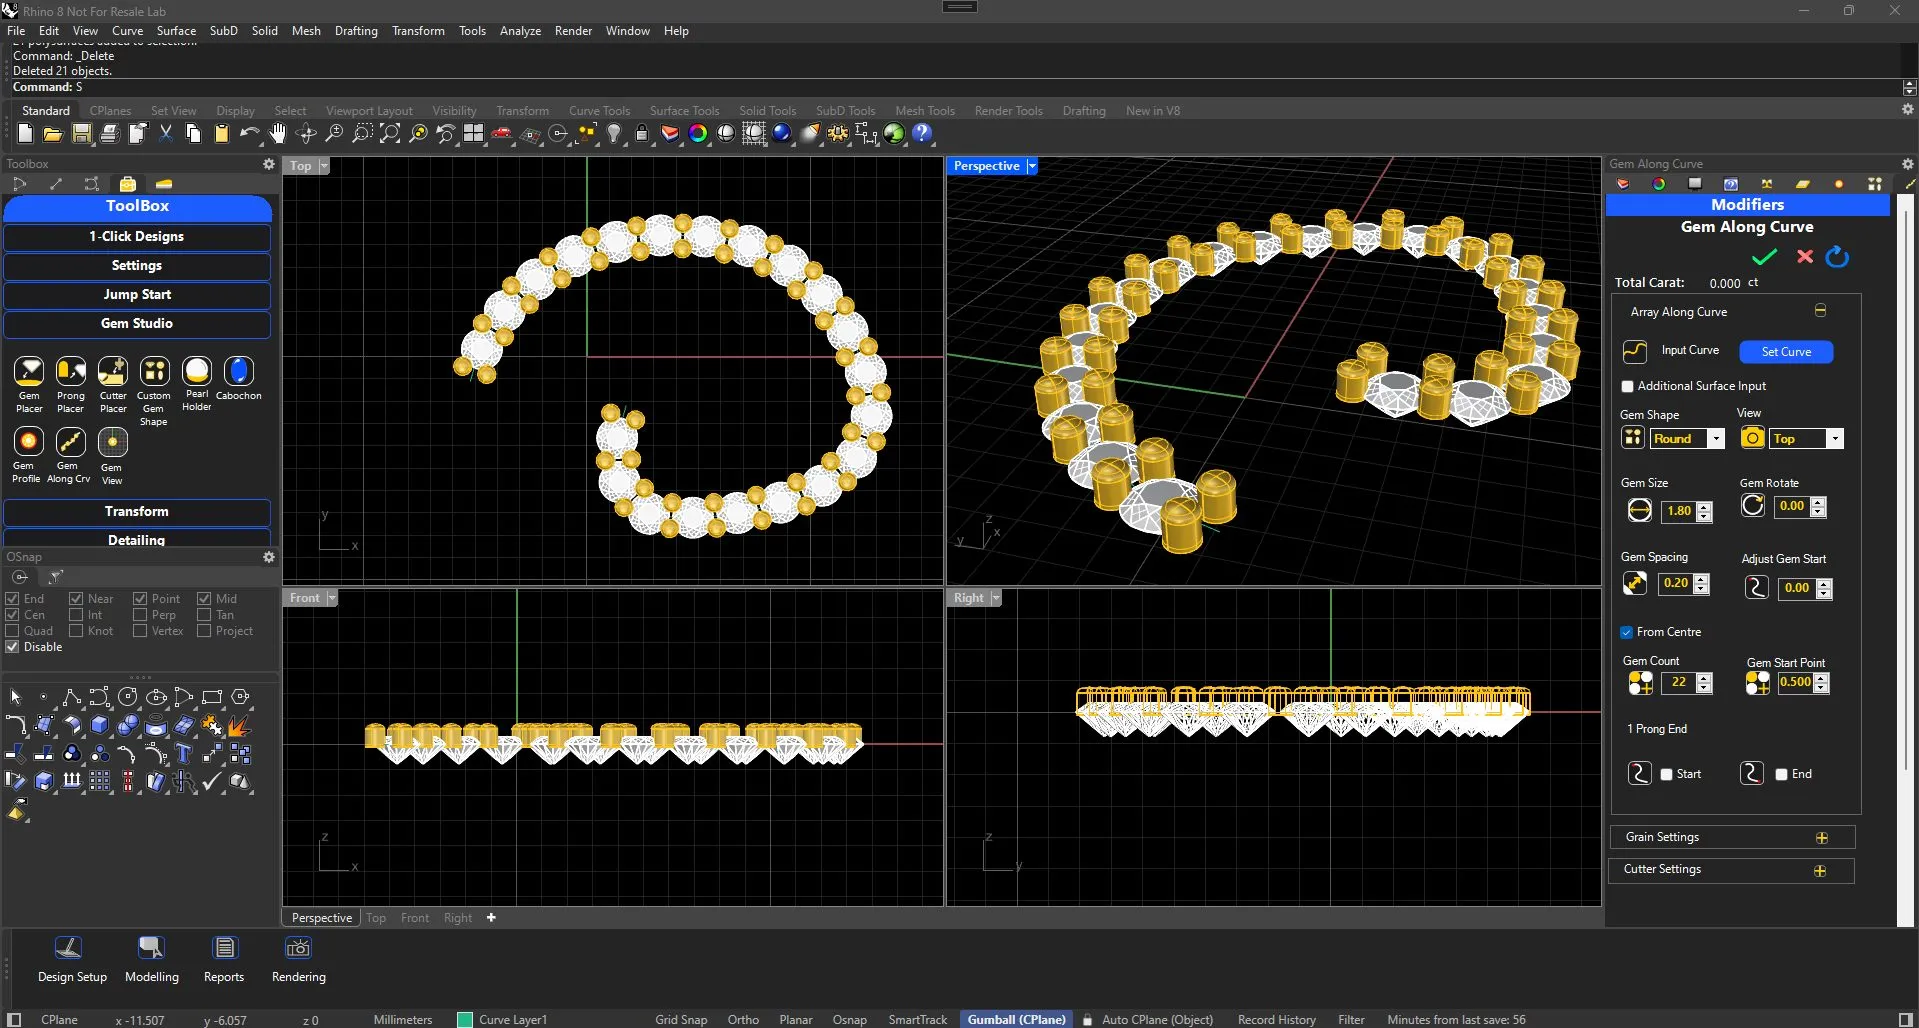
Select the Curve and Gem Shape to set the gems along the curve with grain. You can also bake the output with cutters.
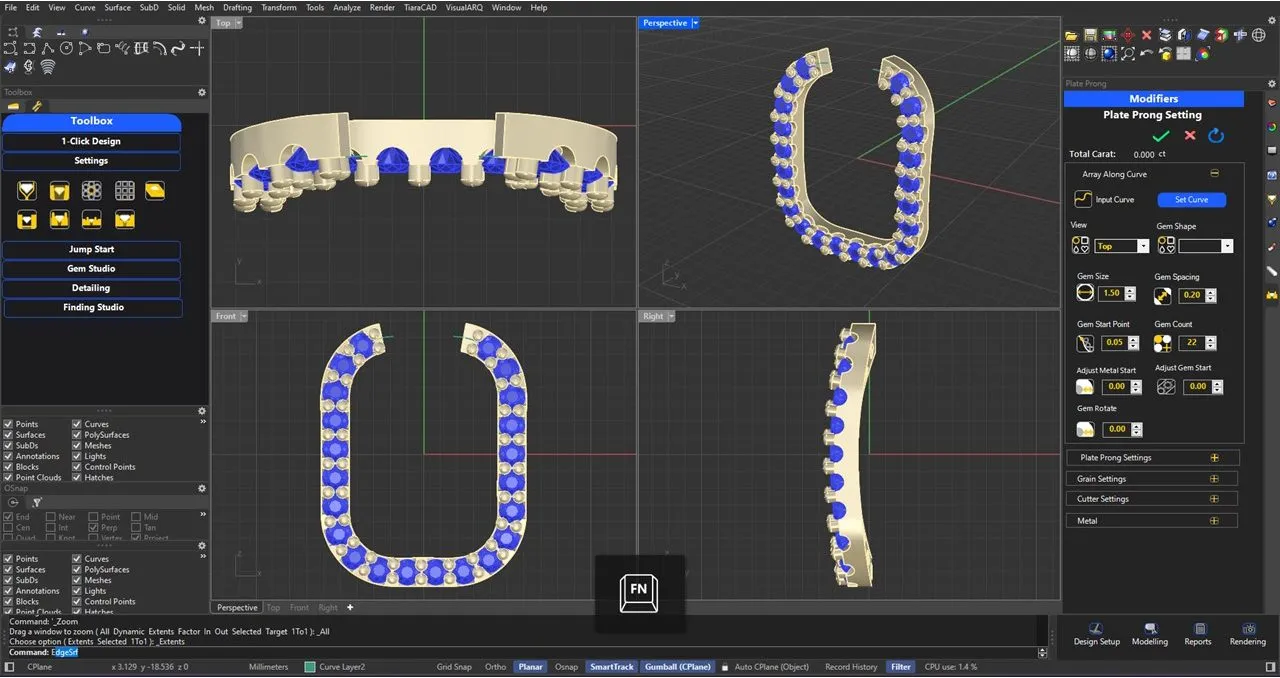
Create completed Plate prong setting just on selection of a curve as per your company standards. This includes the gems set, prongs with correct overlap and cutters all aligned as per the curve. Just choose your desired gem size and count. Plus additional modification on it also available.
Create Micro Prong setting just on selection of a curve. Based on horizontal cutter, cutter along the length of the curve and the cutter to split the metal, the final metal is generated with split prongs at a go. Just choose your desired gem size and count.
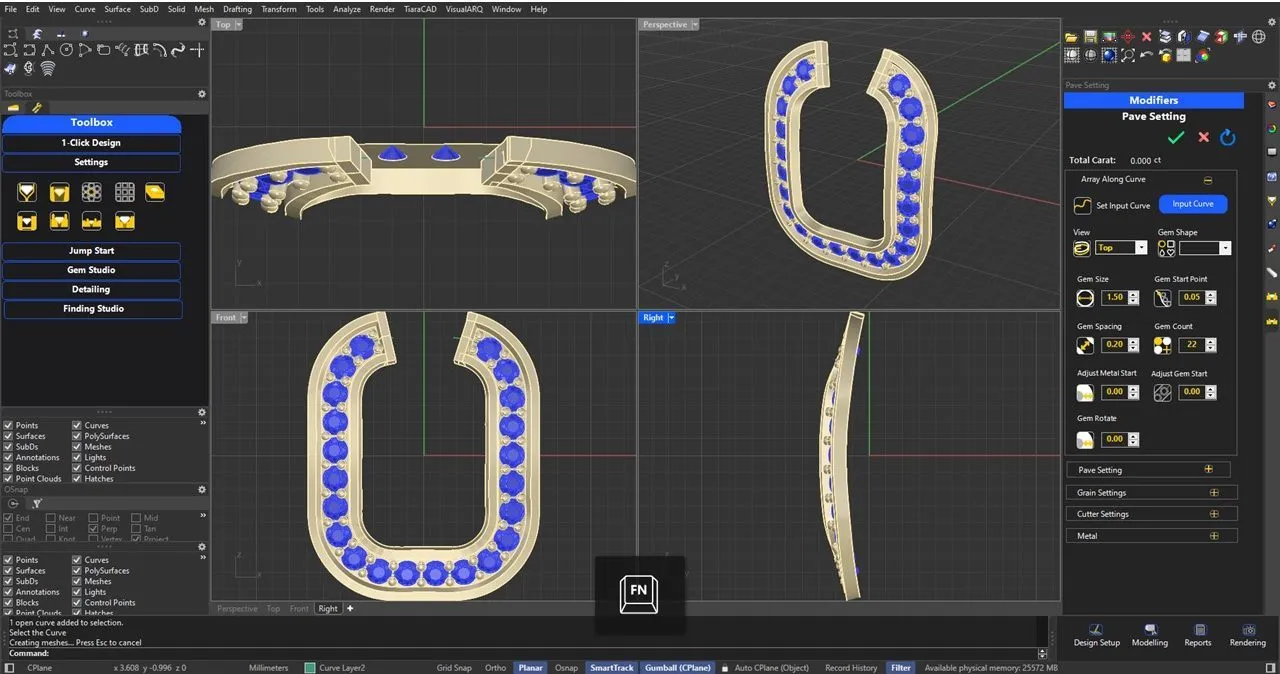
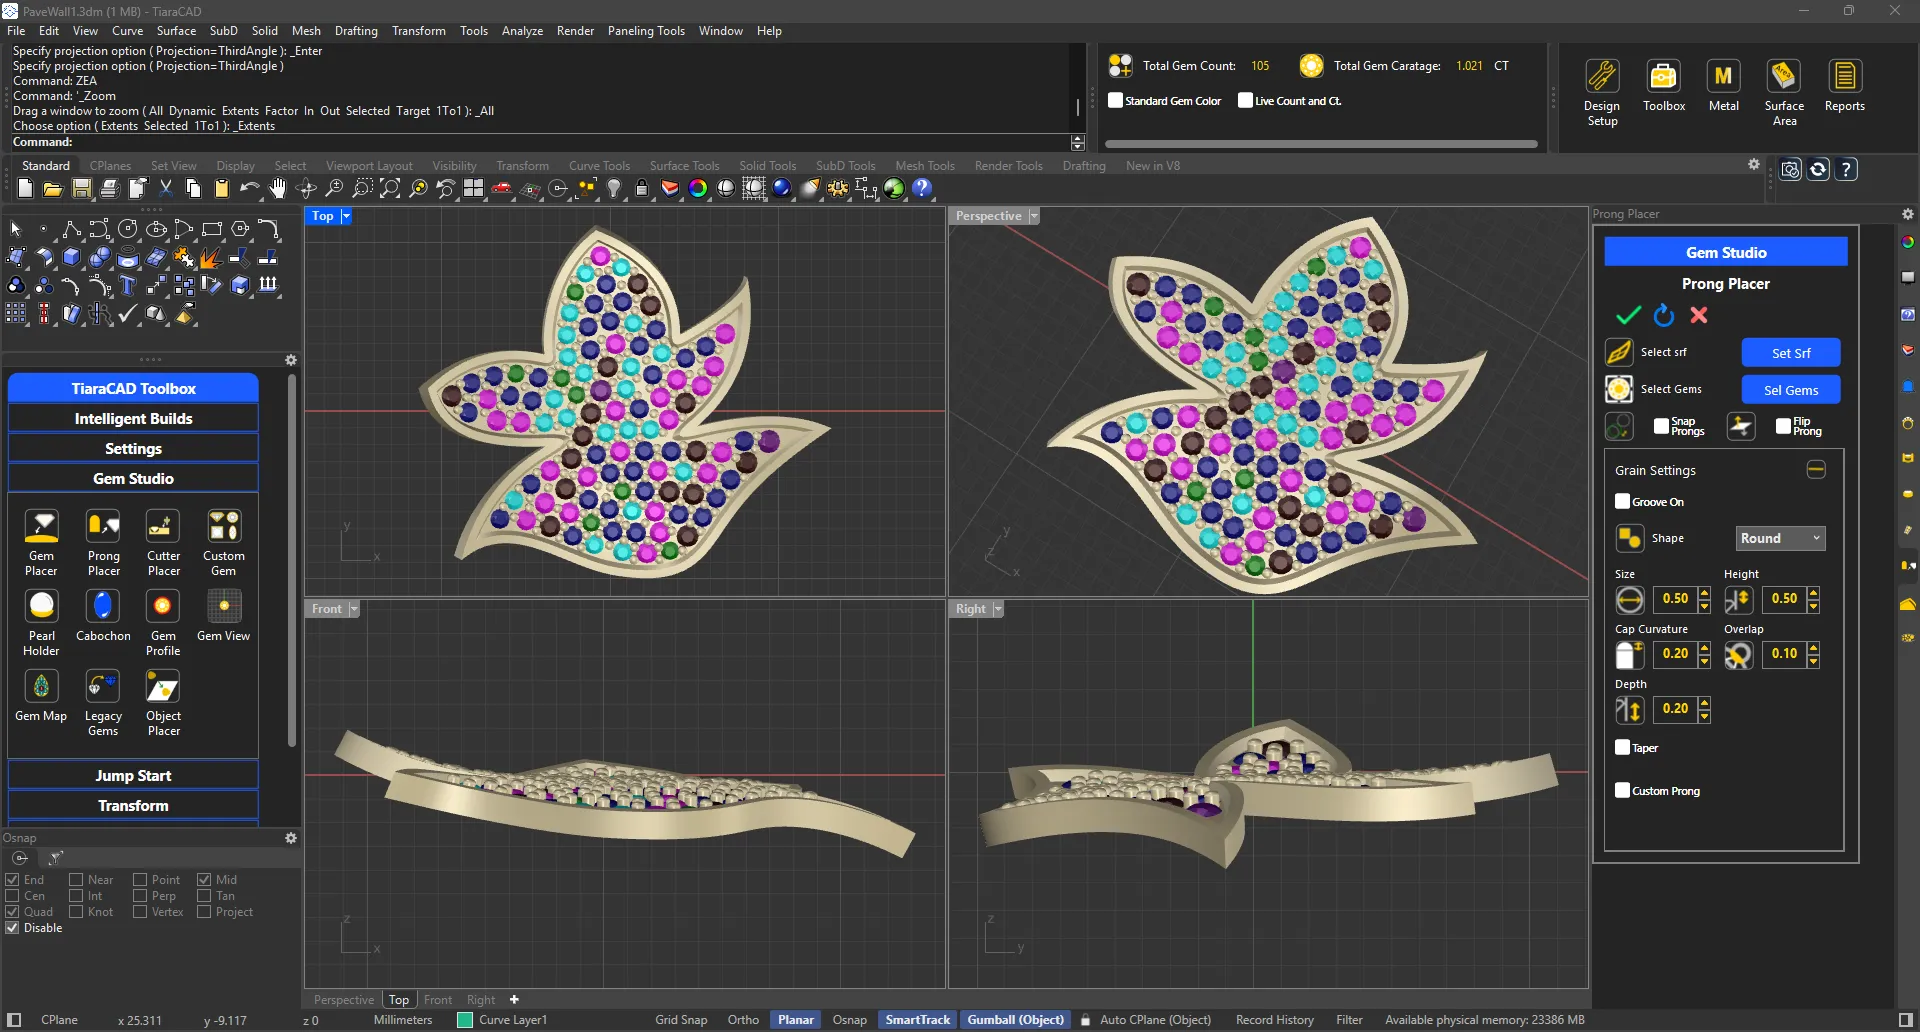
Just select 1 curve and find the entire pavé set on the curve, complete with the desired wall thickness, depth of pavé and cutters in one go. Just modify your gem size and count as per your design and carat weight.
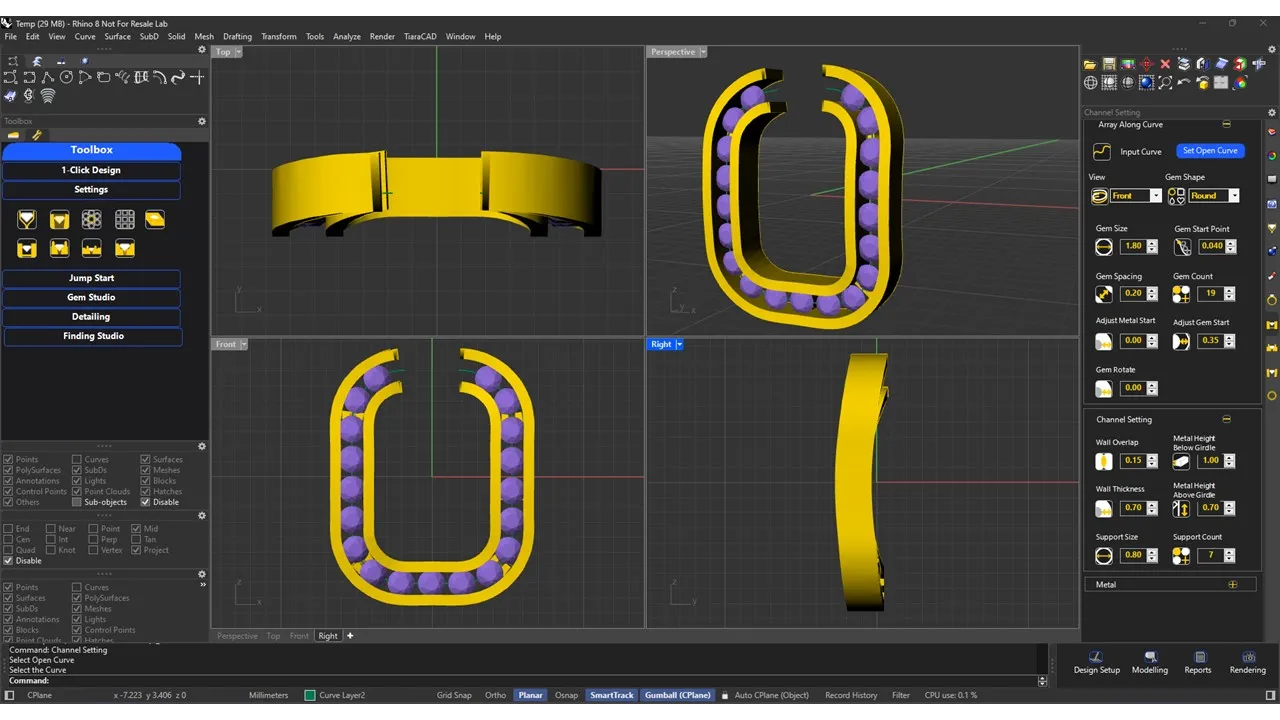
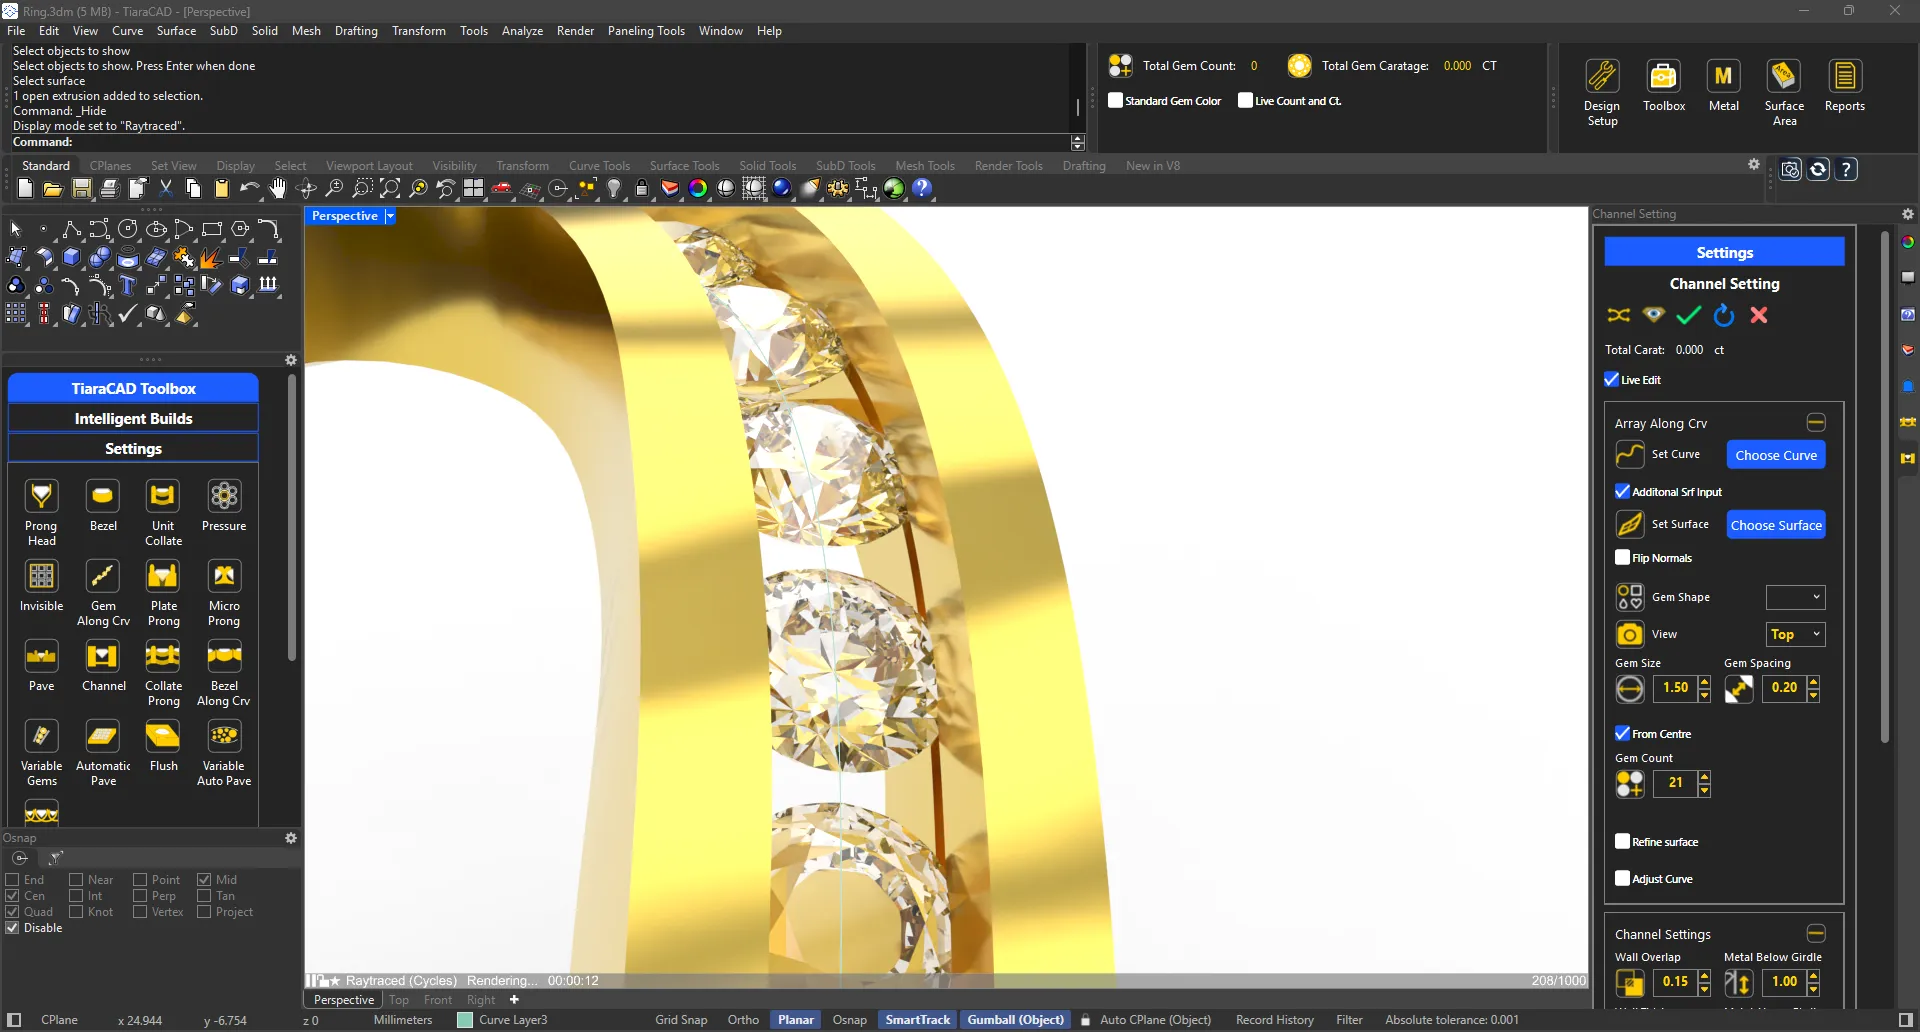
Select a curve, shape and size of gem and get a channel setting created ready as per your company standards. Modify the ends, number of gem and number of supports as required.
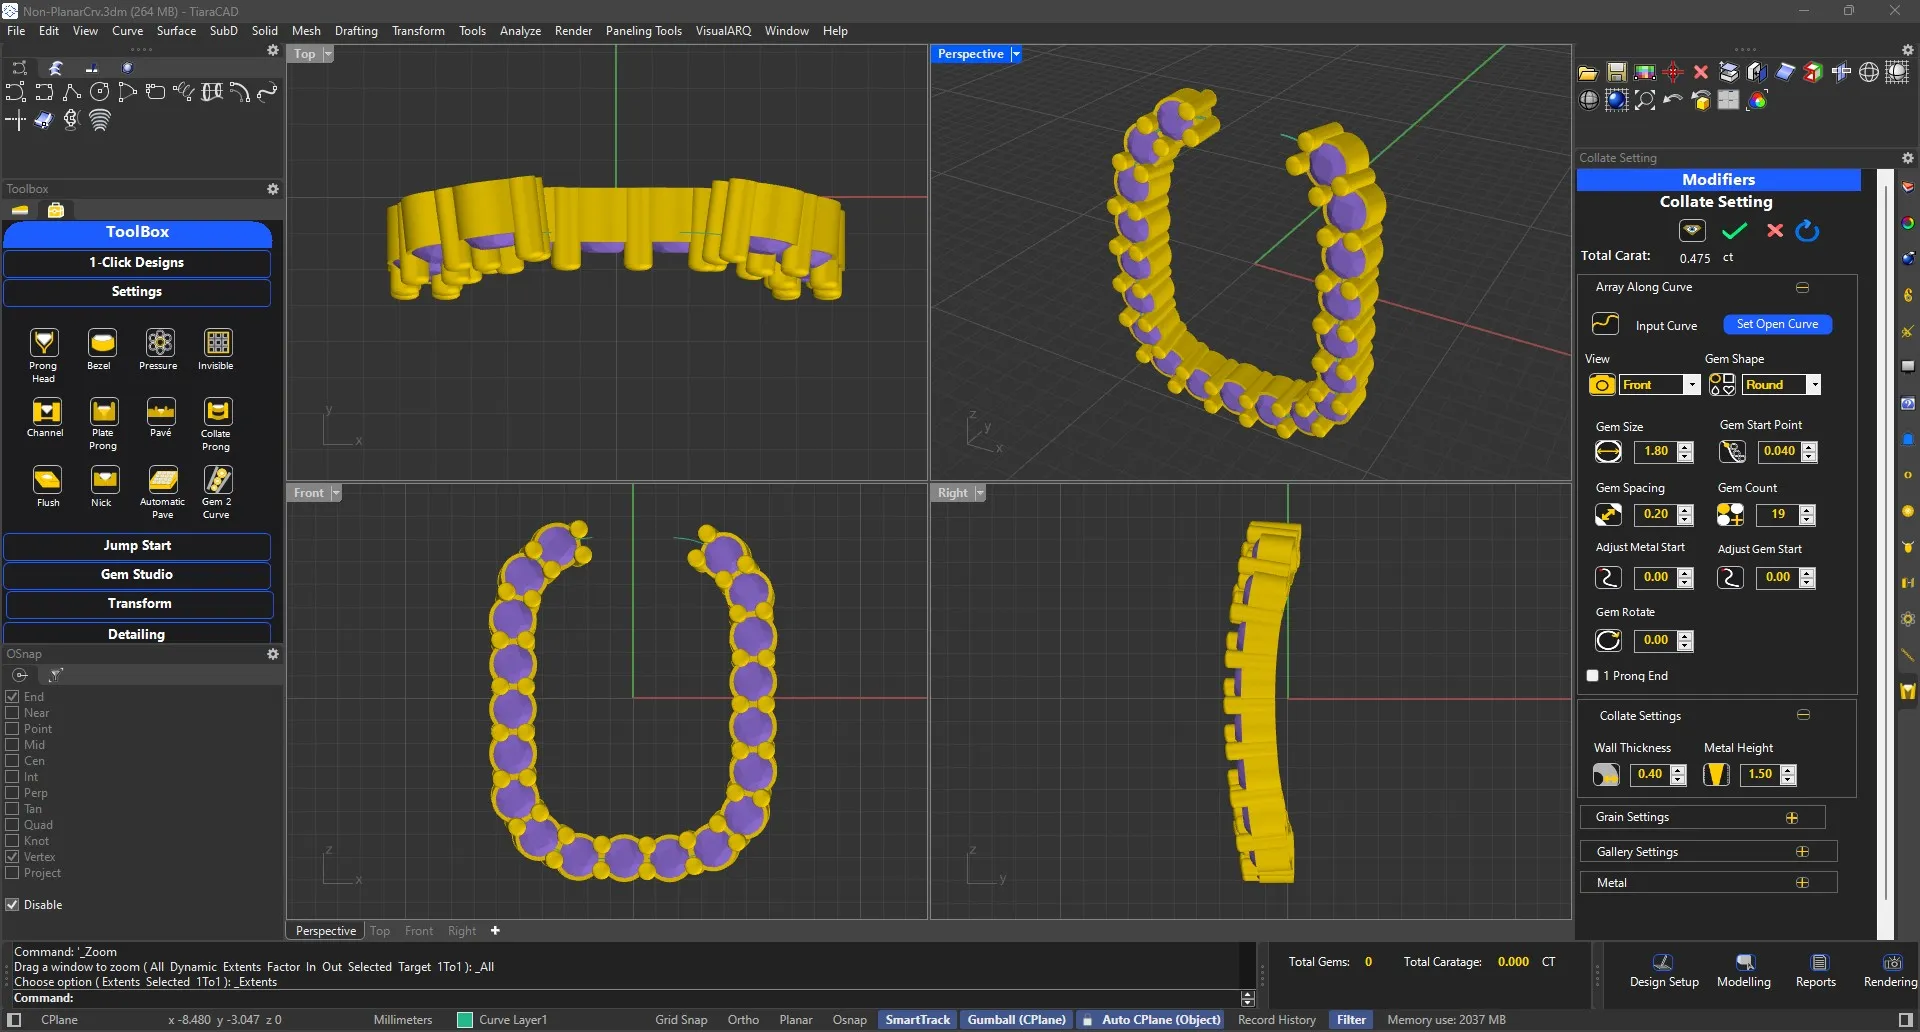
Choose your curve and size of gem to complete the Collate setting.
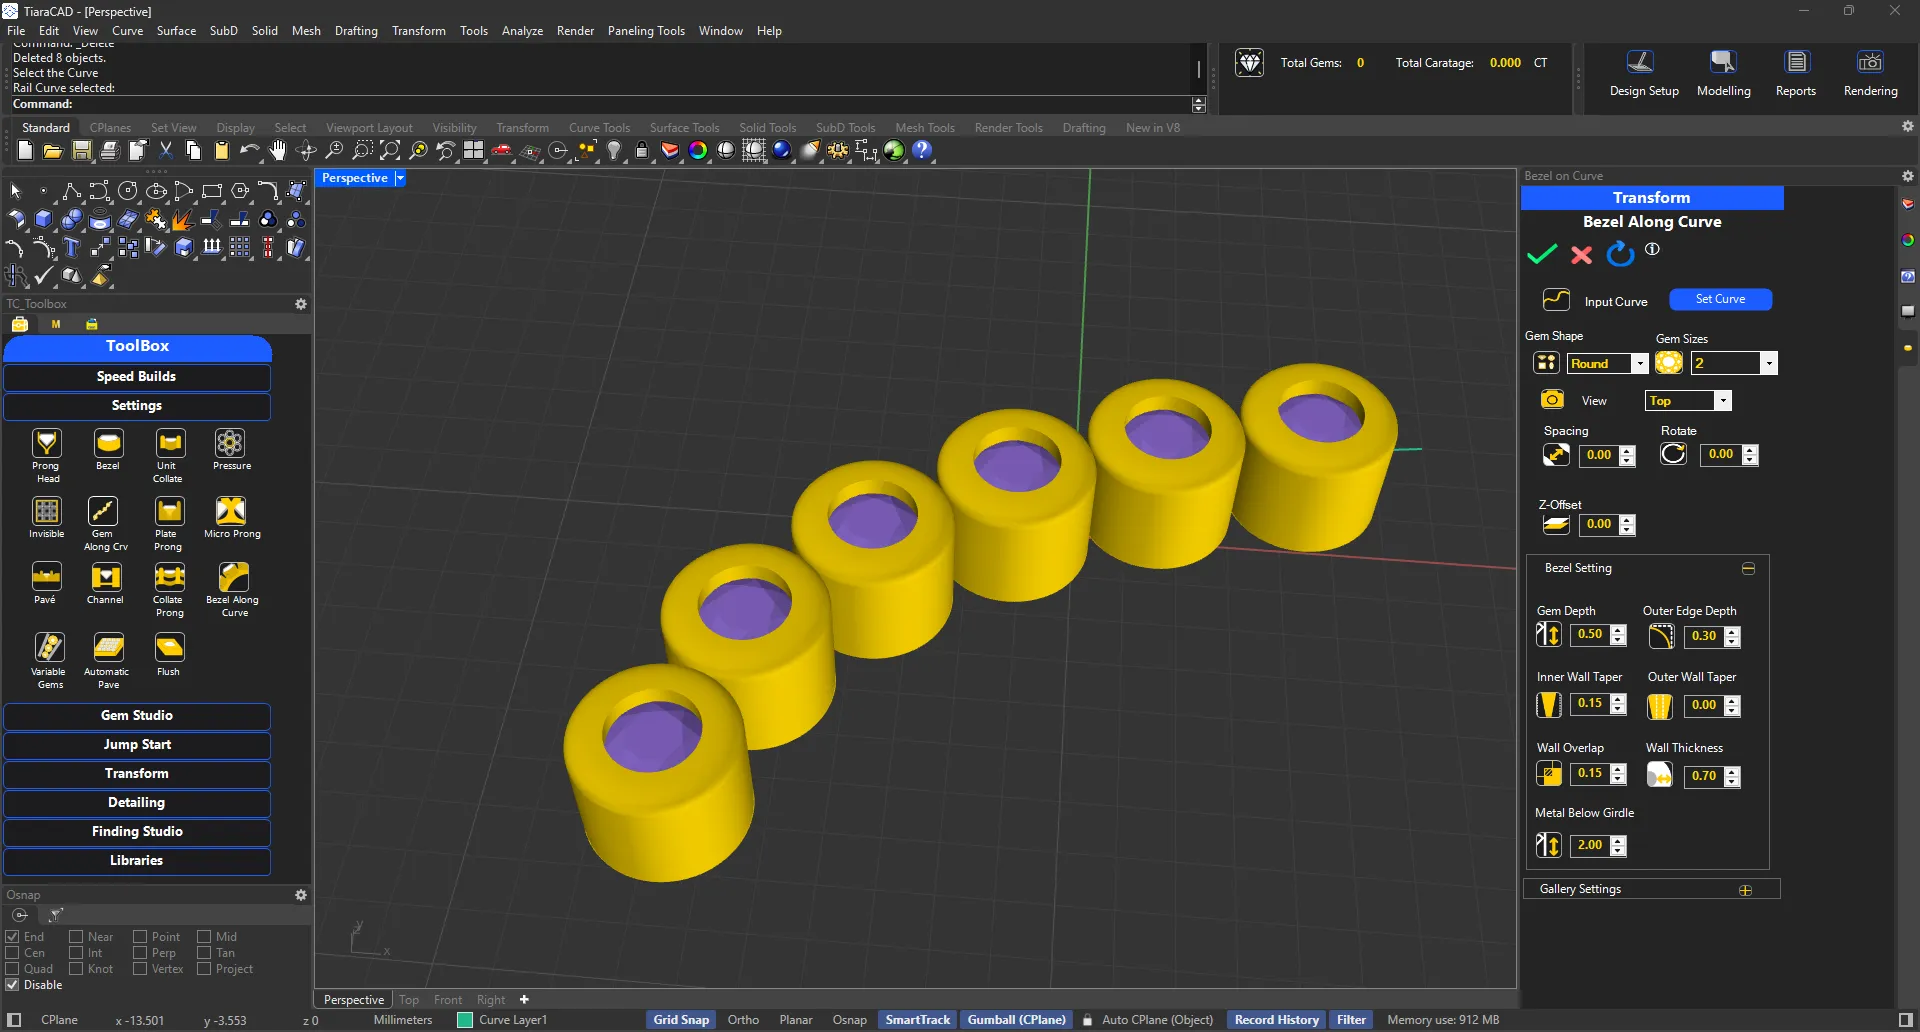
Choose a curve and size and shape of gems to get an array of bezels to complete the setting. Adjust overlap as per design.
Opt for variable gems either on 1 curve or between 2 curves. Either case, choose the setting type. Specify the min and max diamond sizes desired. The gem sizes will be picked up only from the available gems in your charts. Activate variable prongs as well is required.
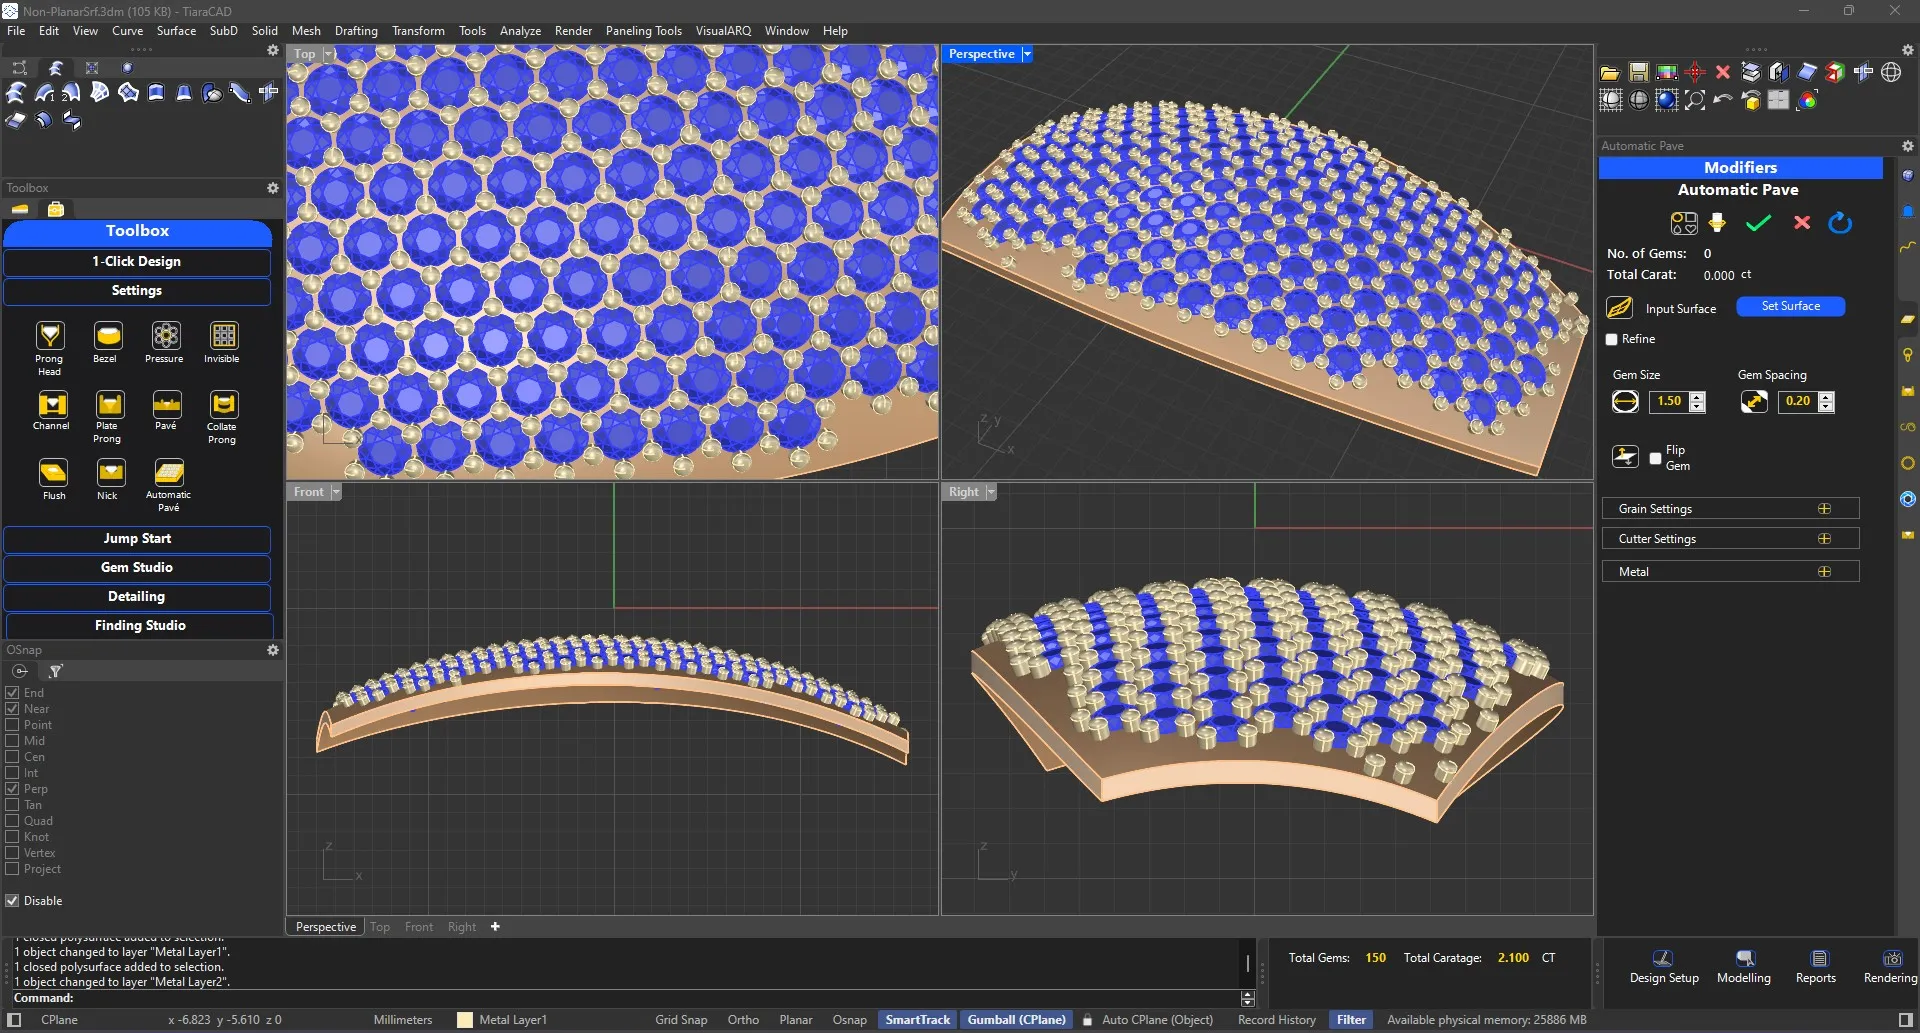
Choose your surface and specify the optimum gem size to place the diamonds as accurately as possible in minimum time.
Select a point on the surface to generate a drill for the gem size and shape.
This allows you to choose stones between certain sizes so that the best possible combinations are generated for you. 90% of stone placement is done well.
Select a curve, shape and size of gem and choose between 1, 1.5 and 2 options of trellis setting.
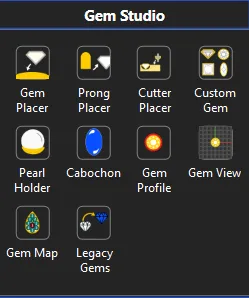
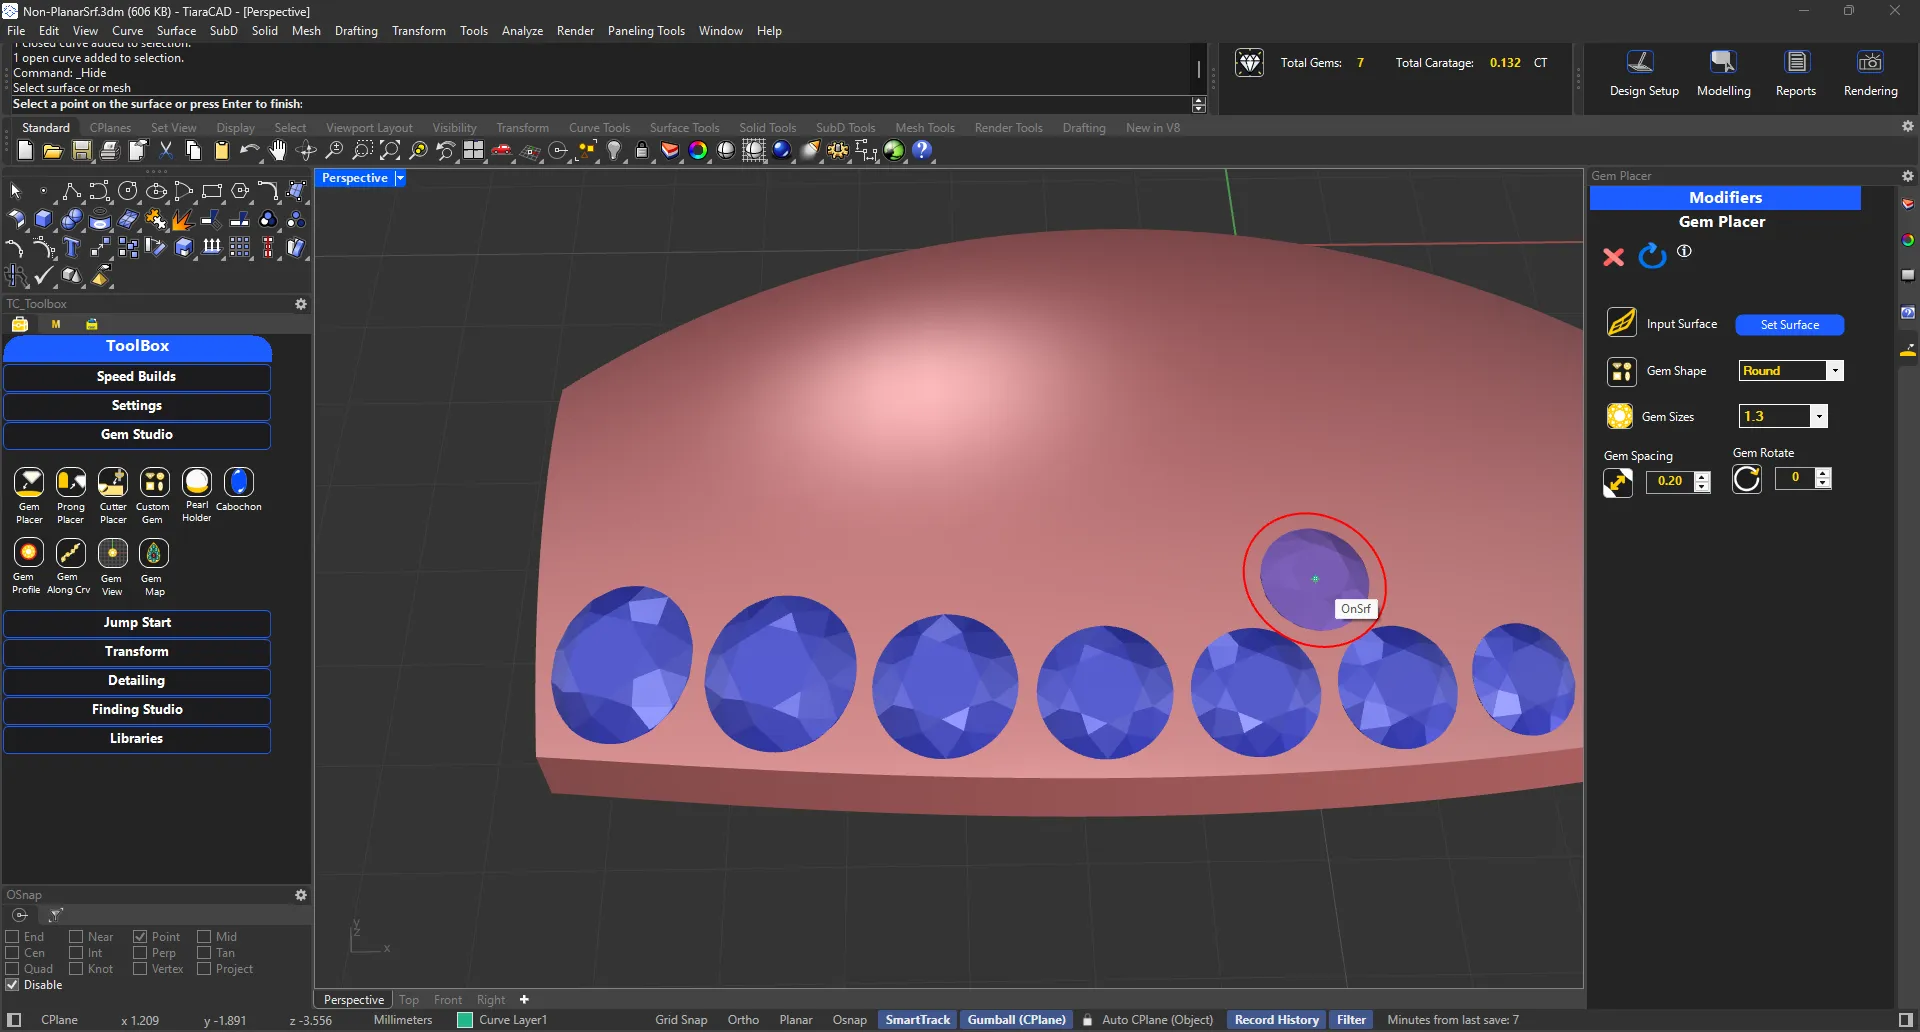
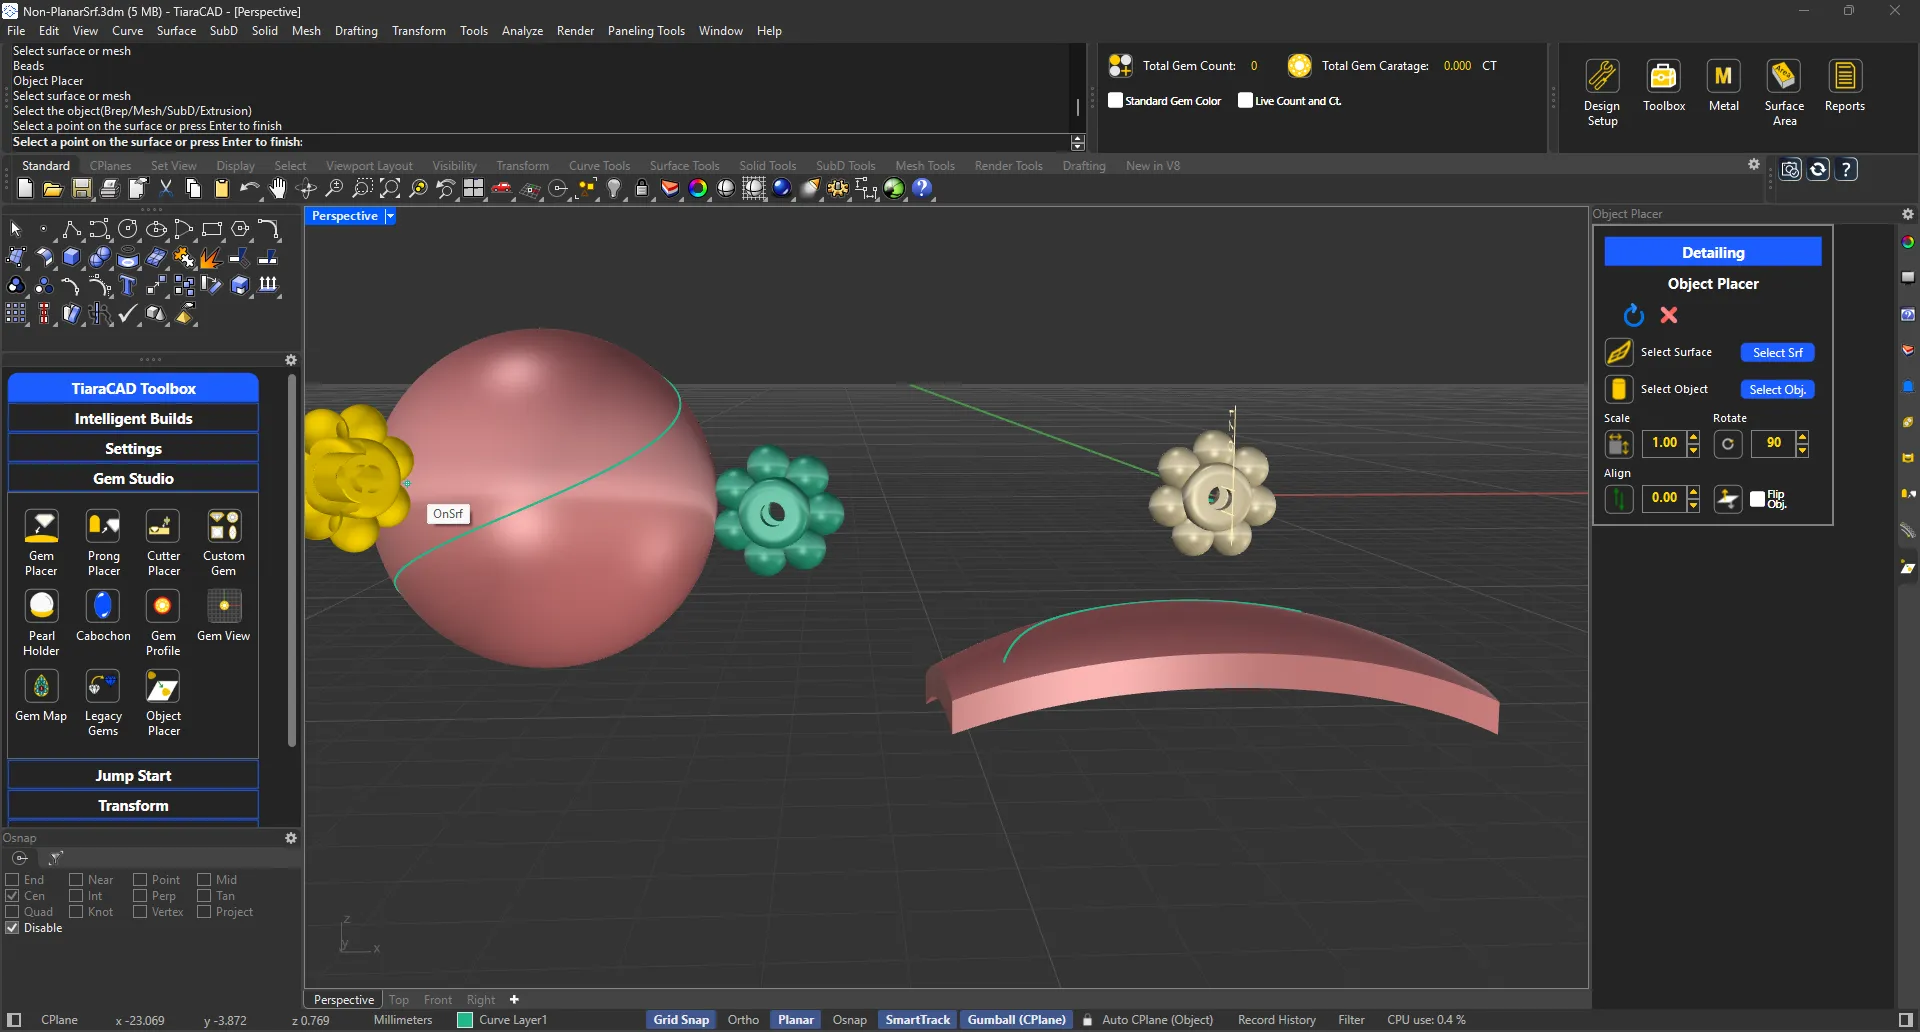
To place gems individually on a surface of a mesh, choose the preferred size of round gem and click on the surface / mesh. Each gem will come with a distancing offset for easy management. Use 'Q' or 'E' to modify gem sizes as you go along. Only those sizes in the gem chart will be used.
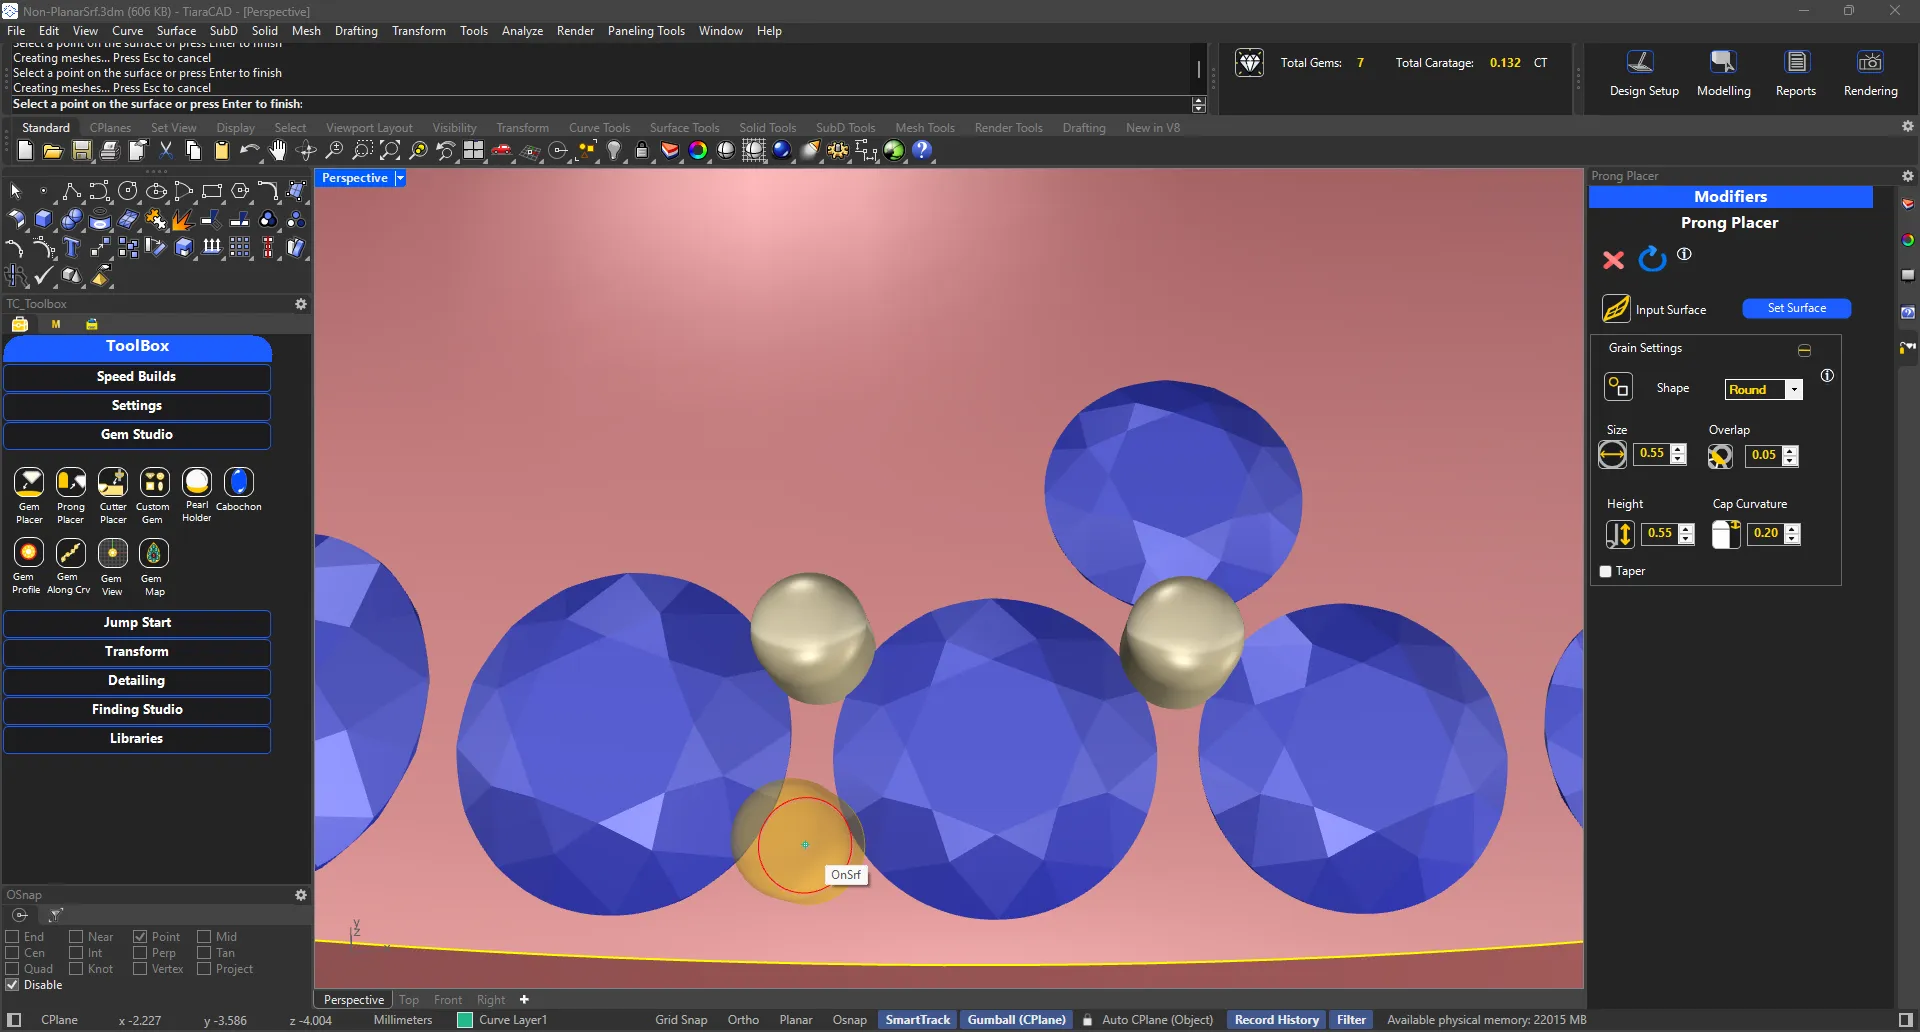
Select surface or mesh as required. Specify the grain size. An offset indicating overlap is displayed for easy management with gems.
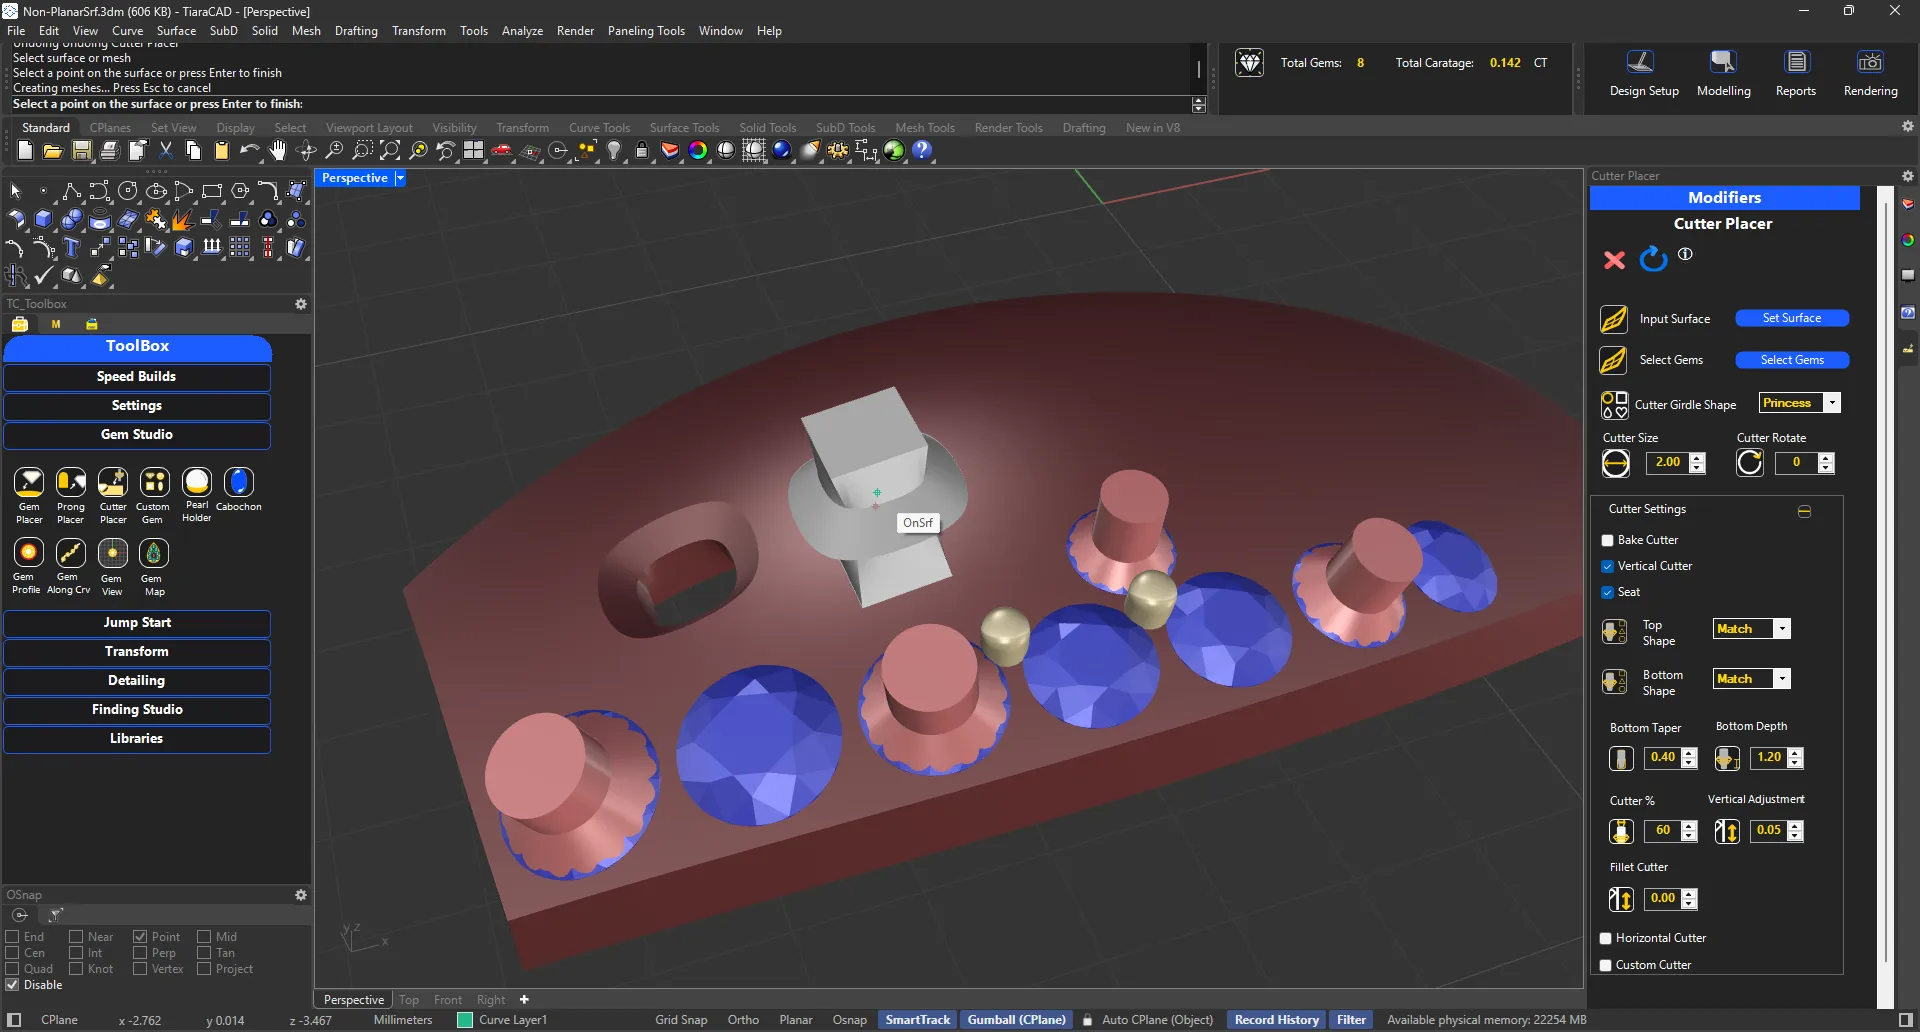
Cutter Placer allows you to select gems and create cutters for each. It also allows you to place only cutter on surface if desired.
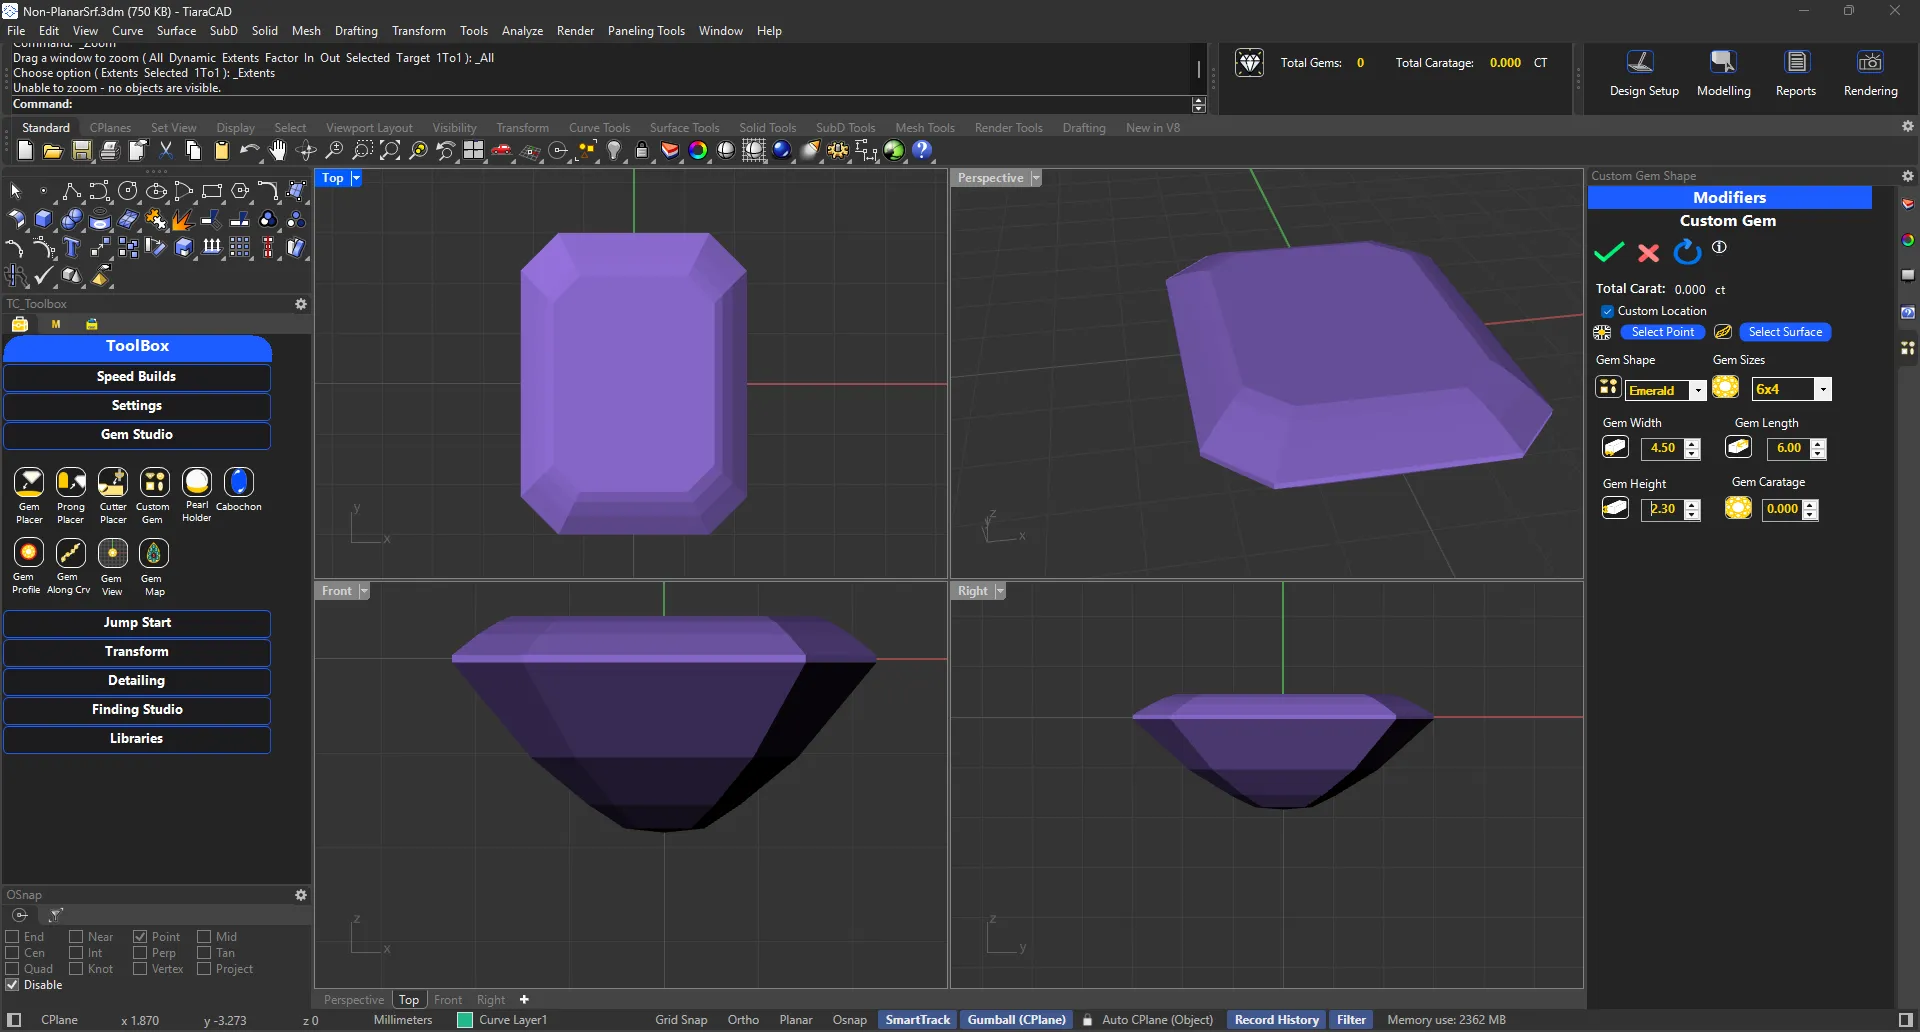
To modify a gem based on non-proportional dimensions, use custom gem shapes.
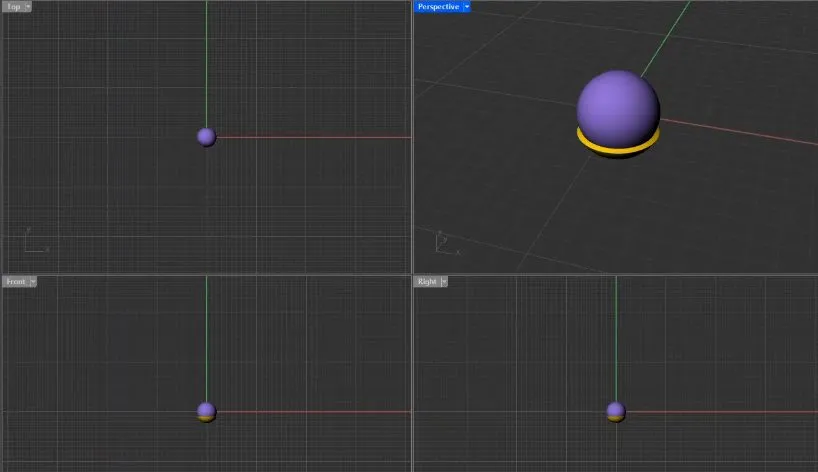
Get a Pearl Holder in just one click. You can then change the diameter of pearl or dimensions of holder to your standards.
Choose any gem shape and your setting type to get the desired cabochon cut.
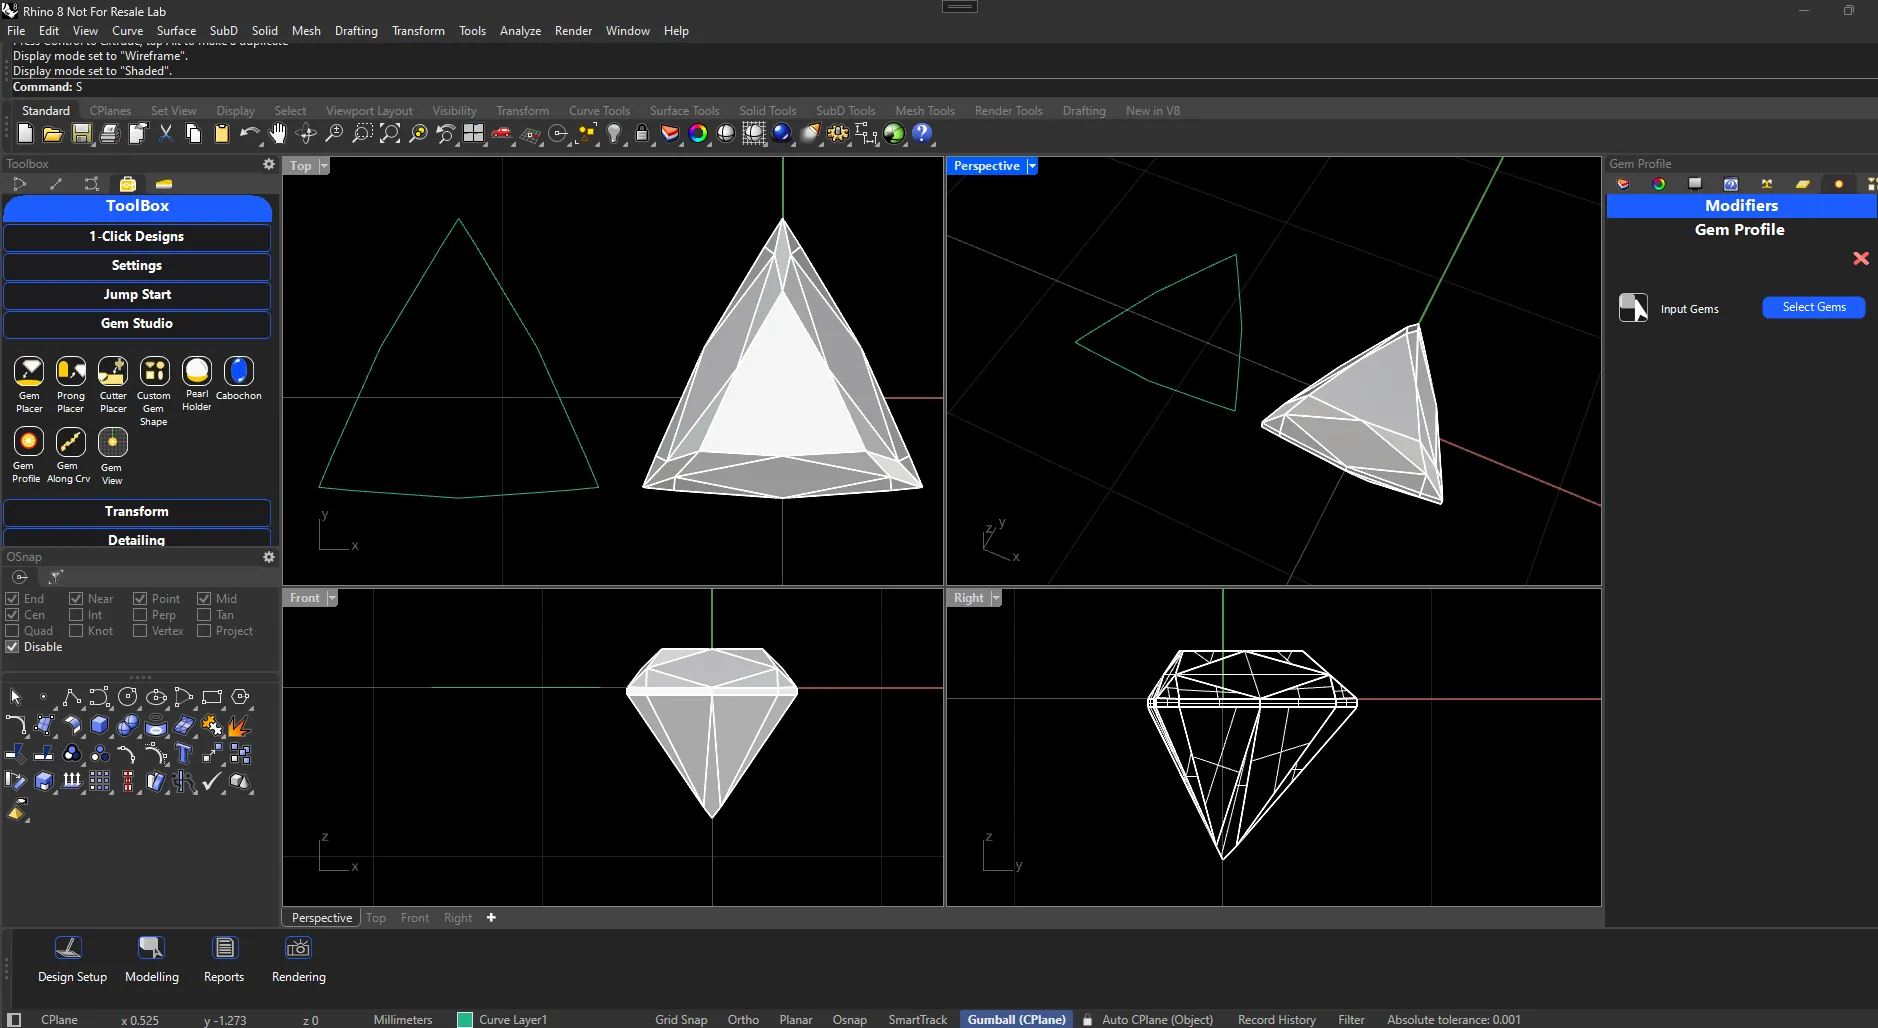
Select the gem and you will get its profile curve created immediately.
Gem view allows you to choose a gem and it is placed in the center with the Construction Plane aligned to the gem.
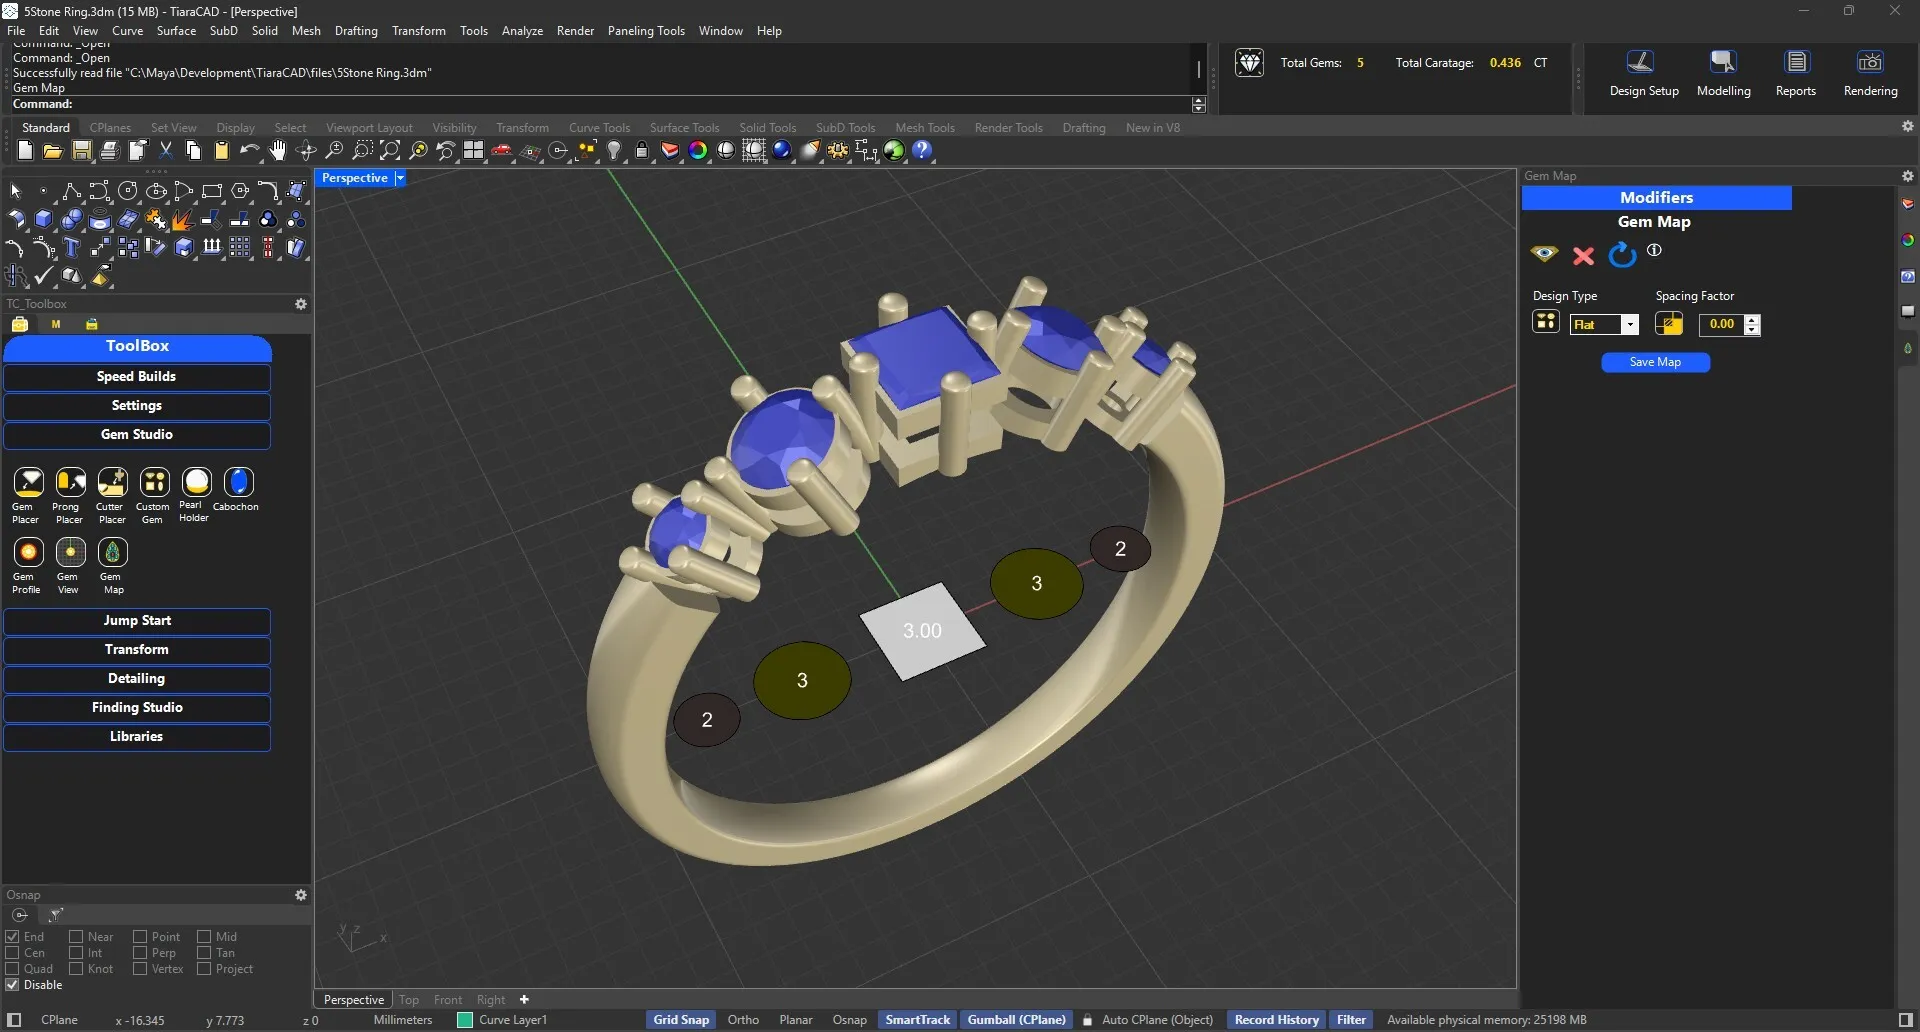
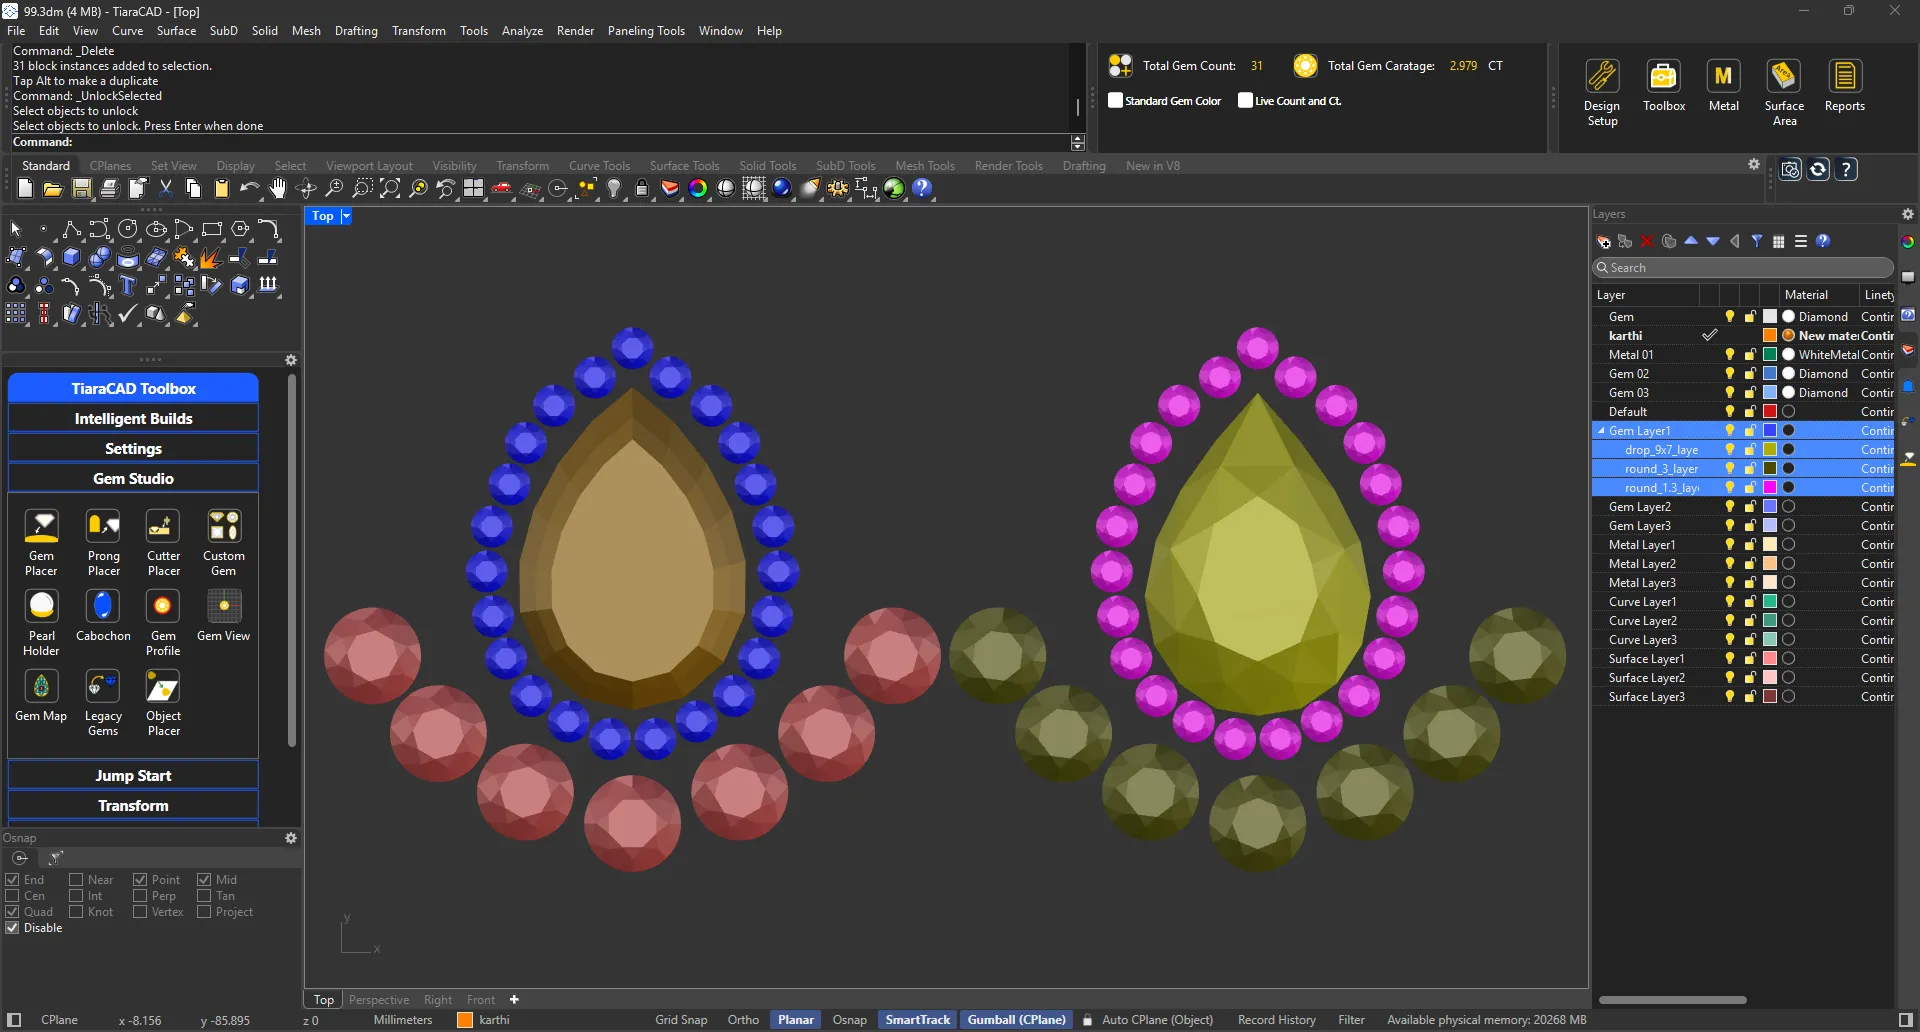
Choose a flat, ring or in-place option to place the outlines of gem with customised colors on the grid. You can also create legend with a click. Print the Gem map with legend as a PDF or Print map as an image for your perusal.
Convert unaltered older gems from earlier files to TiaraCAD gems for fast calculations.
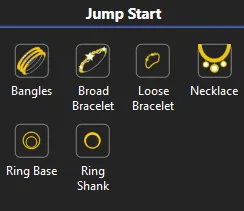
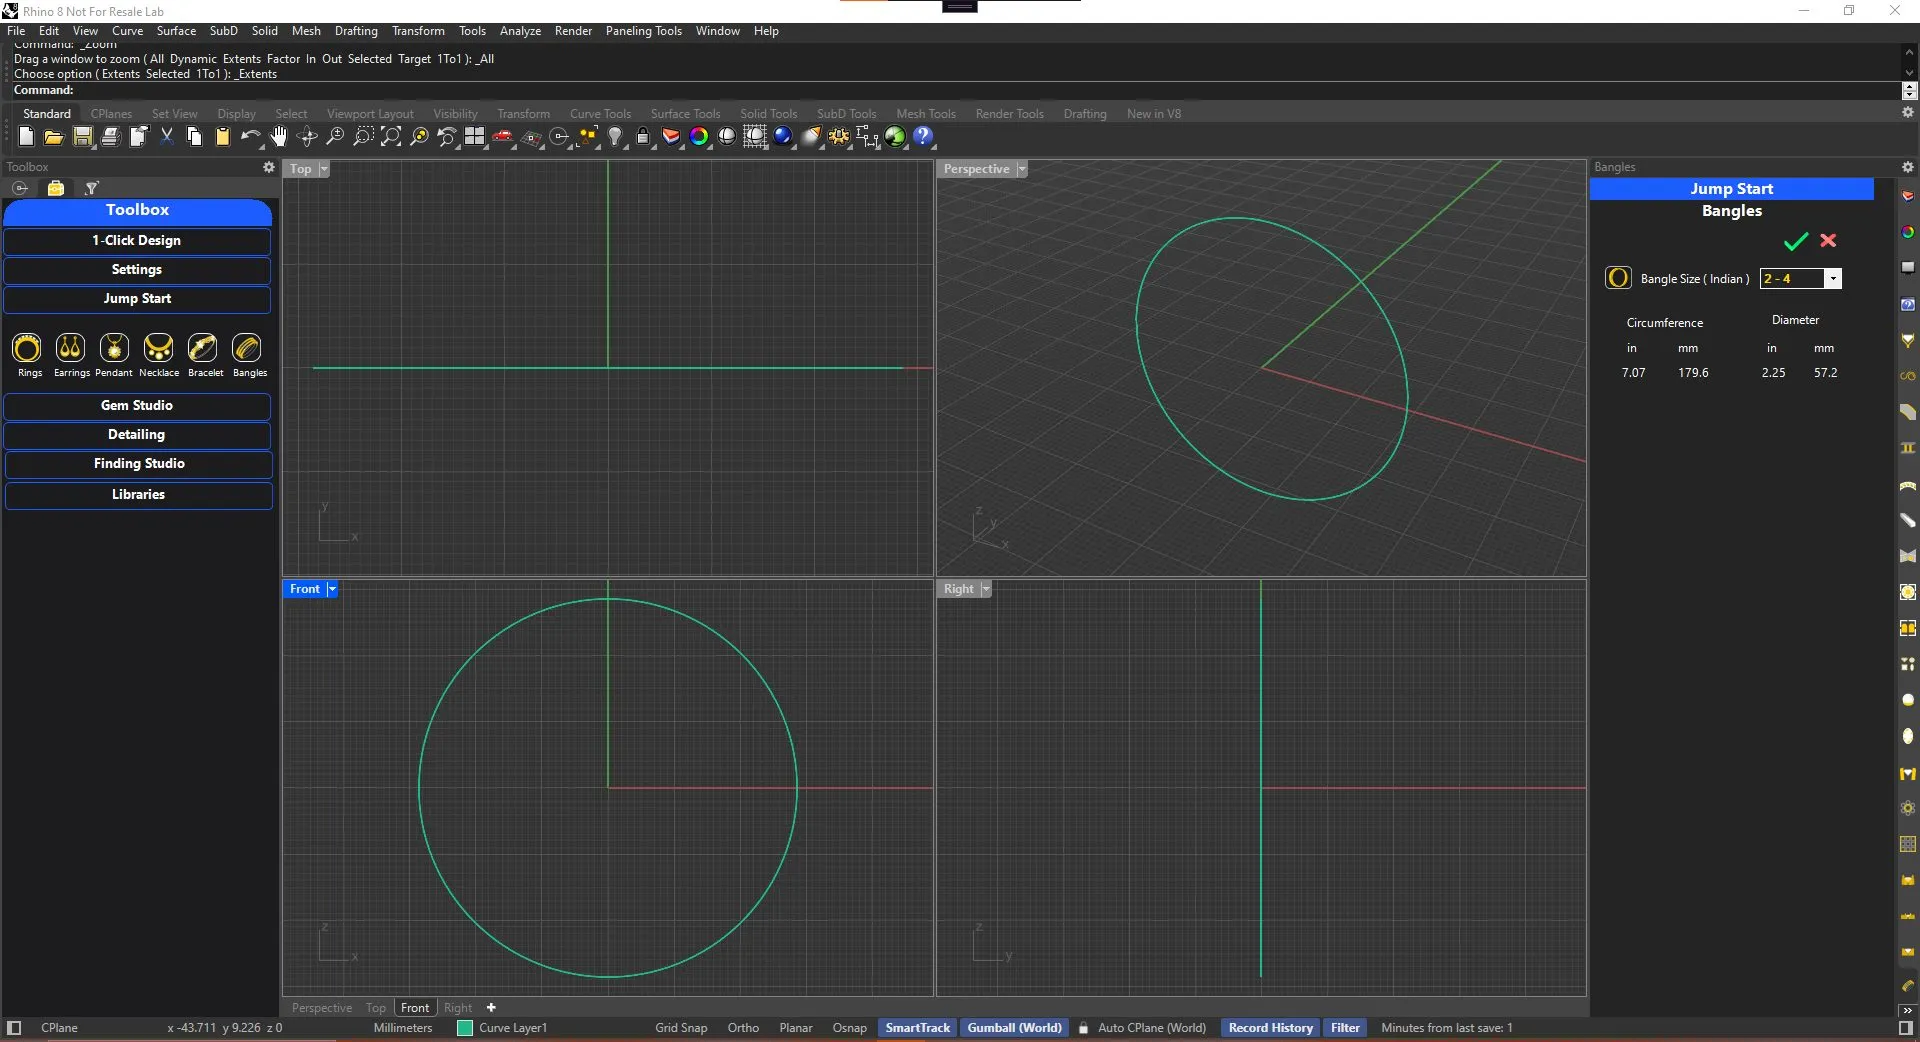
Convenient use of ready sizes while creating bangles.
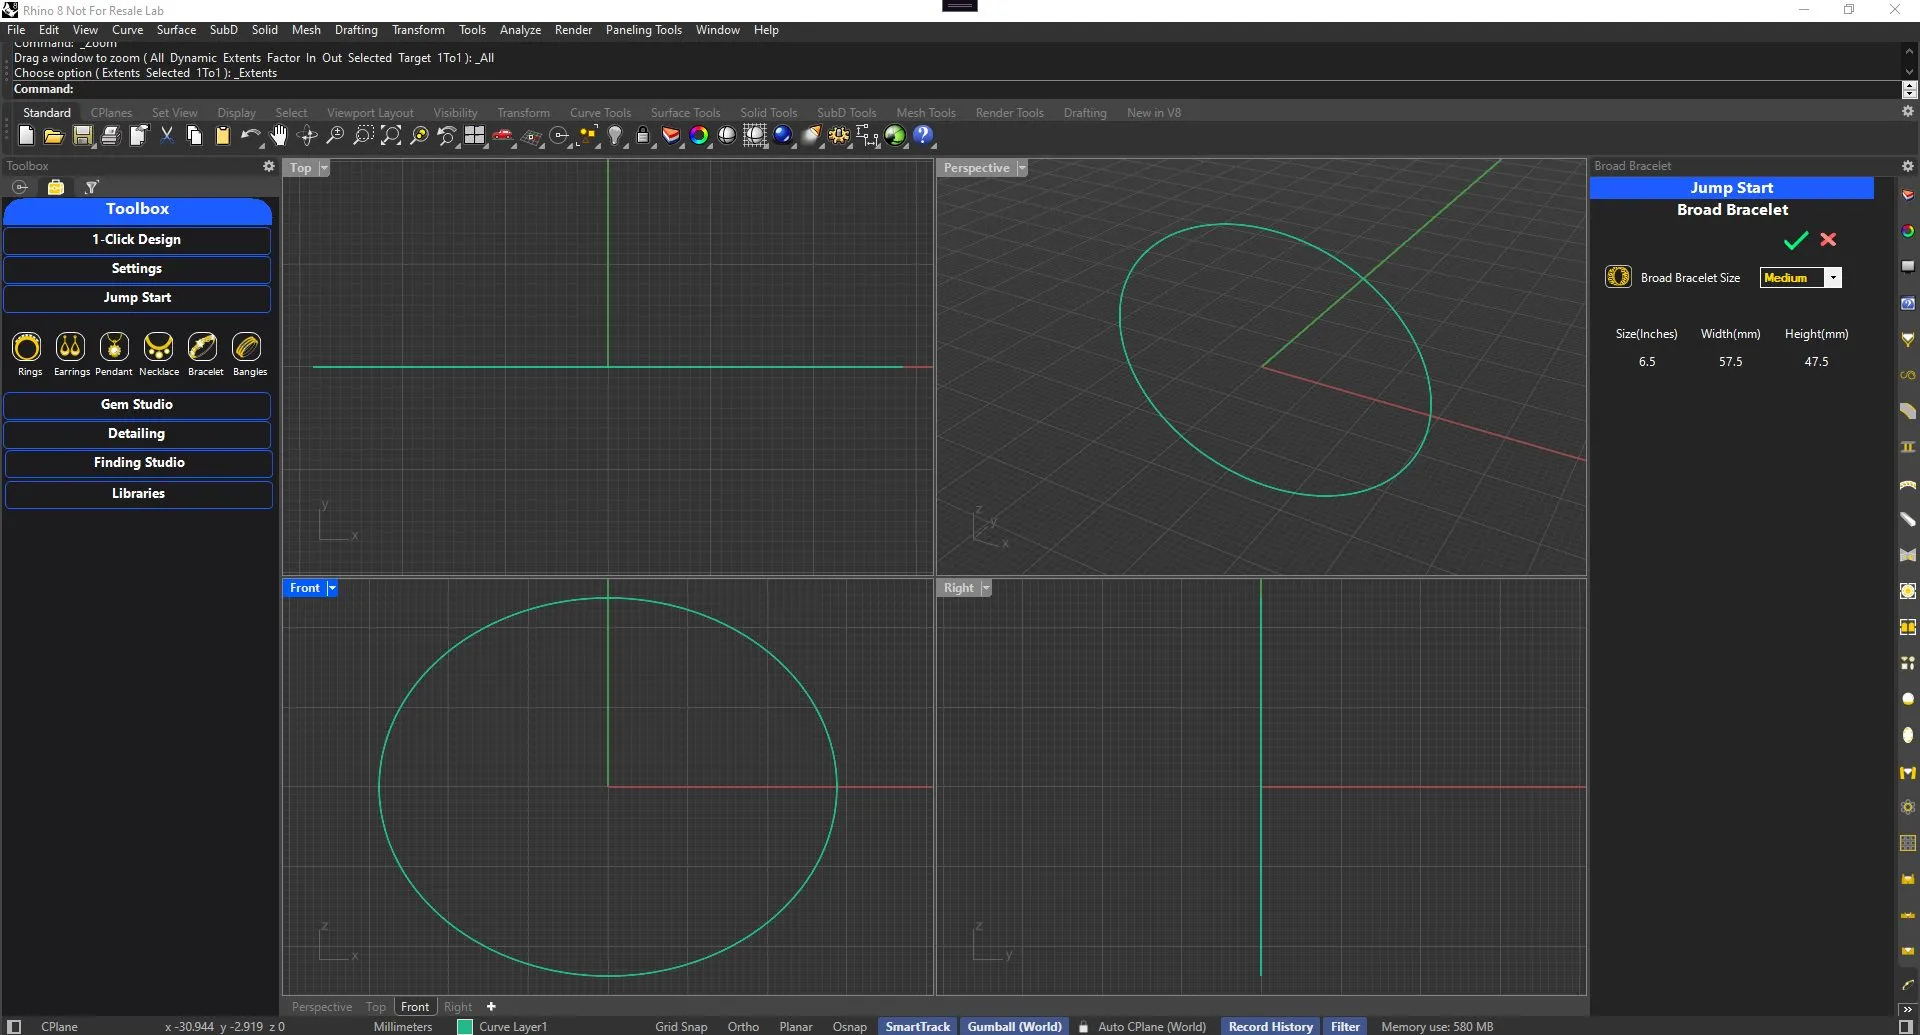
Standard Elliptical sizes for convenient creation of Broad Bracelets
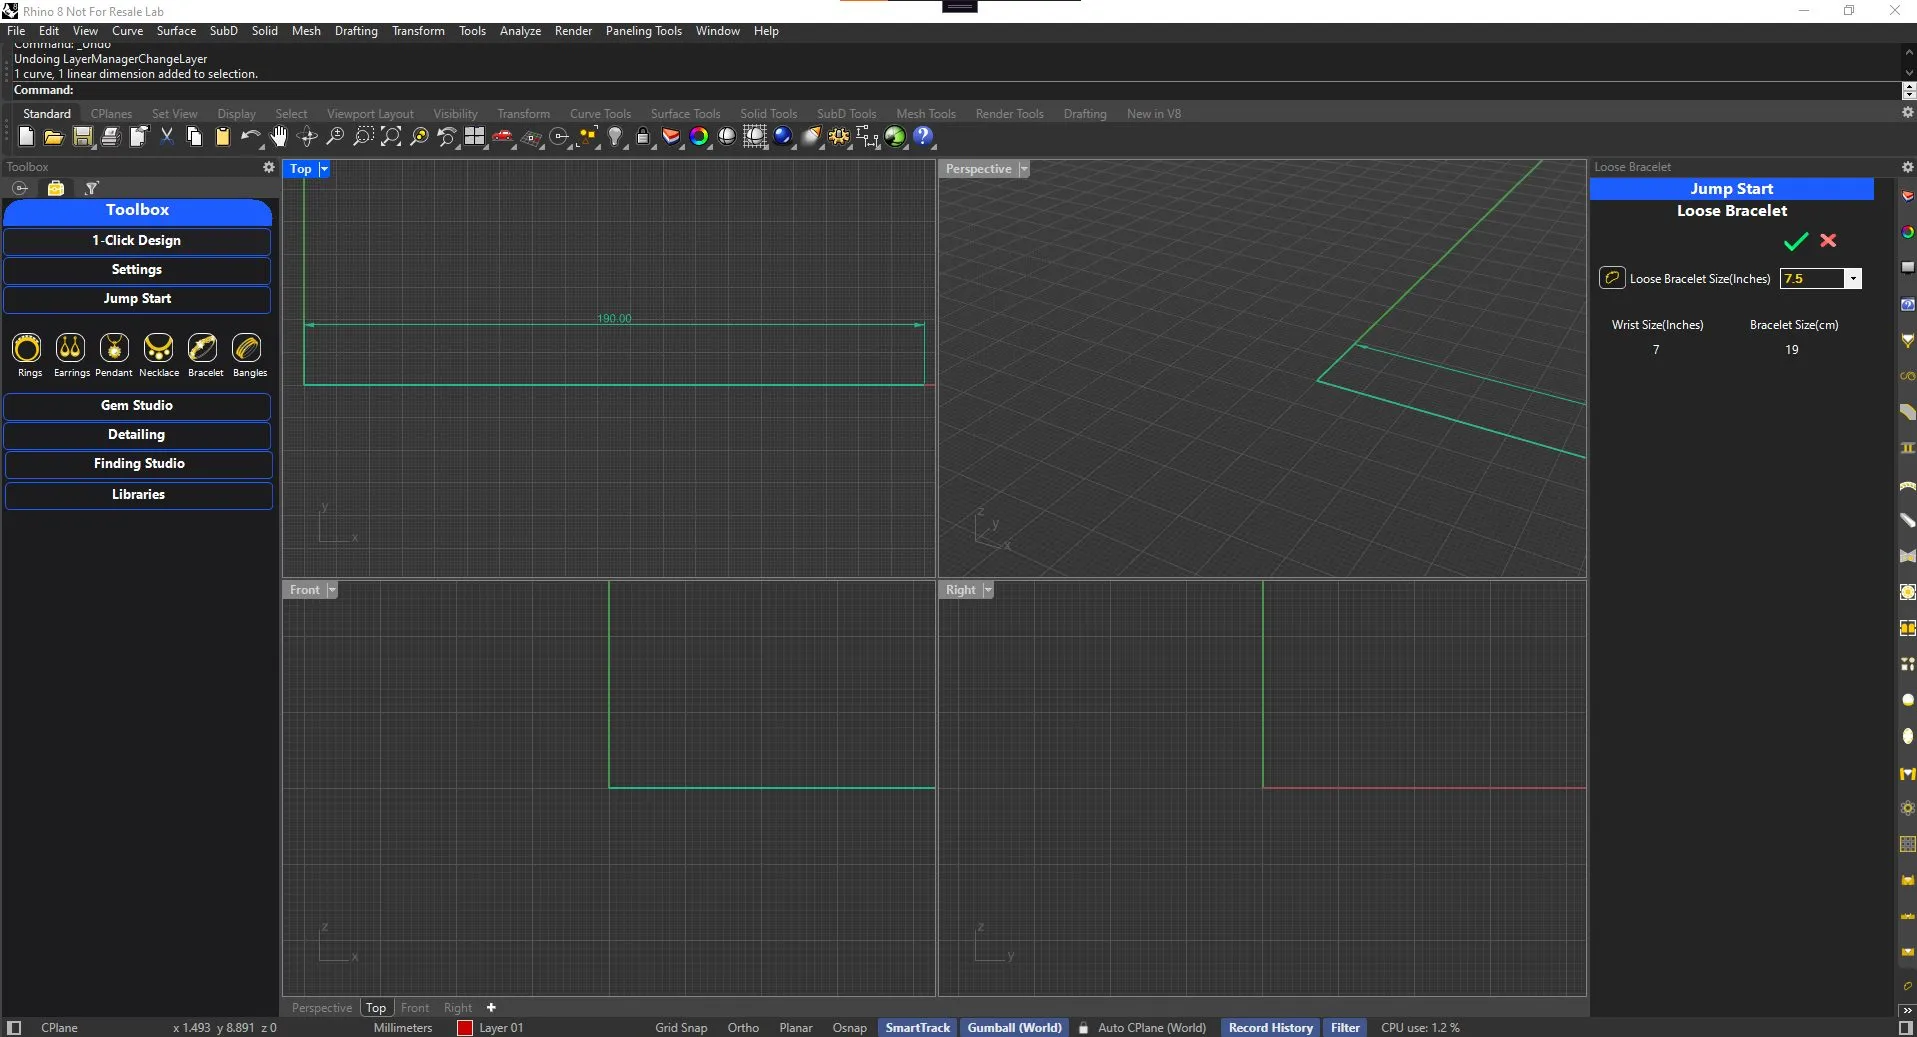
Standard sizes that can be pulled up to a straight line for creation of parts and checking the total size.
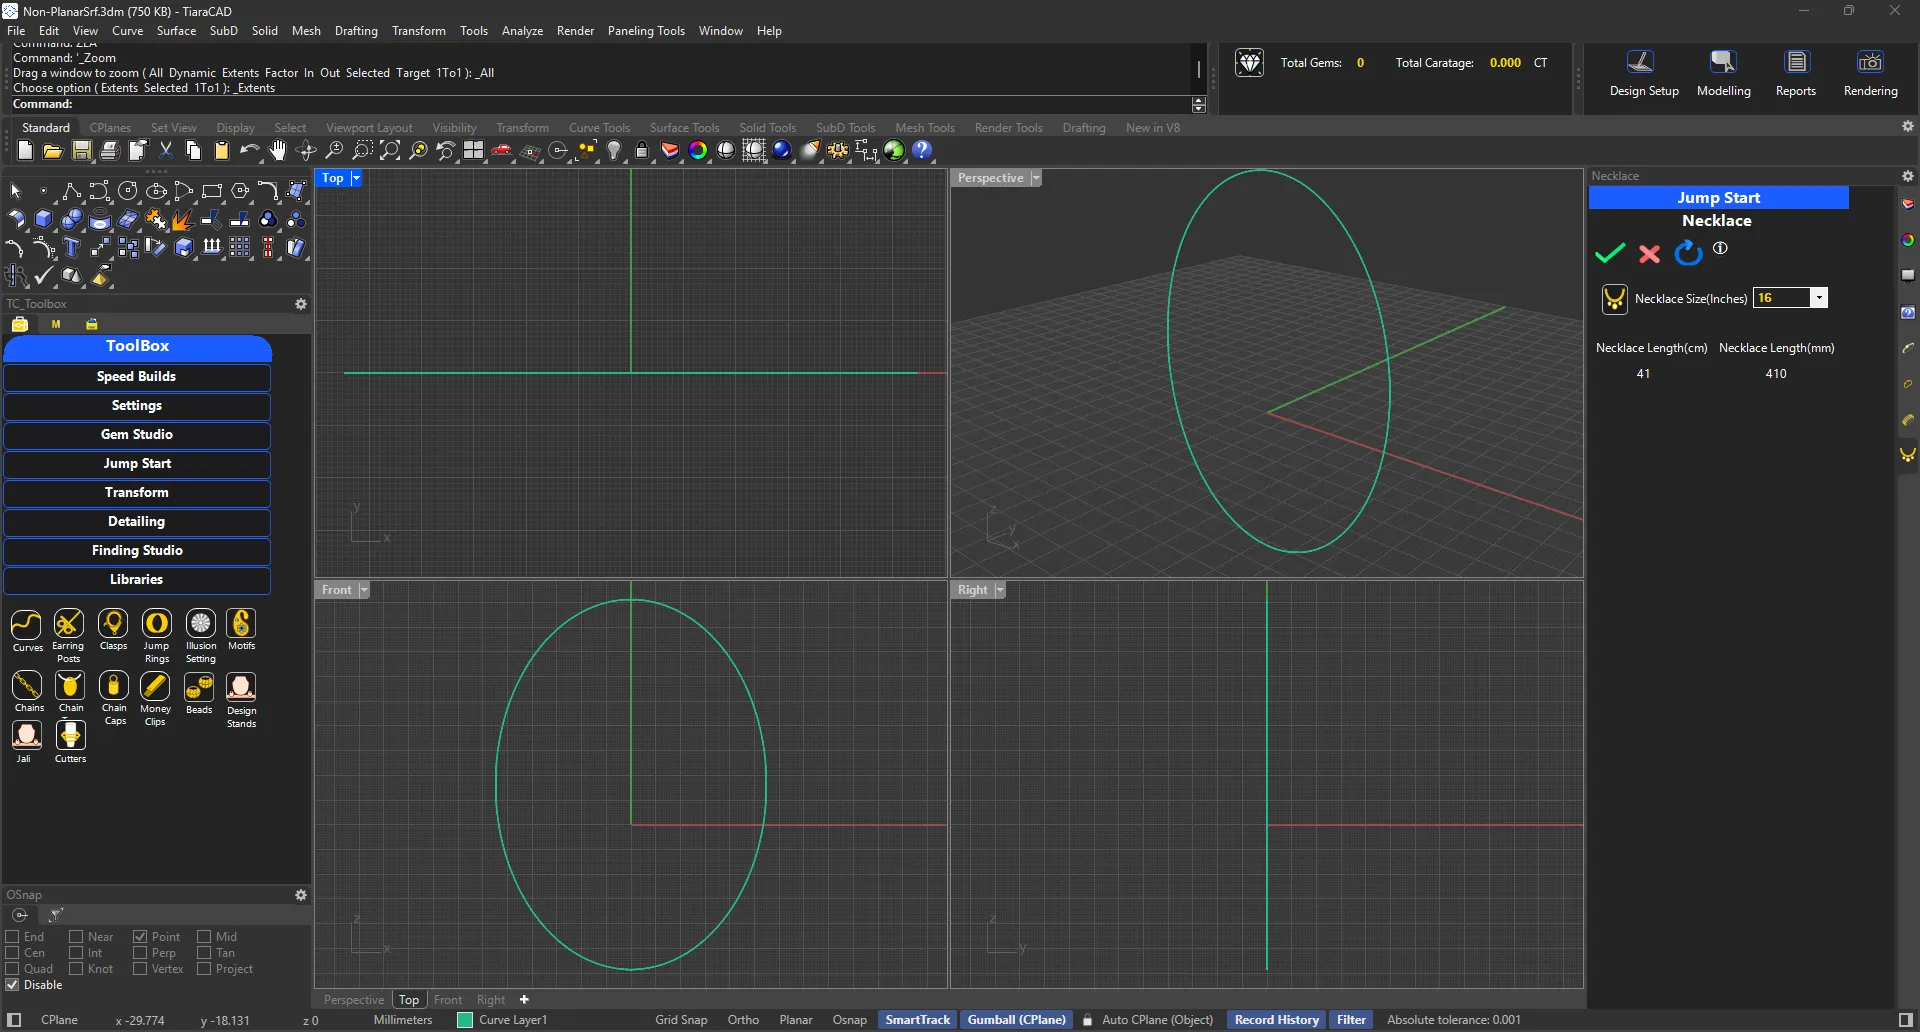
Use ready sizes while creating necklaces.
Ring size chart from different continents and the corresponding CAD requirement, all set in one file.
Use Ring Shank option to place different cross sections with ease. Modify them using Auto CPlane
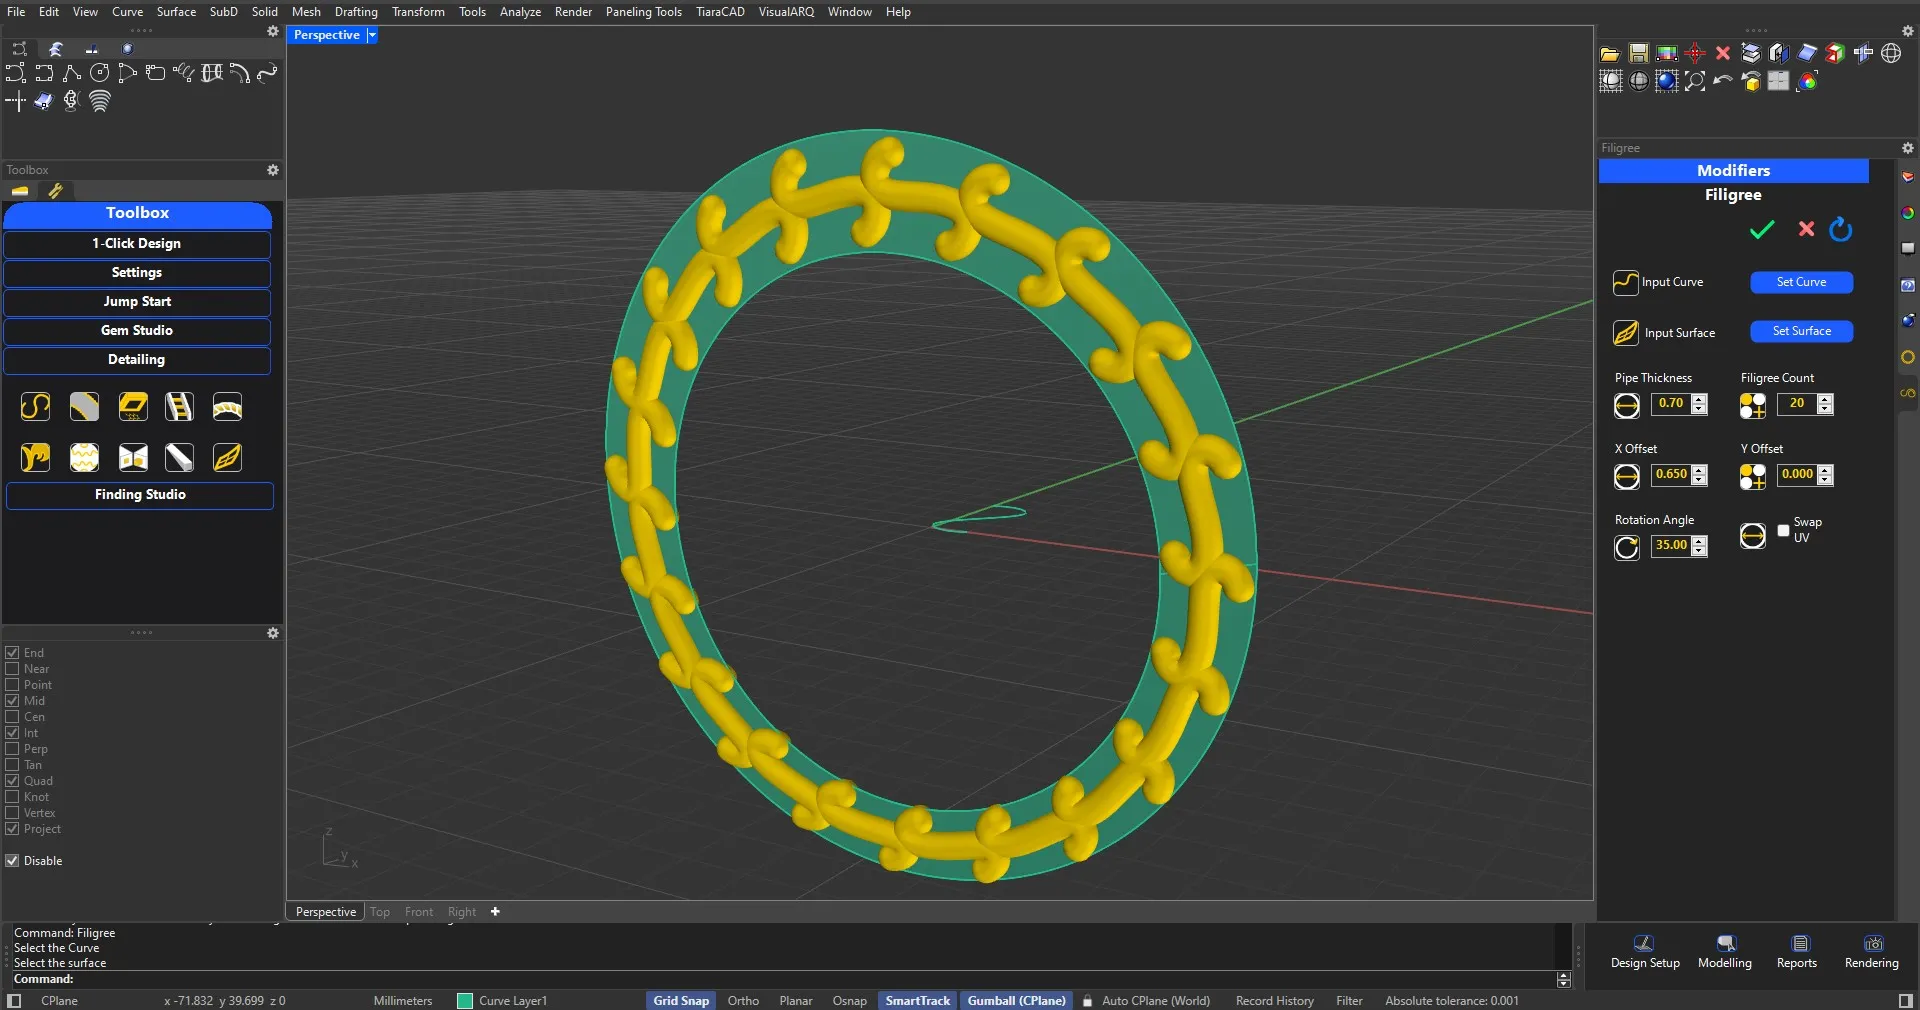
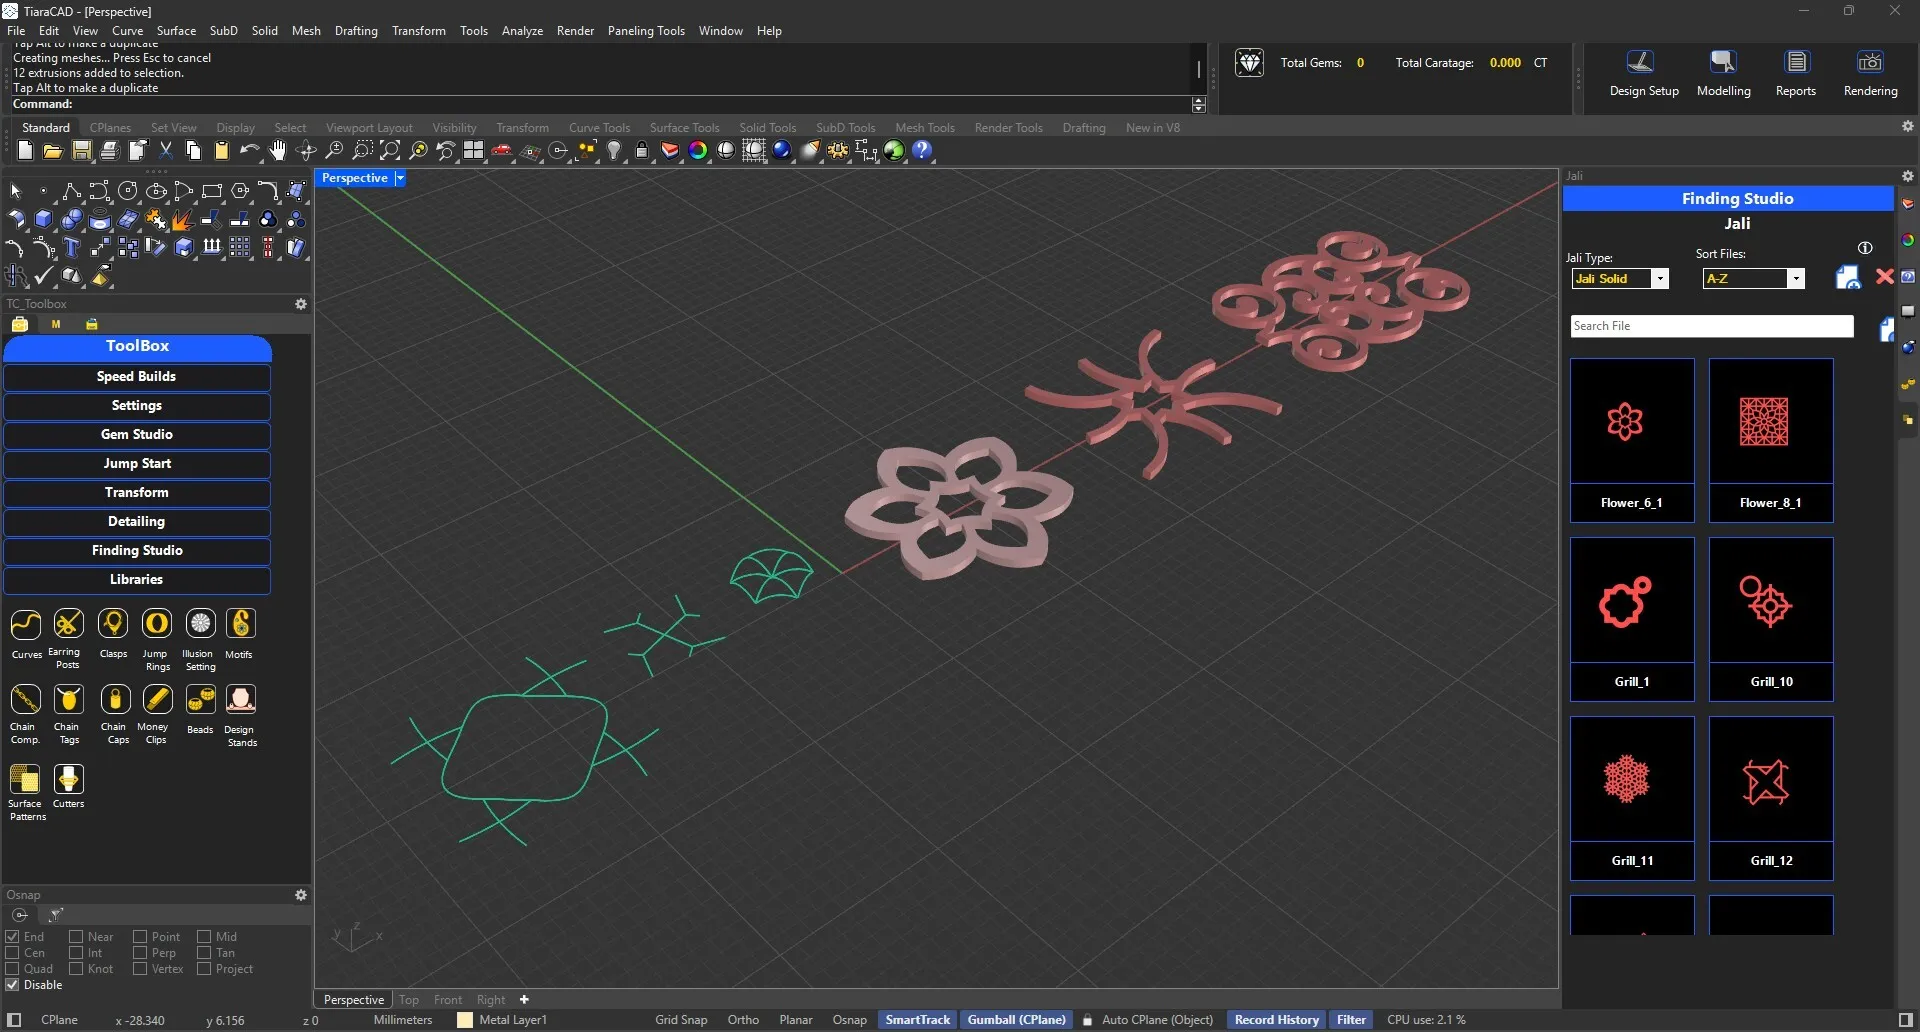
Based on the design curve and targeted surface, fill up the areas with filigree in a click. Scaling of design done automatically.
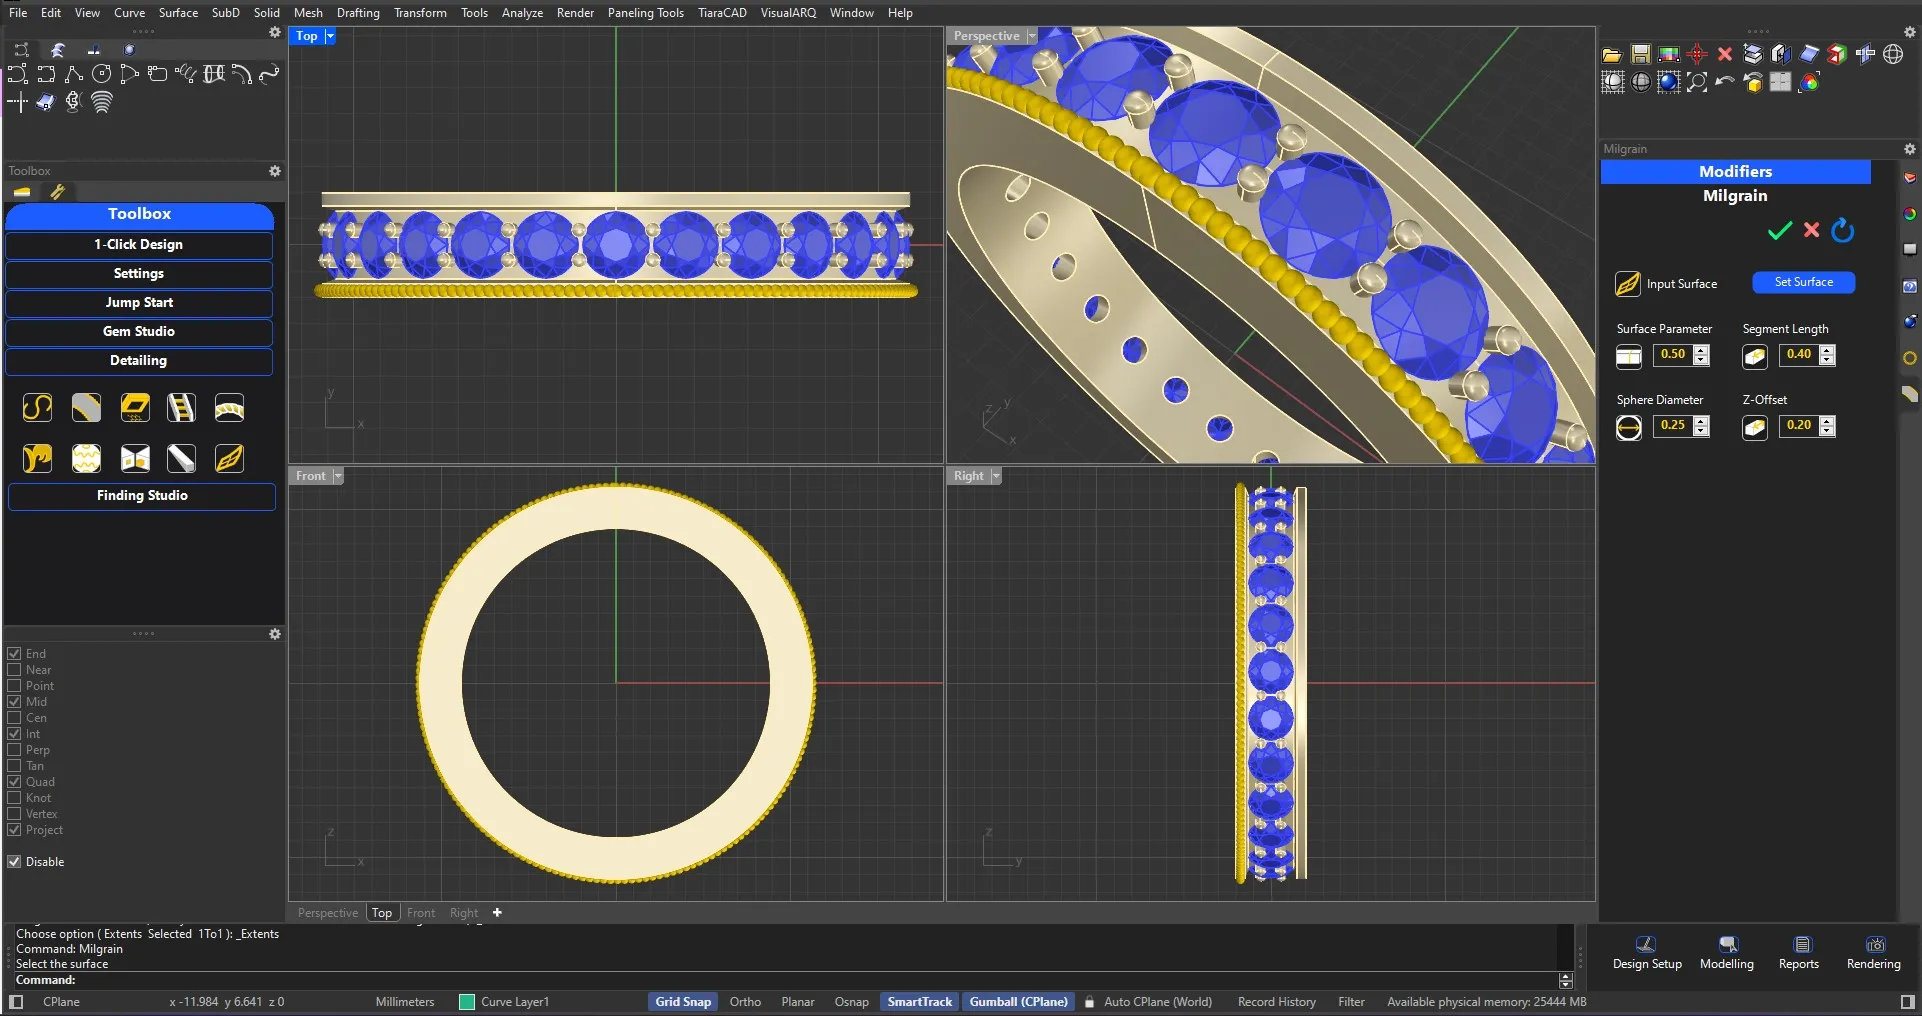
Just choose shape of the milgrain and the targeted surface.
Various curves or patterns available to be used on a surface. Choose between circular or rectangular cross-section, it's thickness to create patterns on surfaces.
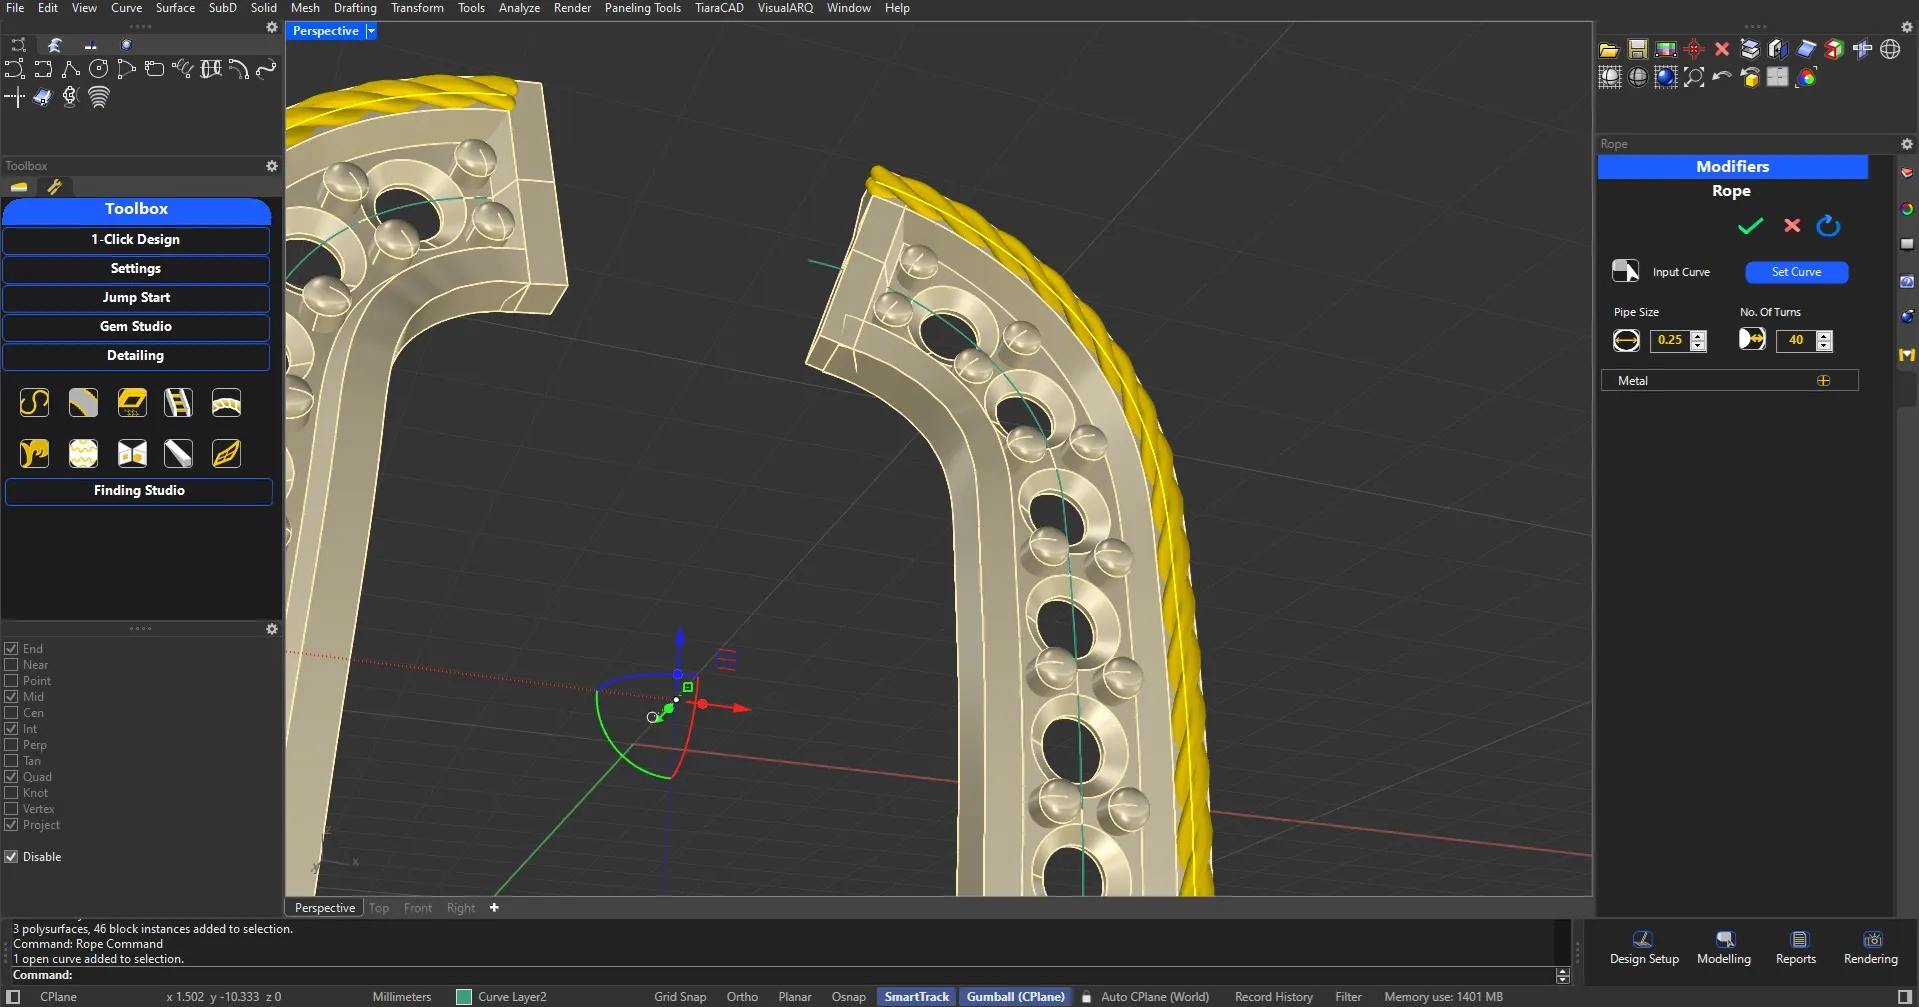
Using a single curve, opt for 1-Helix pipe, 2-Helix pipe or a combination of 3 pipes twisted together to create a rope-like effect.
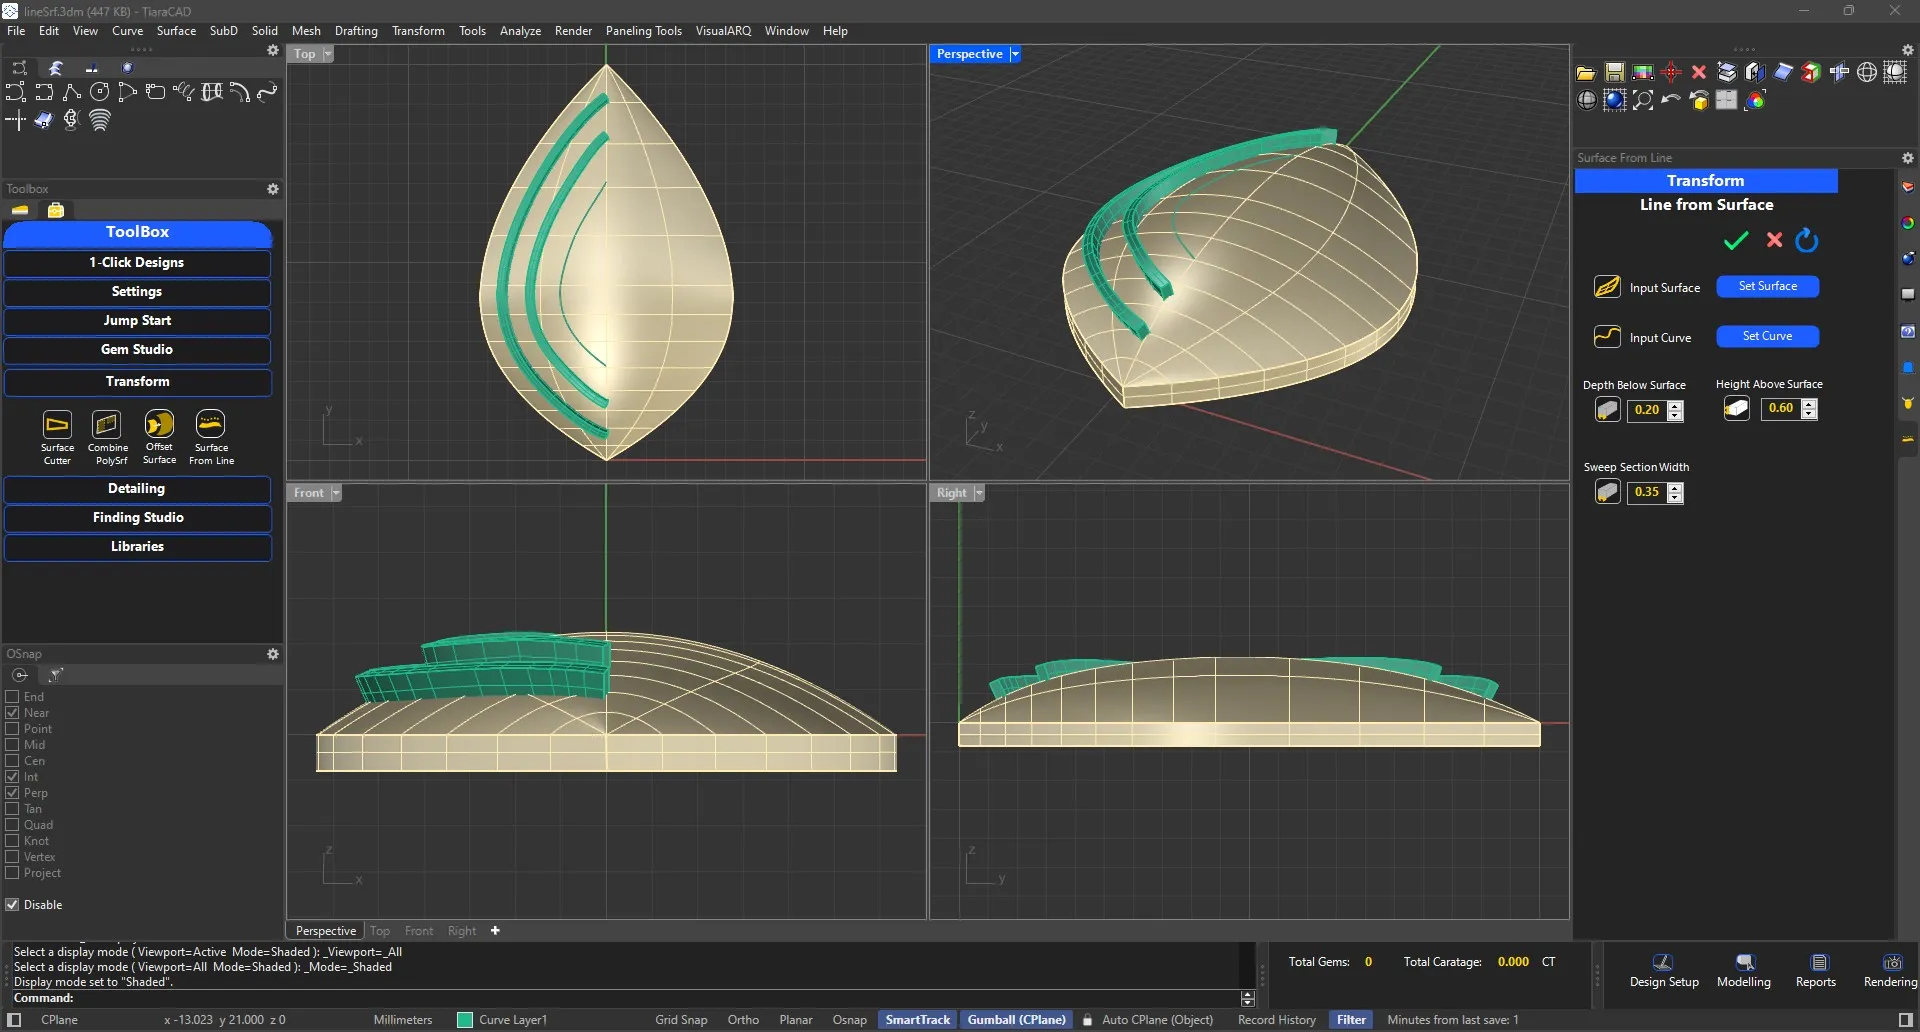
Many of the designs need an elevation by raising certain elements. Using this feature, you only need to choose a curve to have a cross-section profile oriented normal to the surface below.
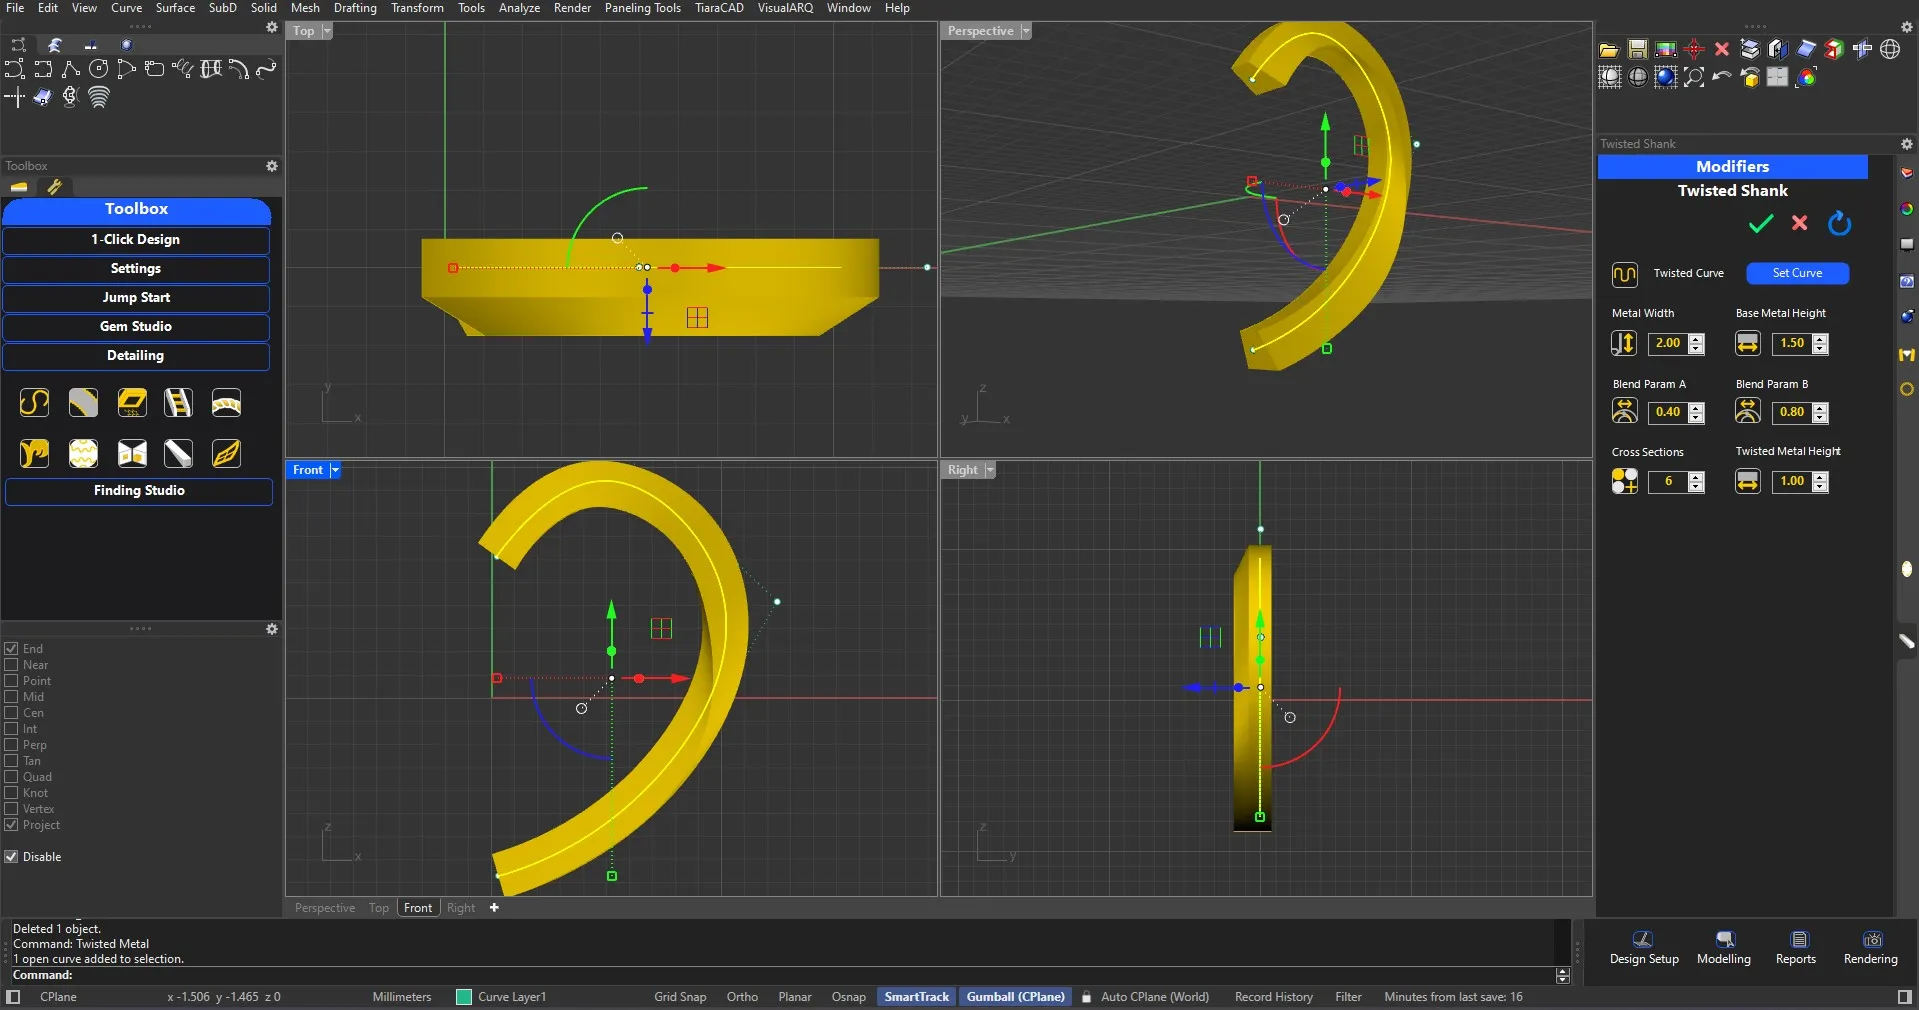
Using a single curve, we can opt for the thickness and width of the metal, the parameters that determine the twist to get a twisted metal effect with flat back-side.
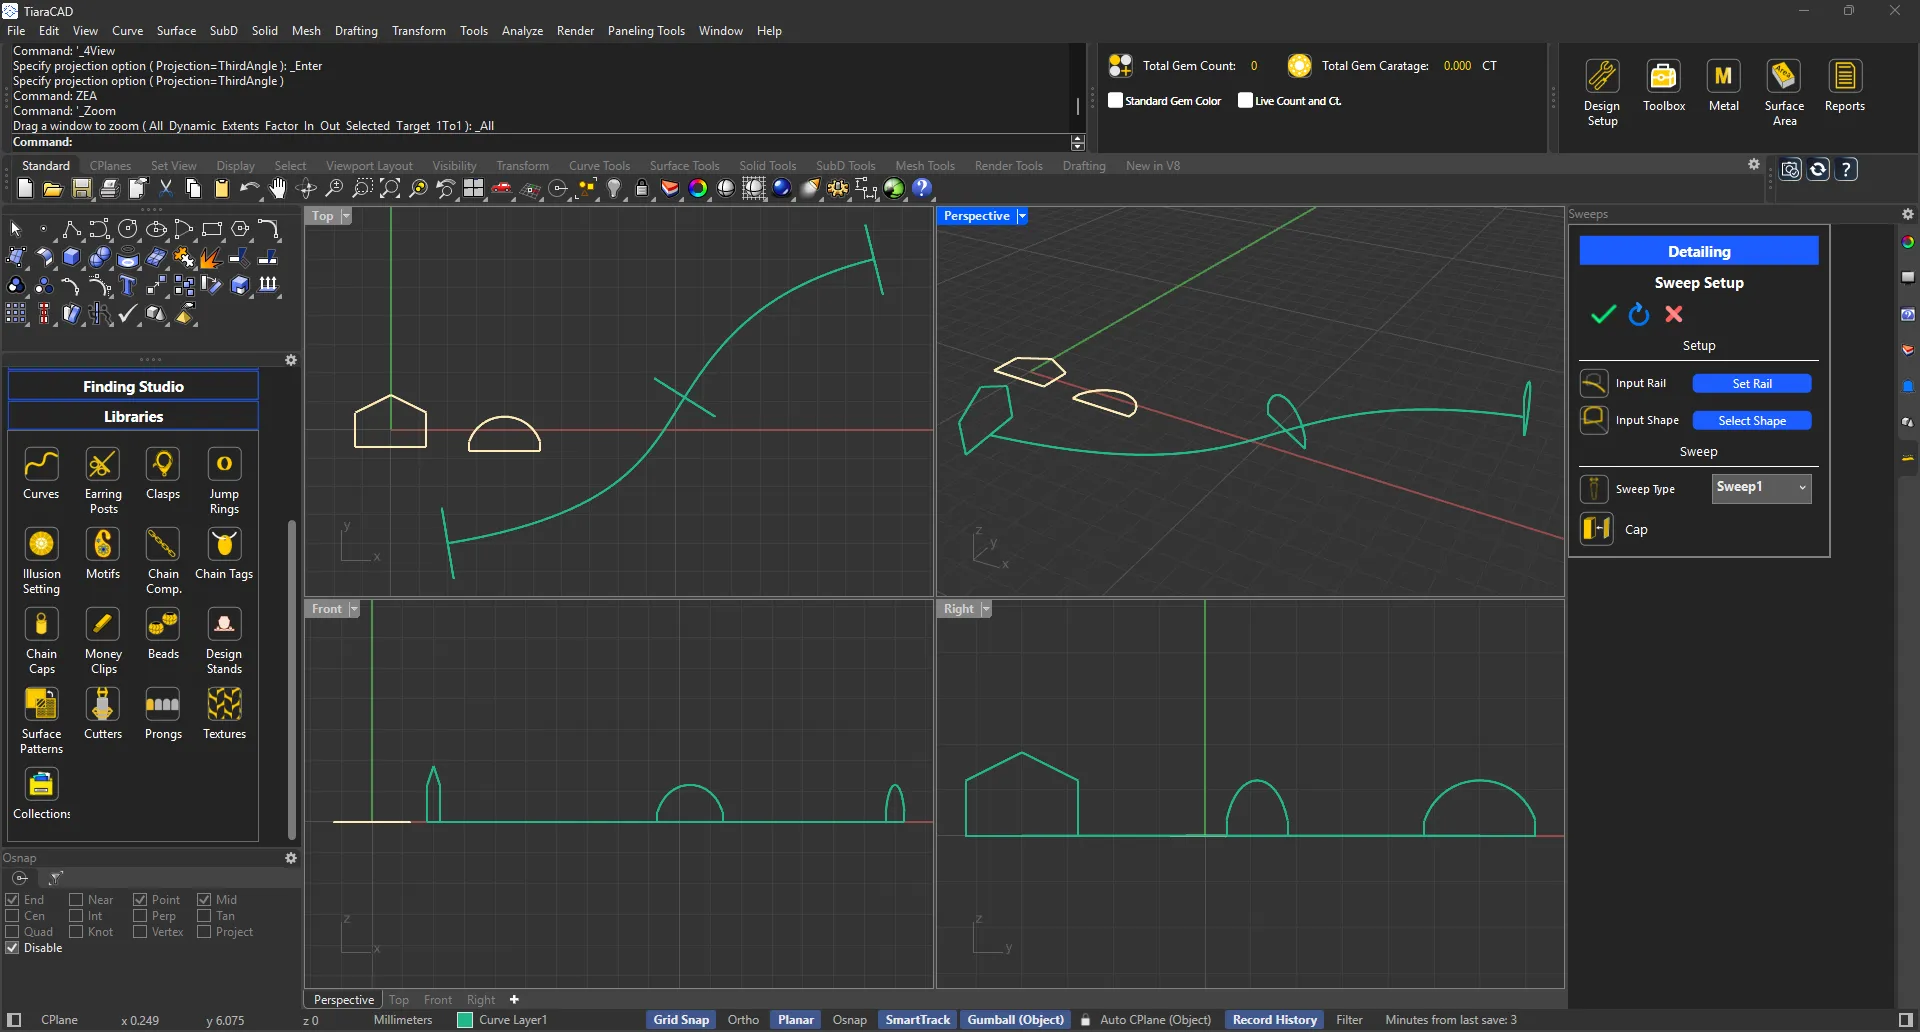
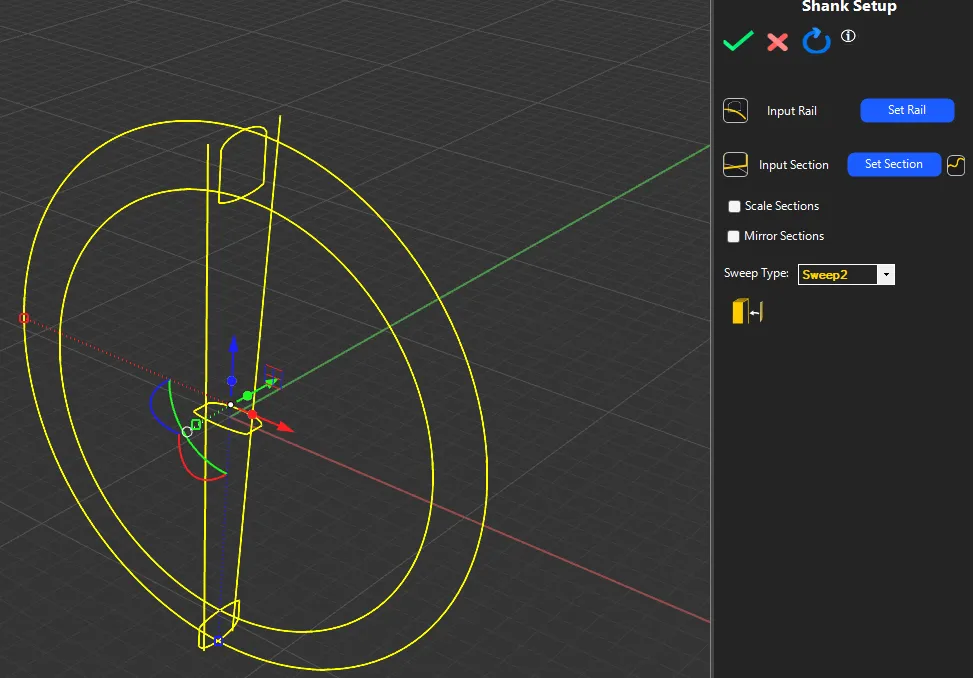
Set up cross-sections on a curve in no time using the sweep setup. Further use the sweep 1 or 2 option with cap to complete your design.
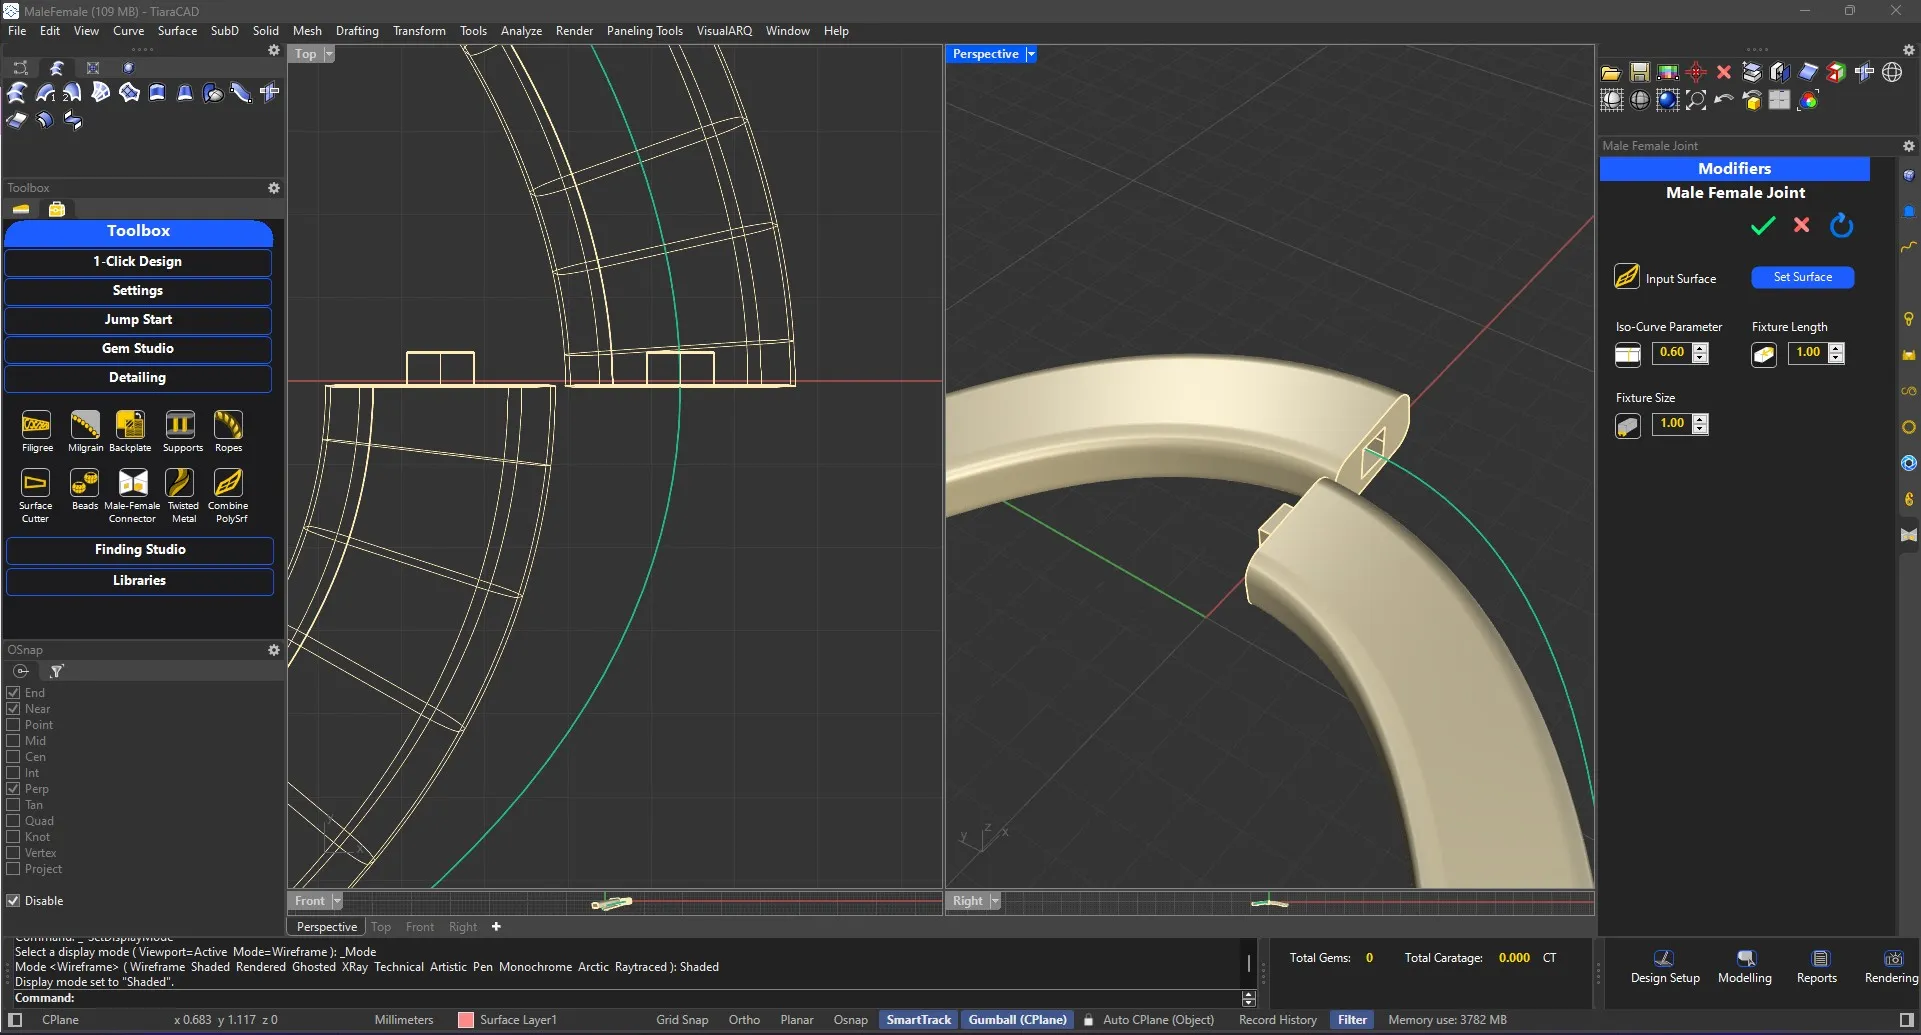
Create a male - female linkage by selecting the surface and the point on the surface. You can move the joint in U or V directions as well as choose thickness and shape of Joint. Ideal for breaking single objects into two like 2-tone rings.
Choose your surface, choose the texture image or one from the library. Optimize the image placement and finalize the option. Next choose depth of the displacement of white point and expected thickness of final mesh to get uniform thickness throughout the texture.
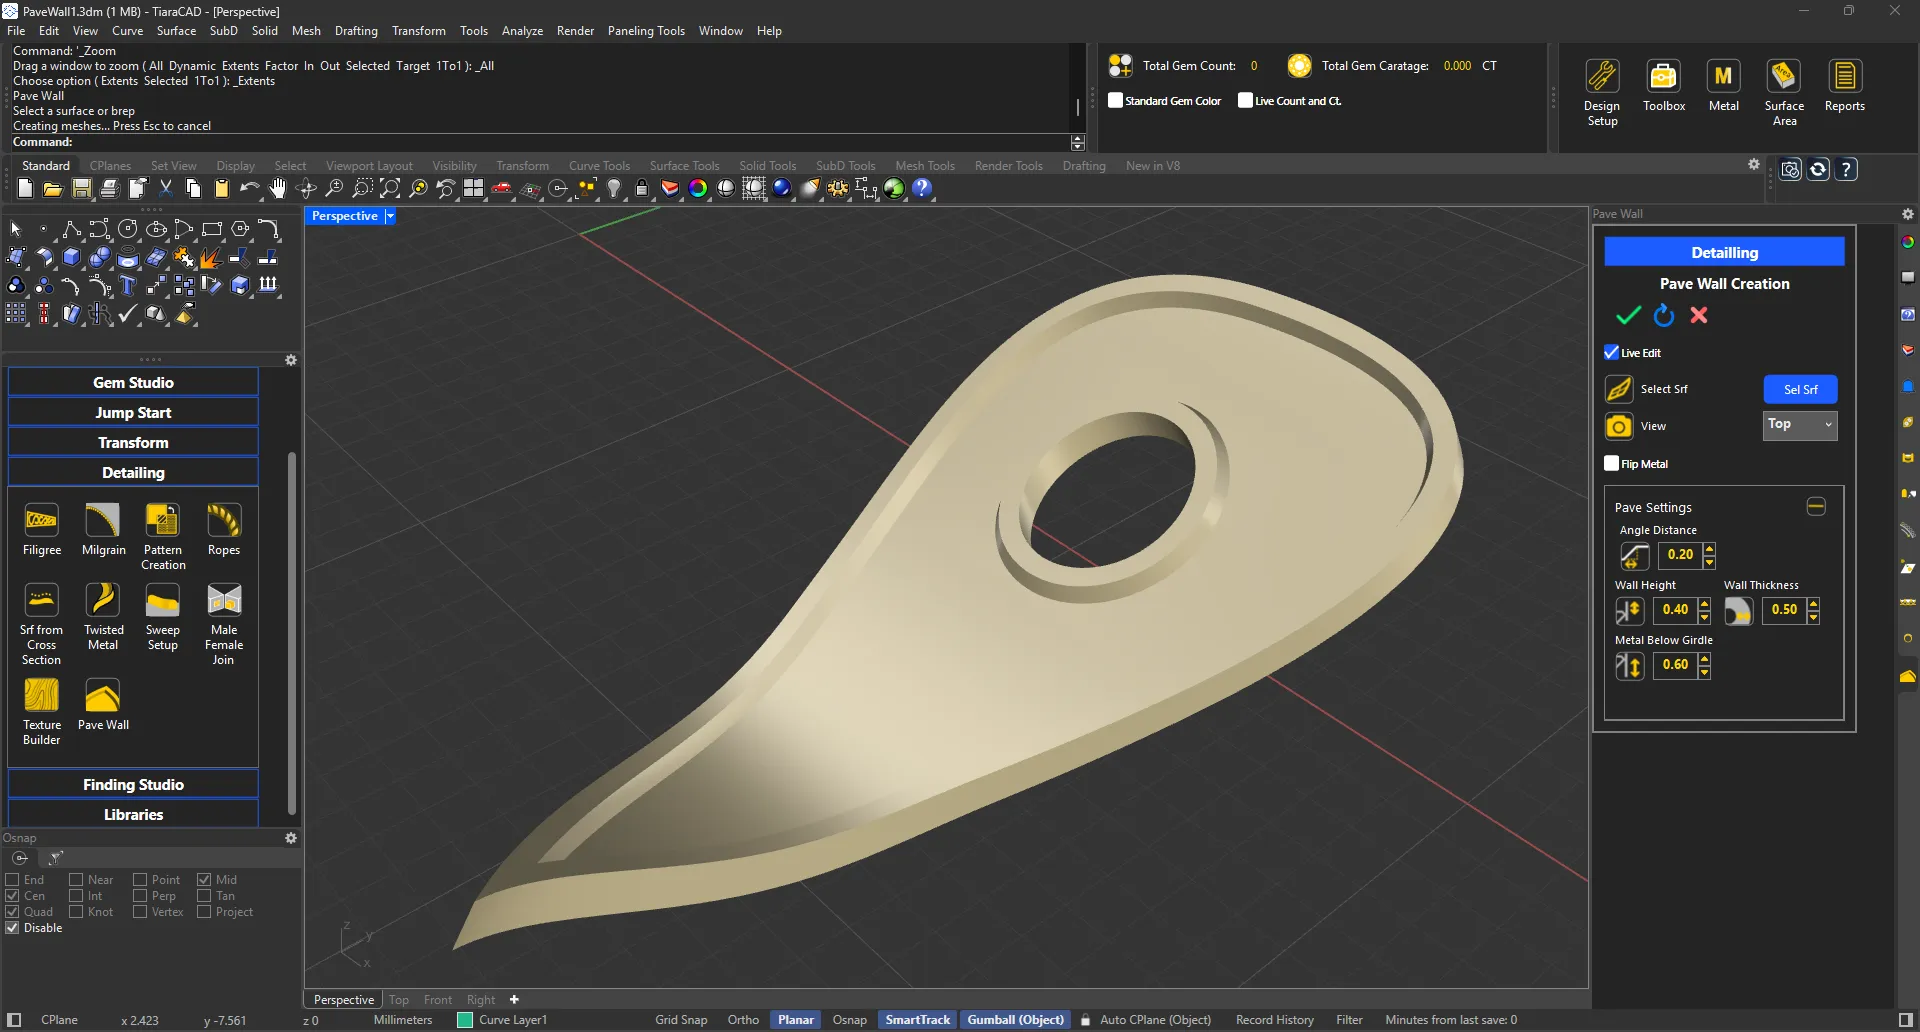
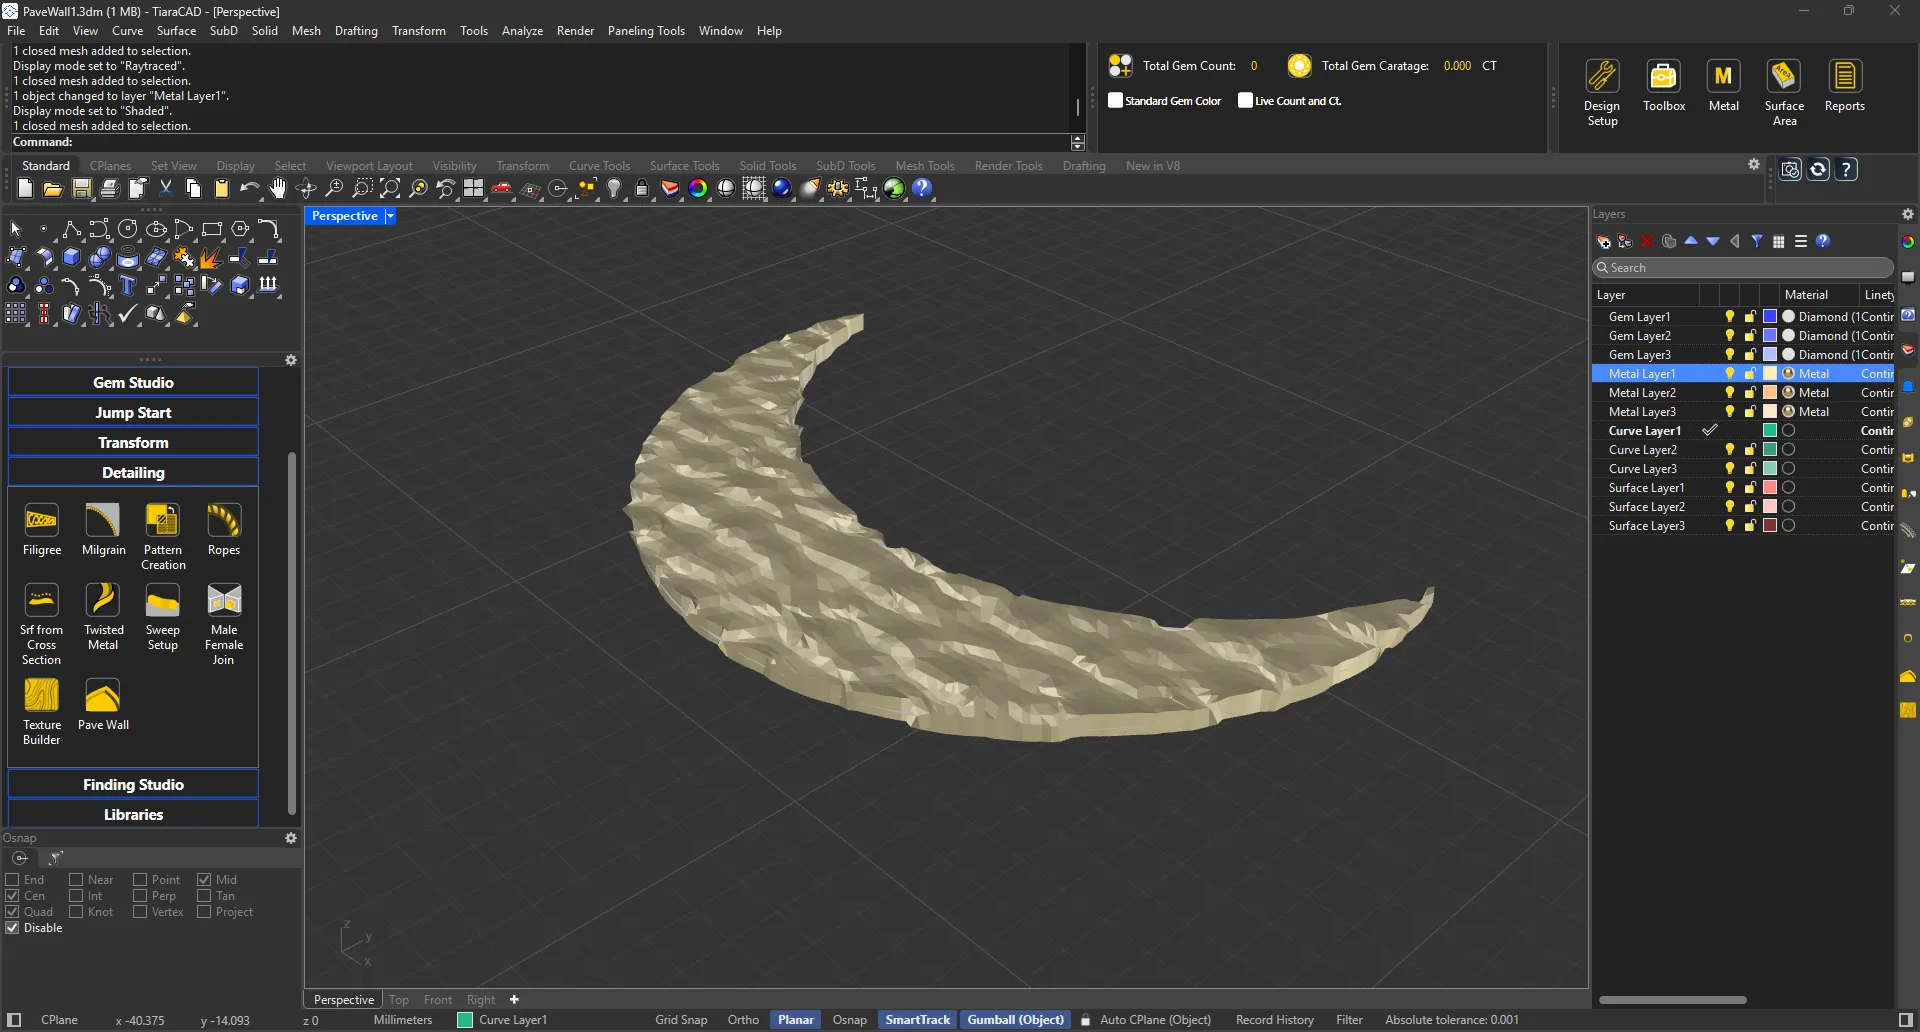
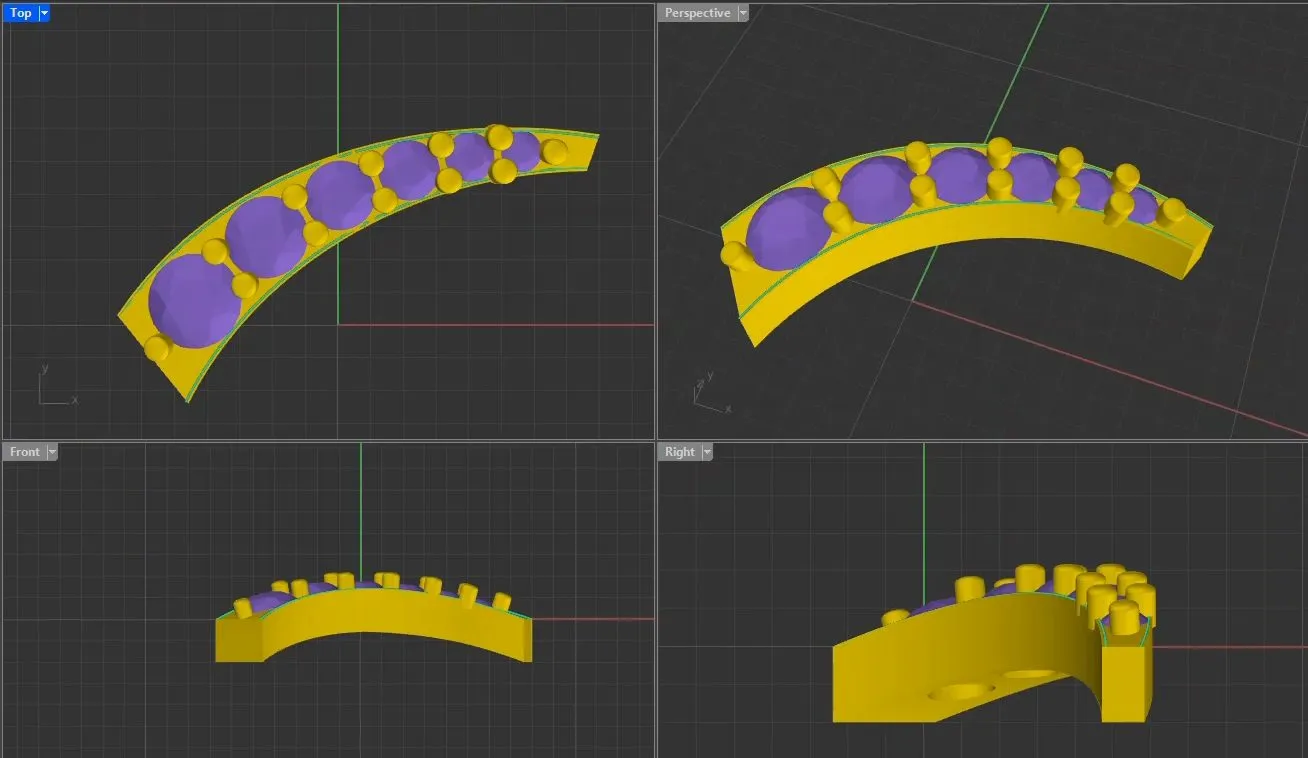
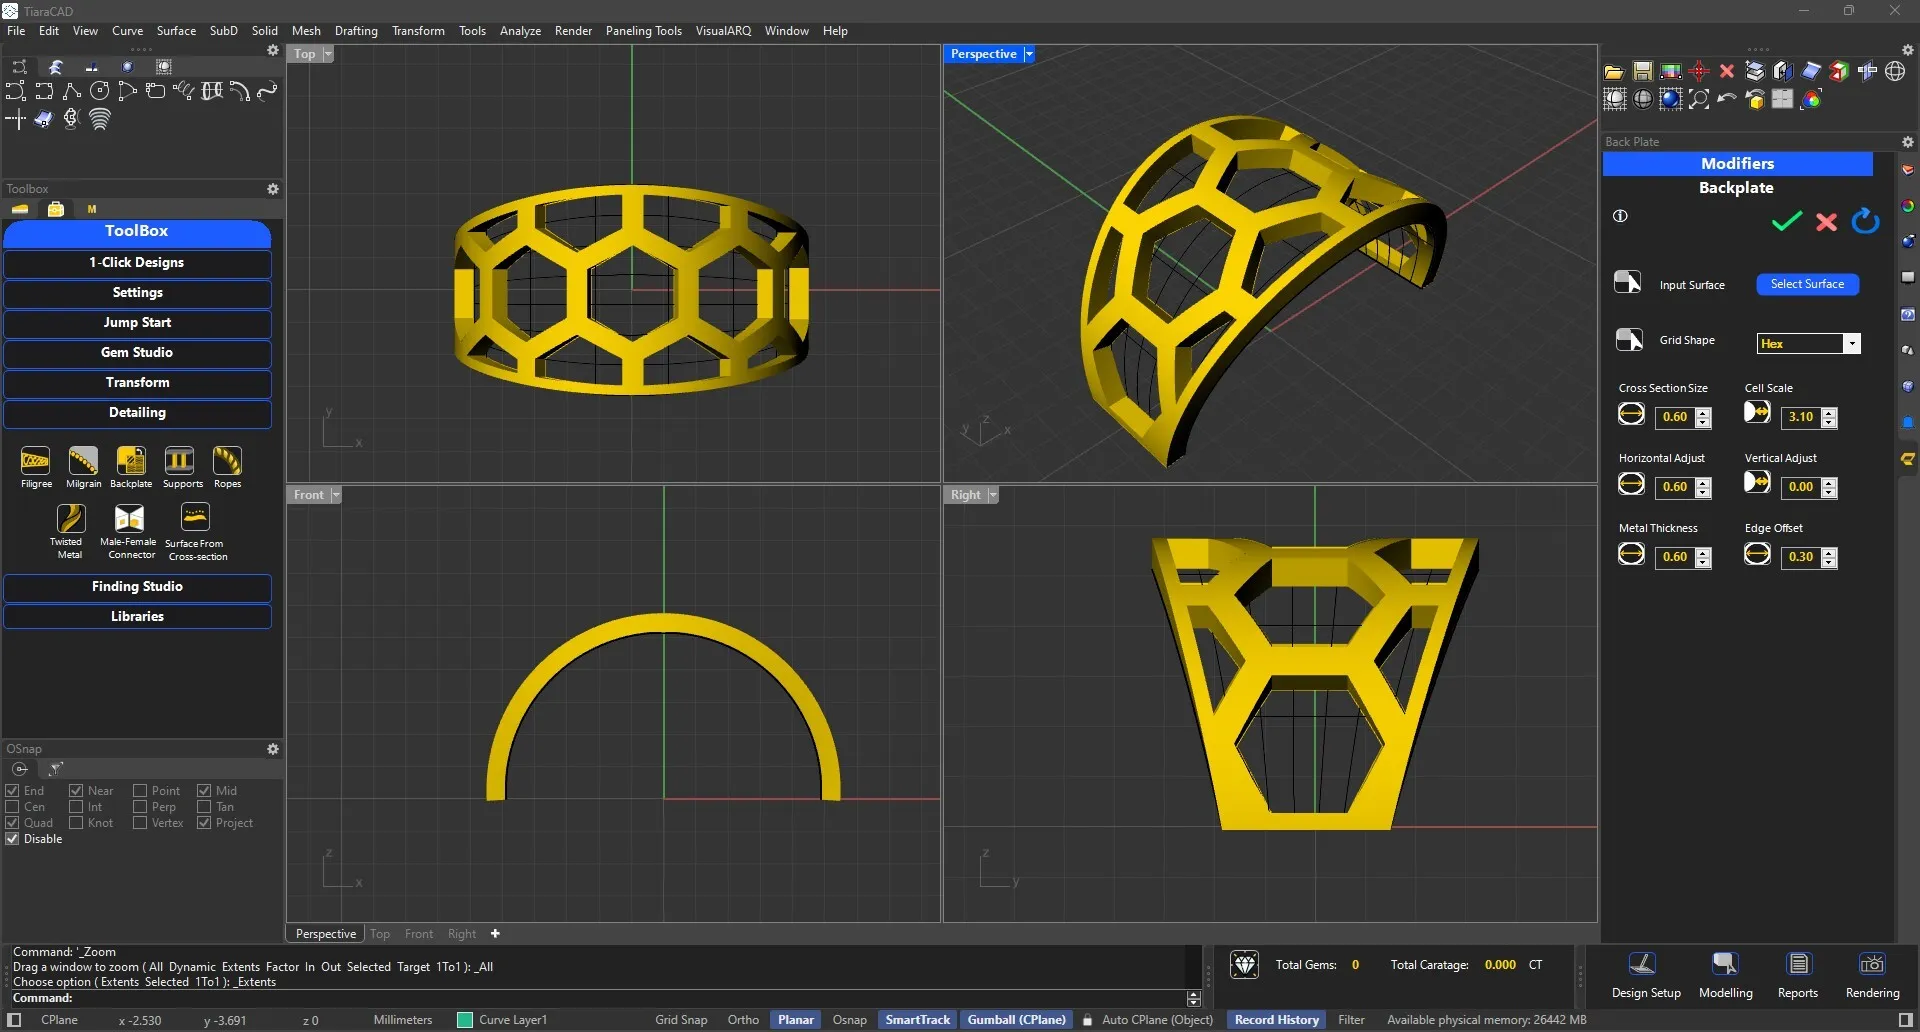
Select a surface that needs pavé wall. Depending on the settings, the wall with relevant depth will be created.
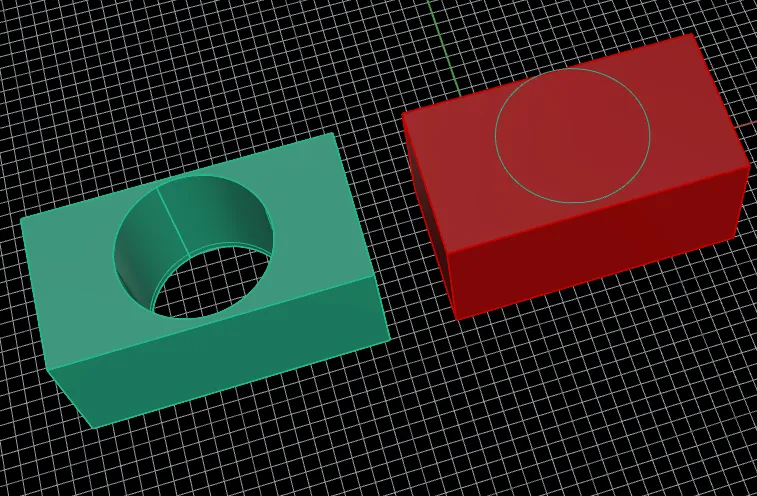
Choose any surface and your curve with which you want to cut the surface.
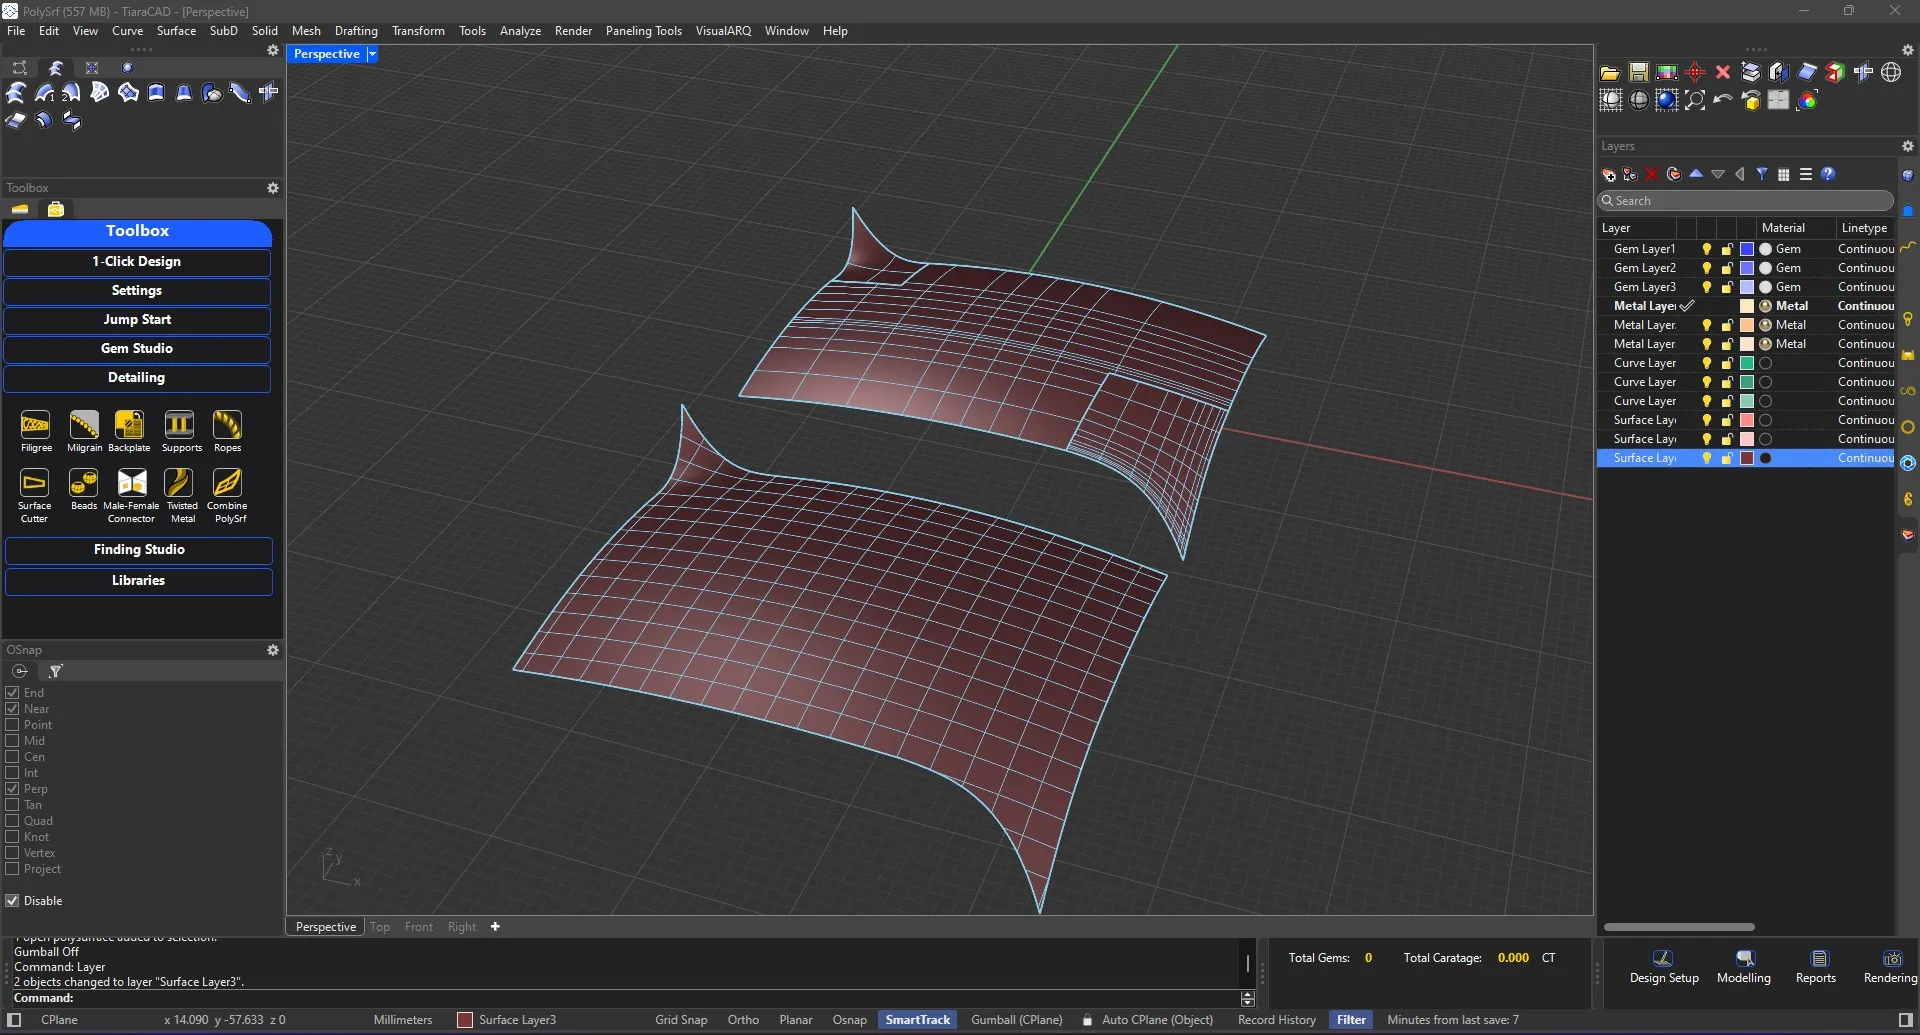
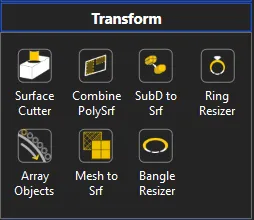
Select a Polysurface and combine it to form a seamless surface for your perusal.
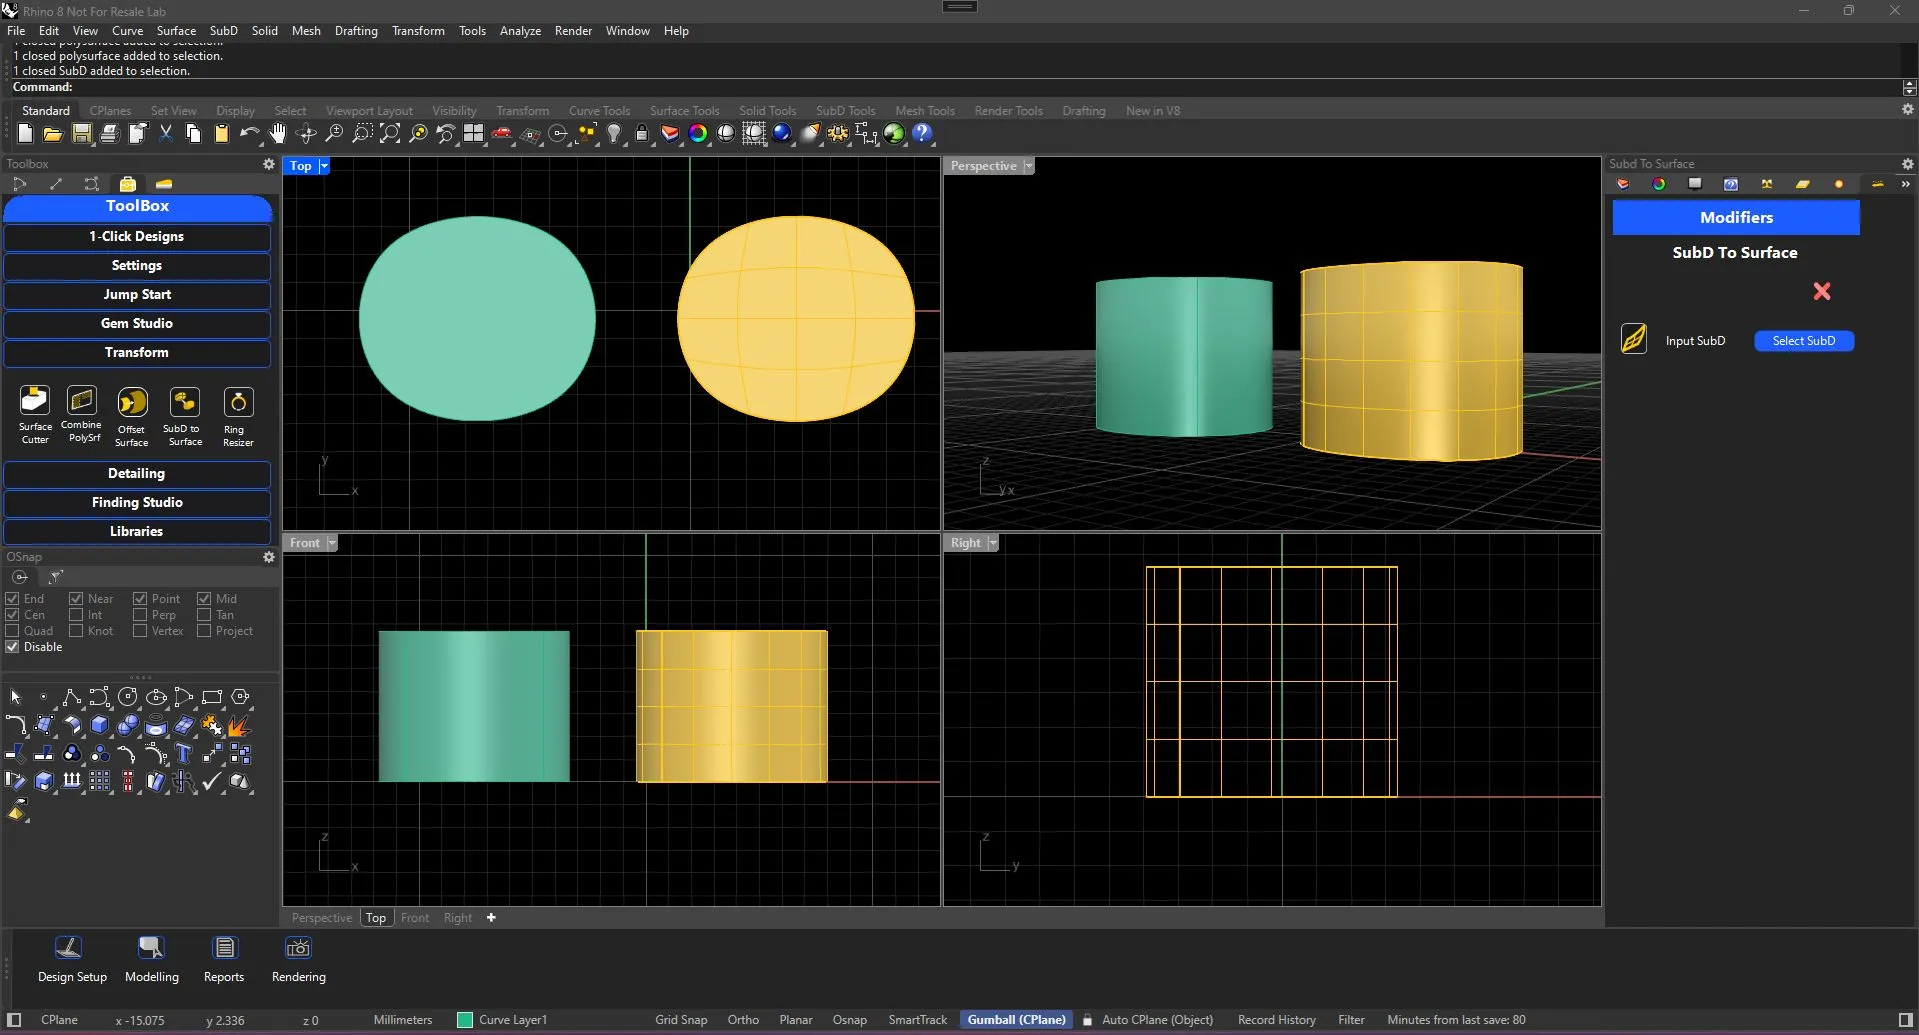
Convert SubD to Surface by just selecting the SubD of your choice
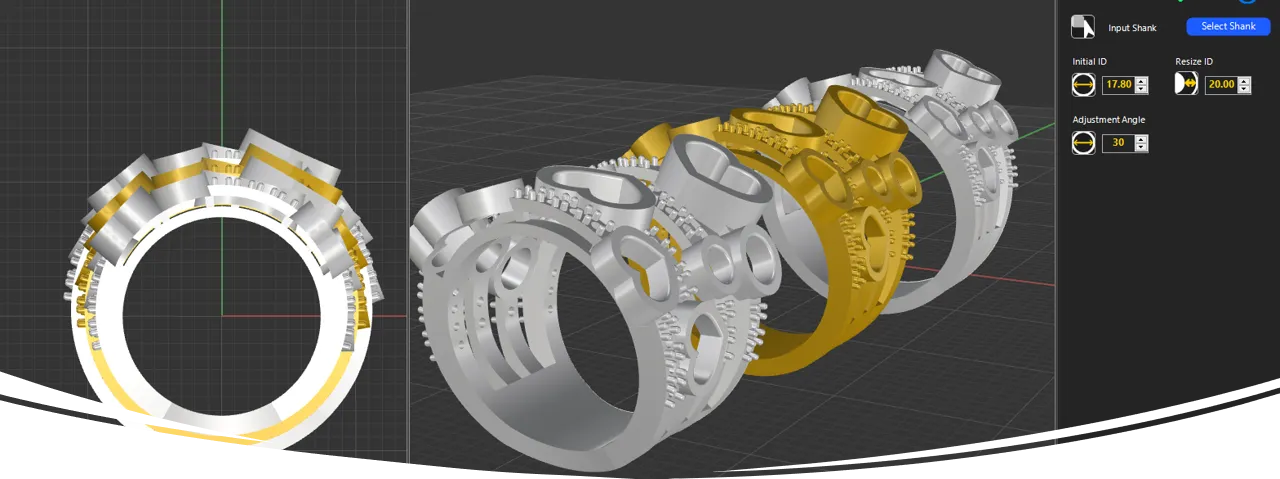
Resize rings and retain Polysurface too. No distortion of prongs. No visible deviation between diamonds. Not applicable for Eternity bands.
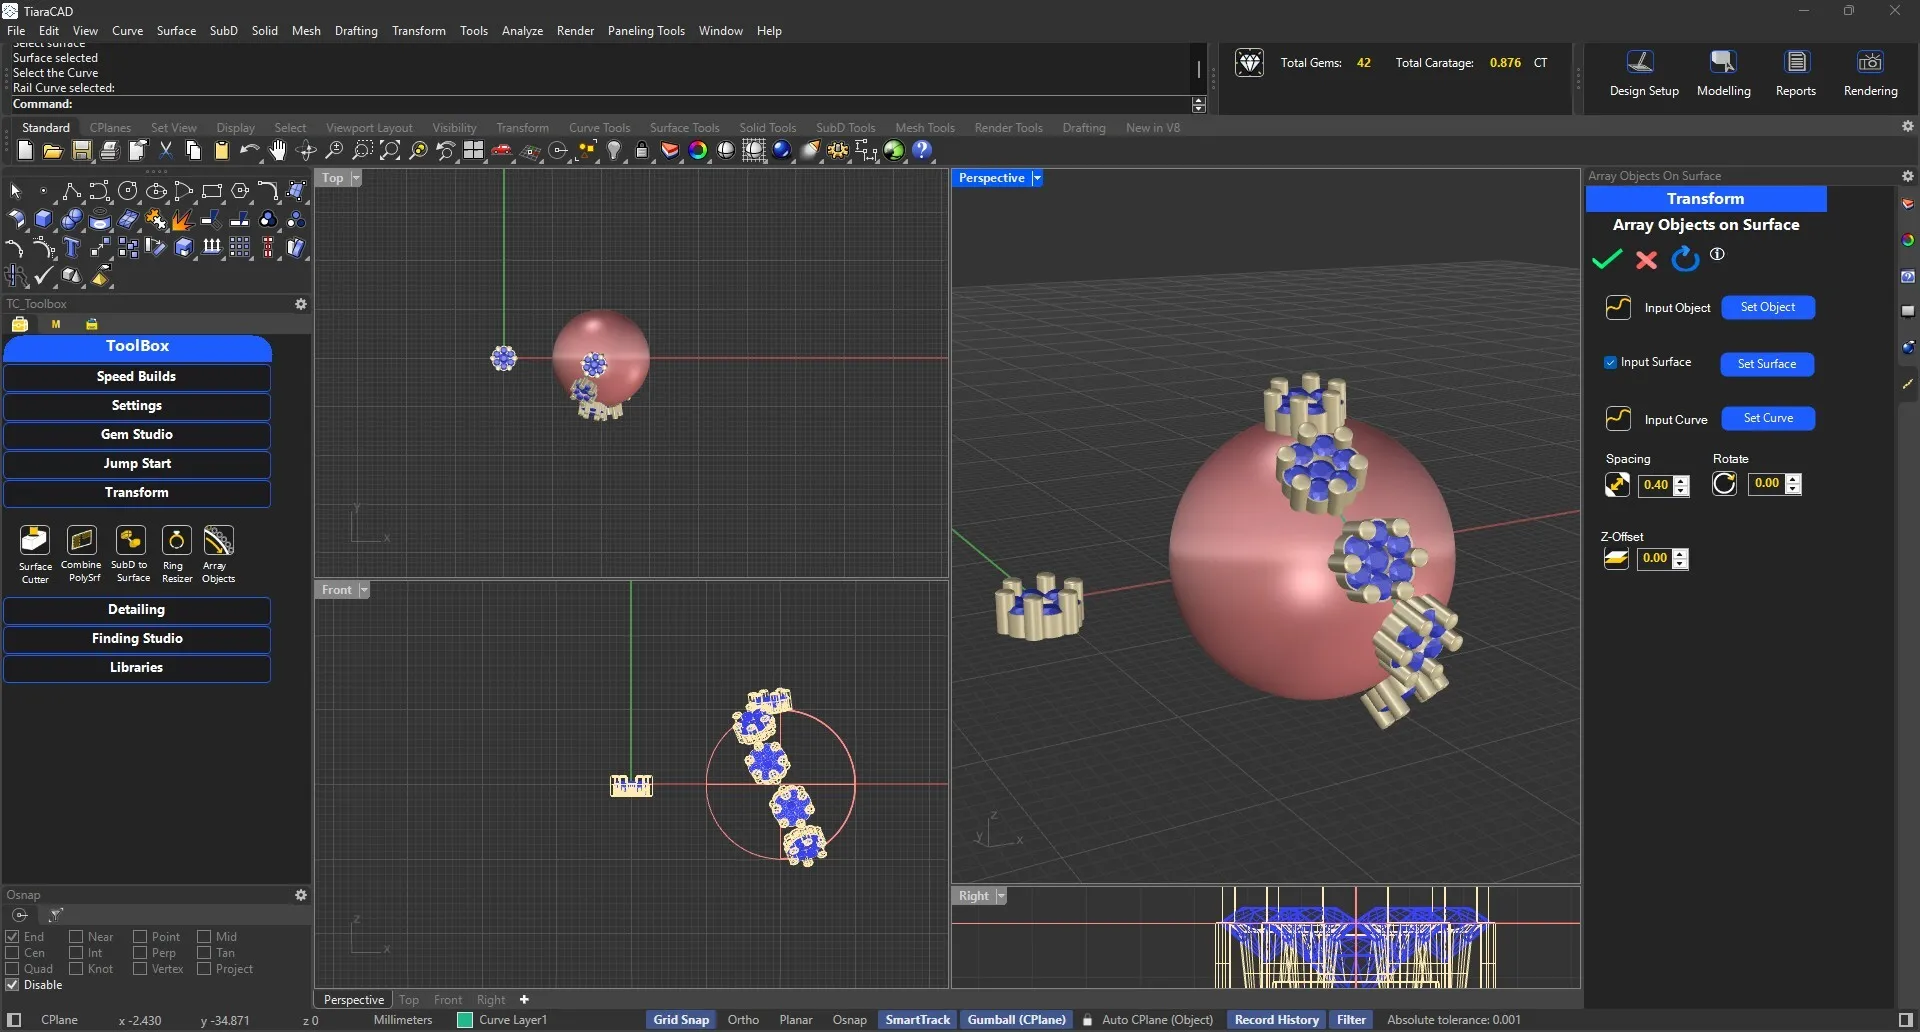
Choose any geometry and gems to array along a curve or along a curve on surface as well.
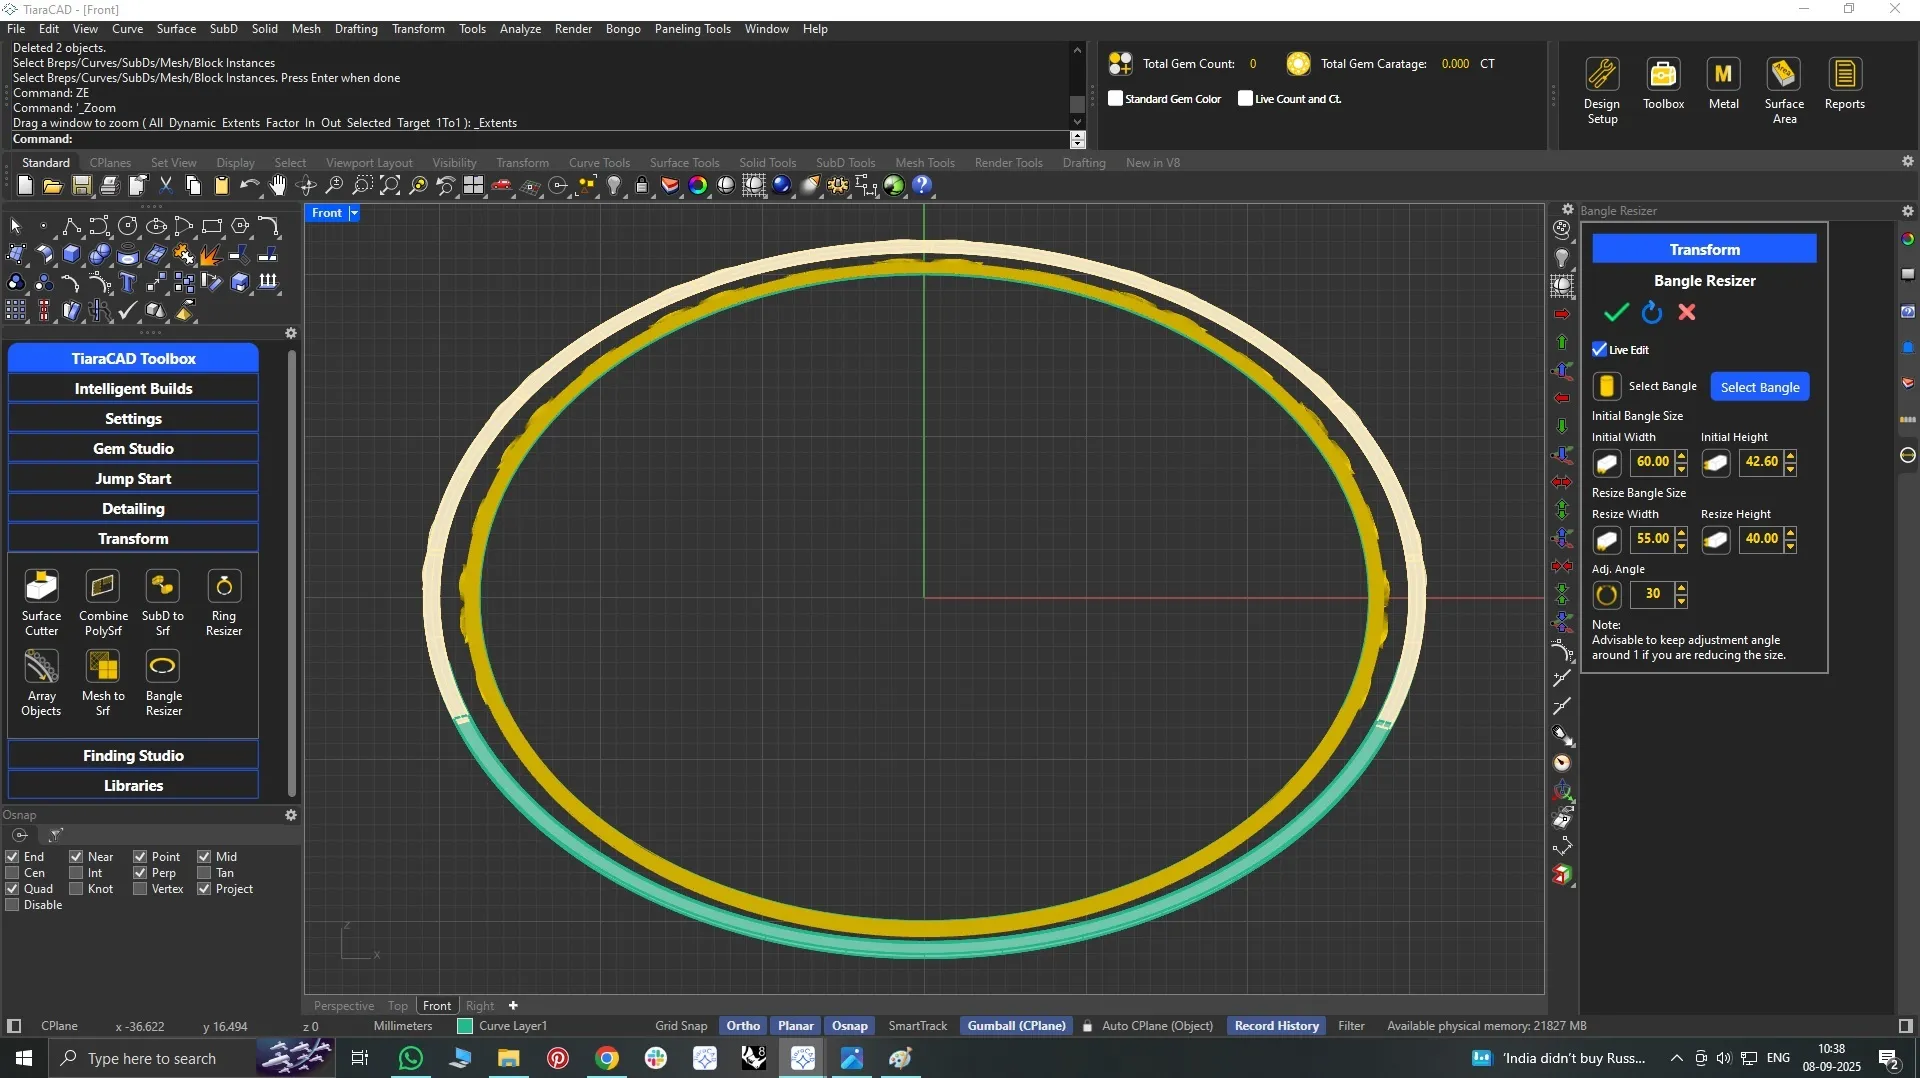
Just like a ring resizer, you can resize Oval Bangles as well. Only ensure there is plain metal at the bottom that is available for cutting the base to resize. Not applicable for Eternity Bangles.
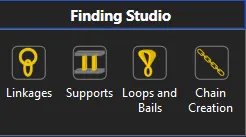
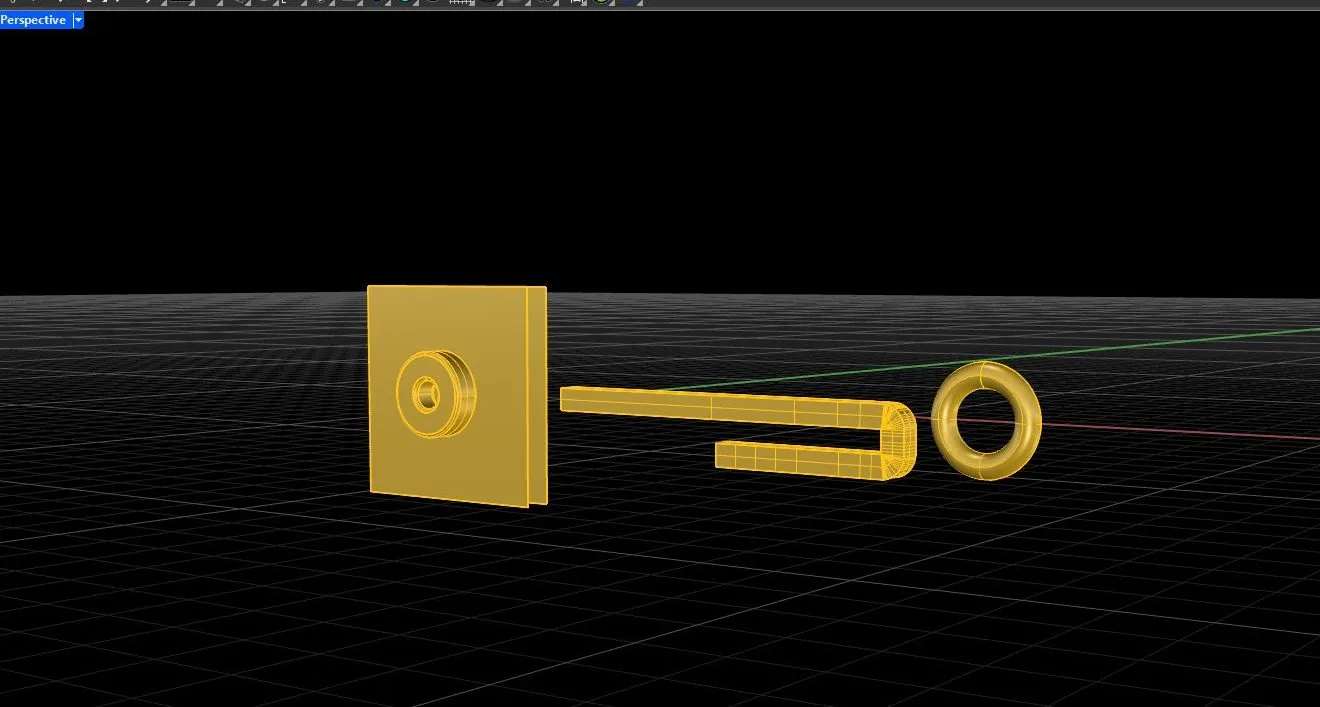
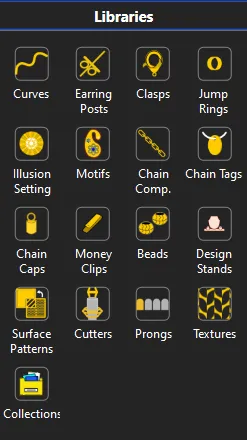
An exquisite list of Linkages, Clasps, Bails, Posts, Chains and Chain Tags to be used for design completion.
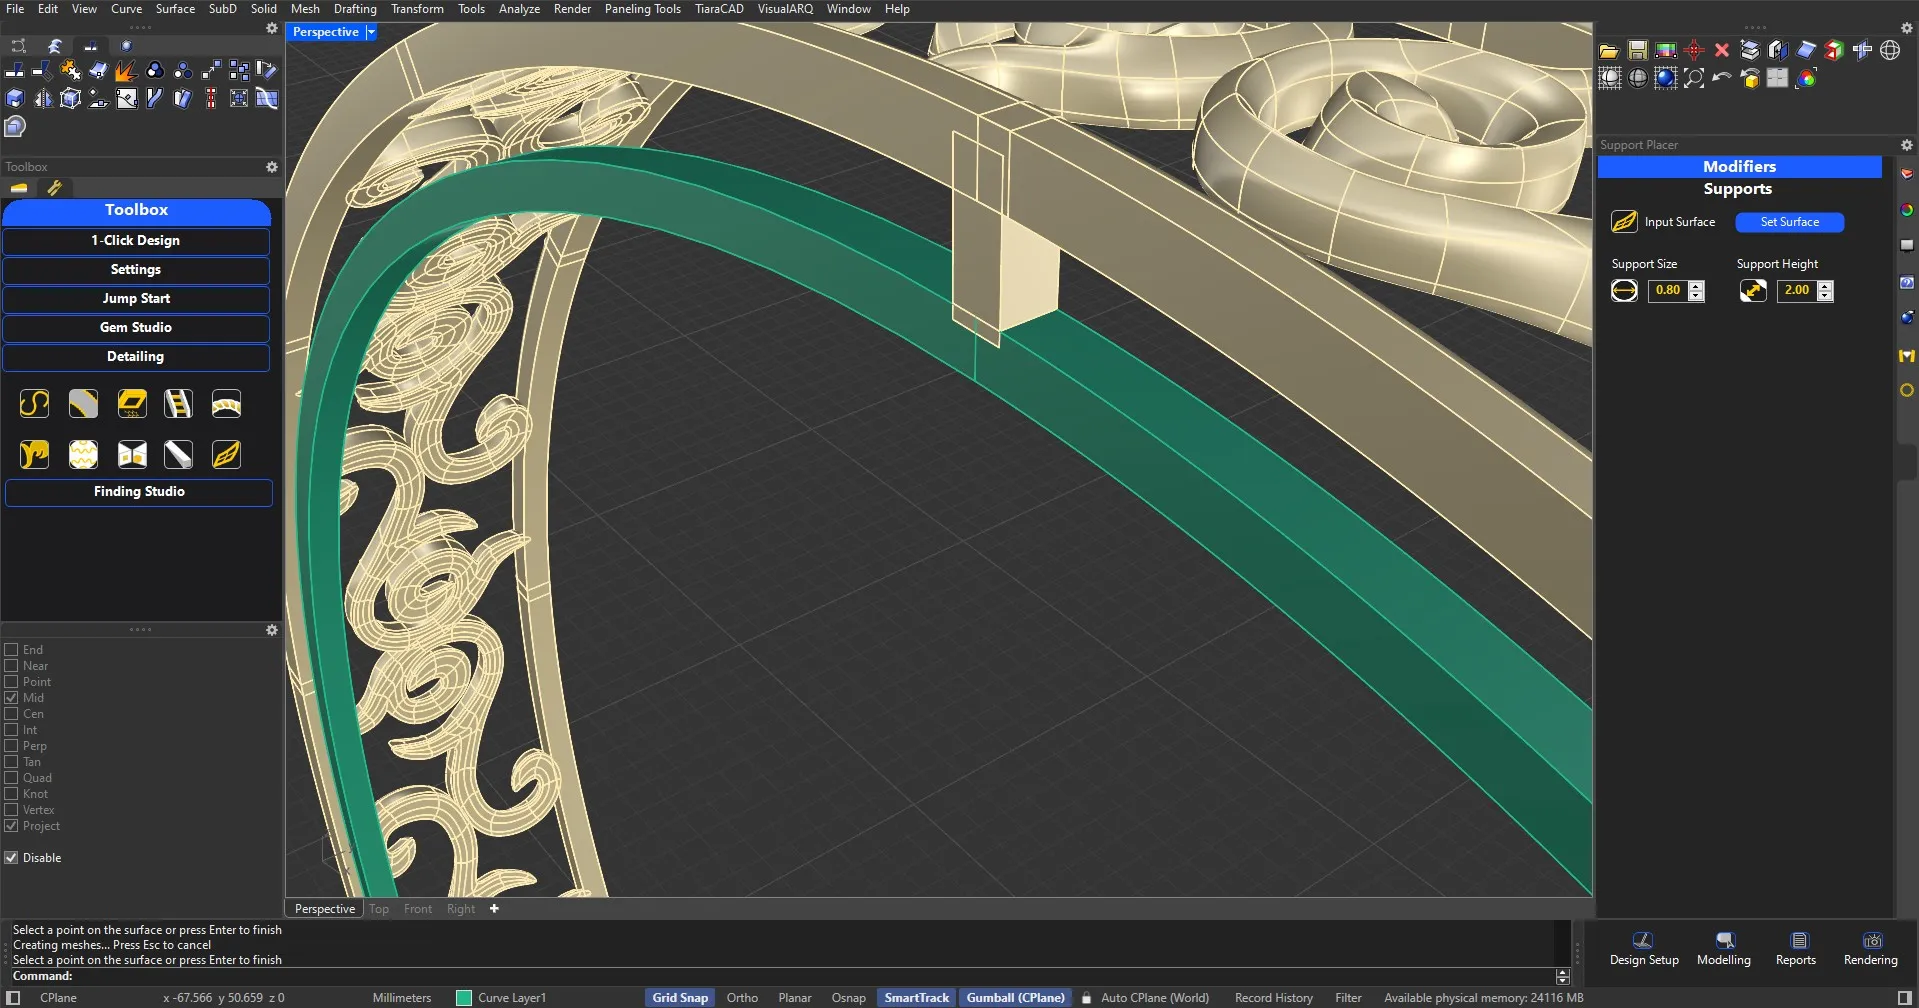
Wherever necessary, add simple supports perpendicularly oriented on the surface chosen. Choose between a range of types like square, circular, J-shaped, U-Shaped, truncated and more. Highlight is the 2 point support allowing you to bridge the distances in quick time.

Select Shape of the loop / bail and the opening sizes for fast creation.
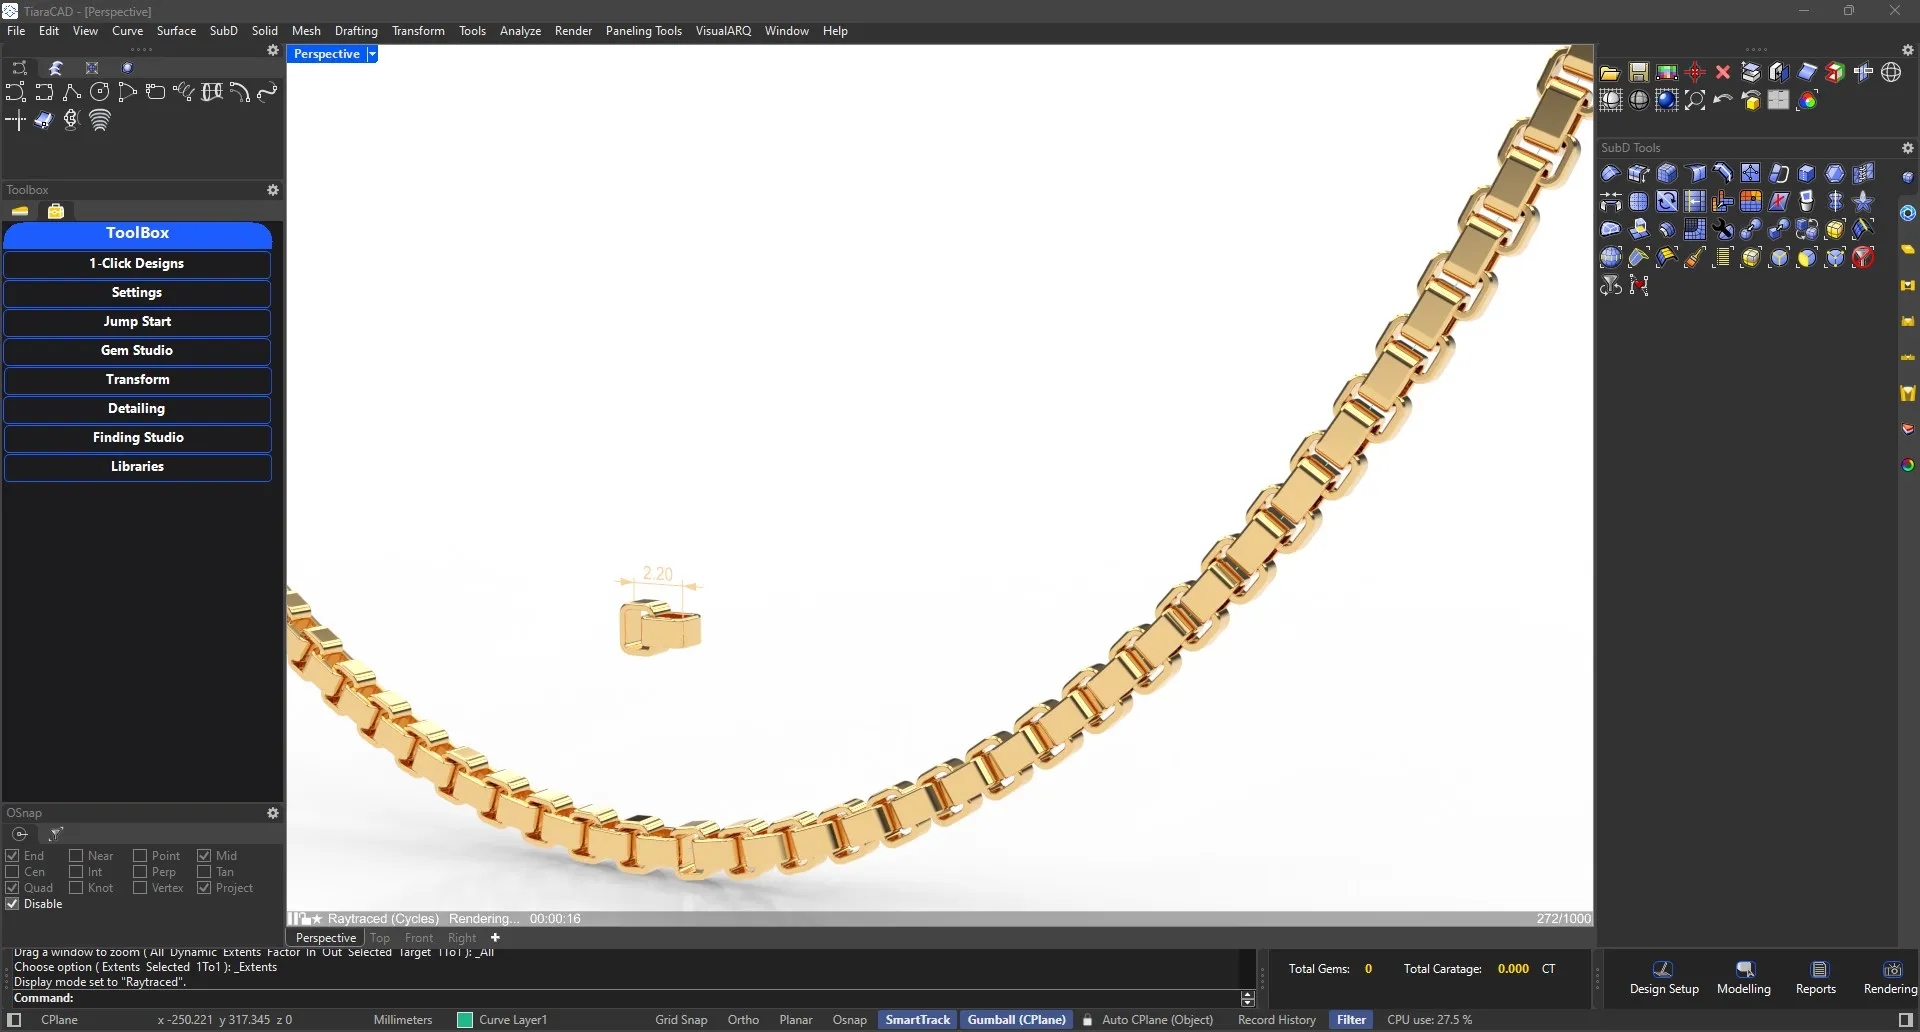
Select the geometry of the chain components with specified spacing and the necklace curve to create the chain.

Ready to use rails for creation of surfaces.
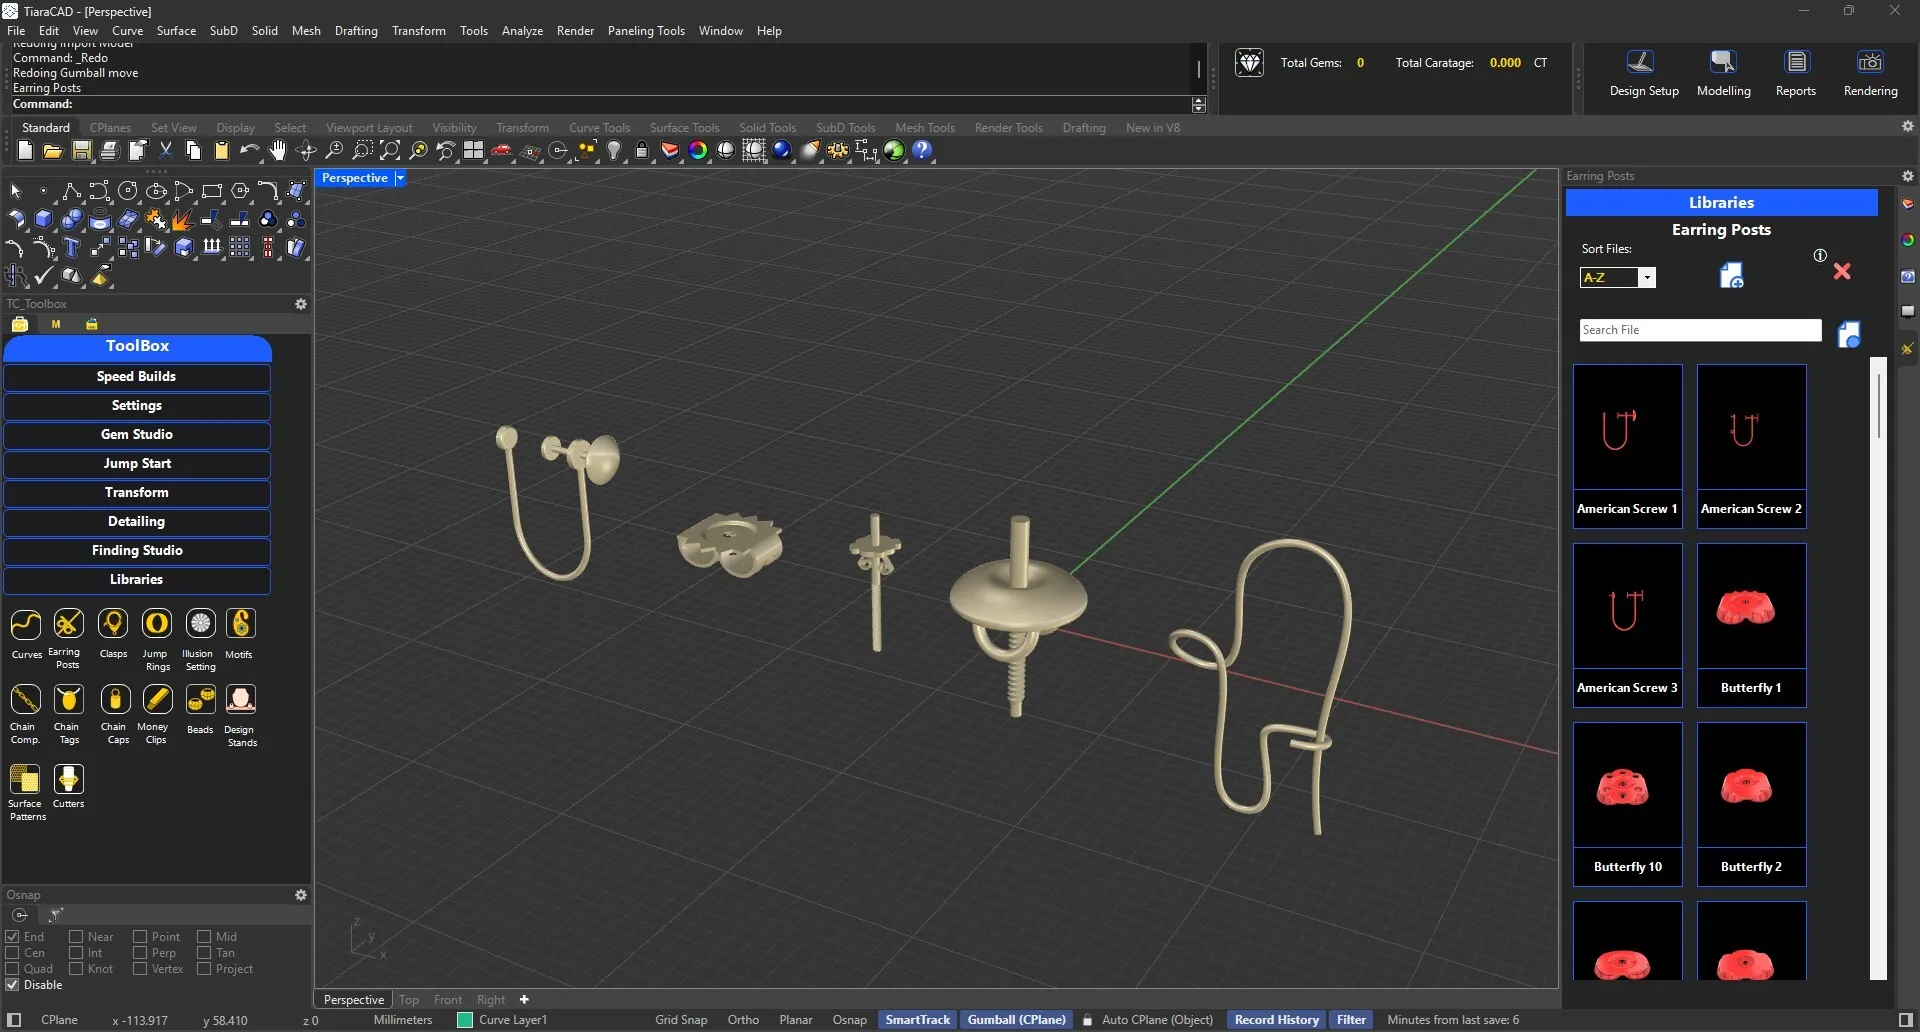
Use ready-to-use different types of Earring posts for presentation.
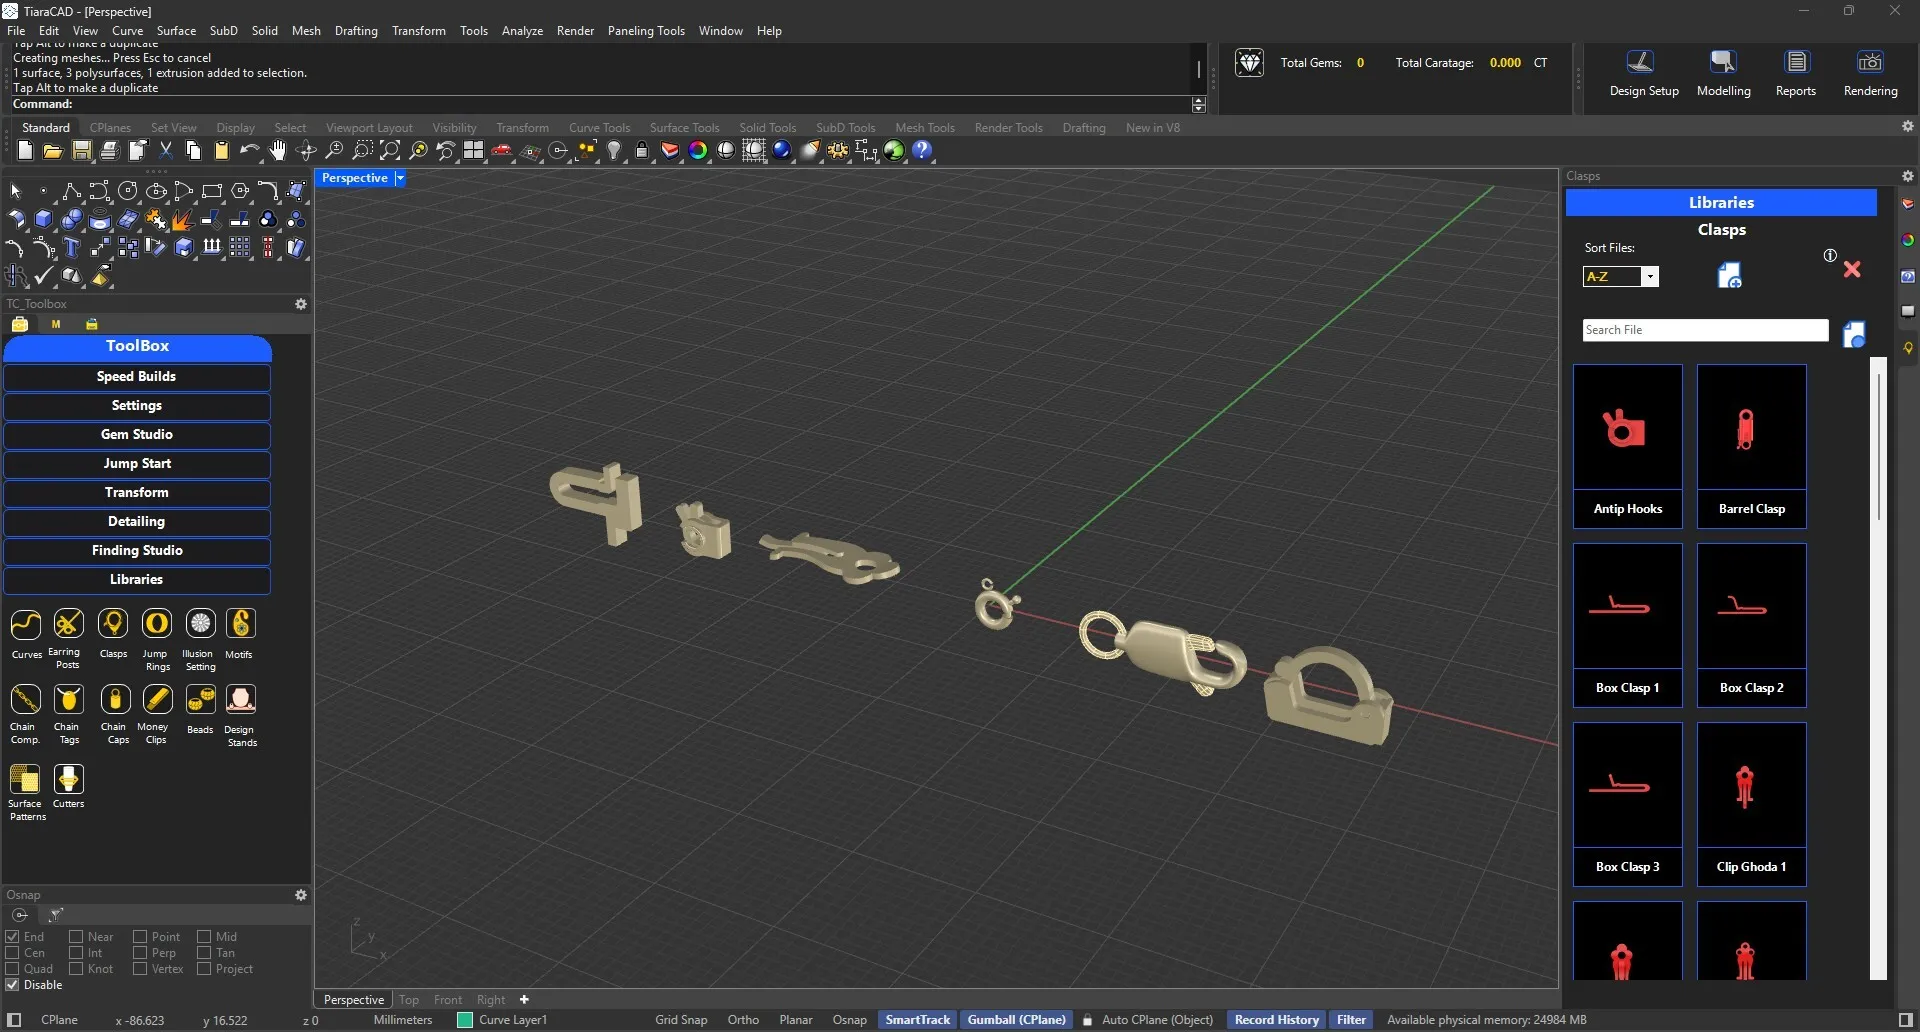
Use ready-to-use different types of Clasps for necklaces and bracelets presentation.
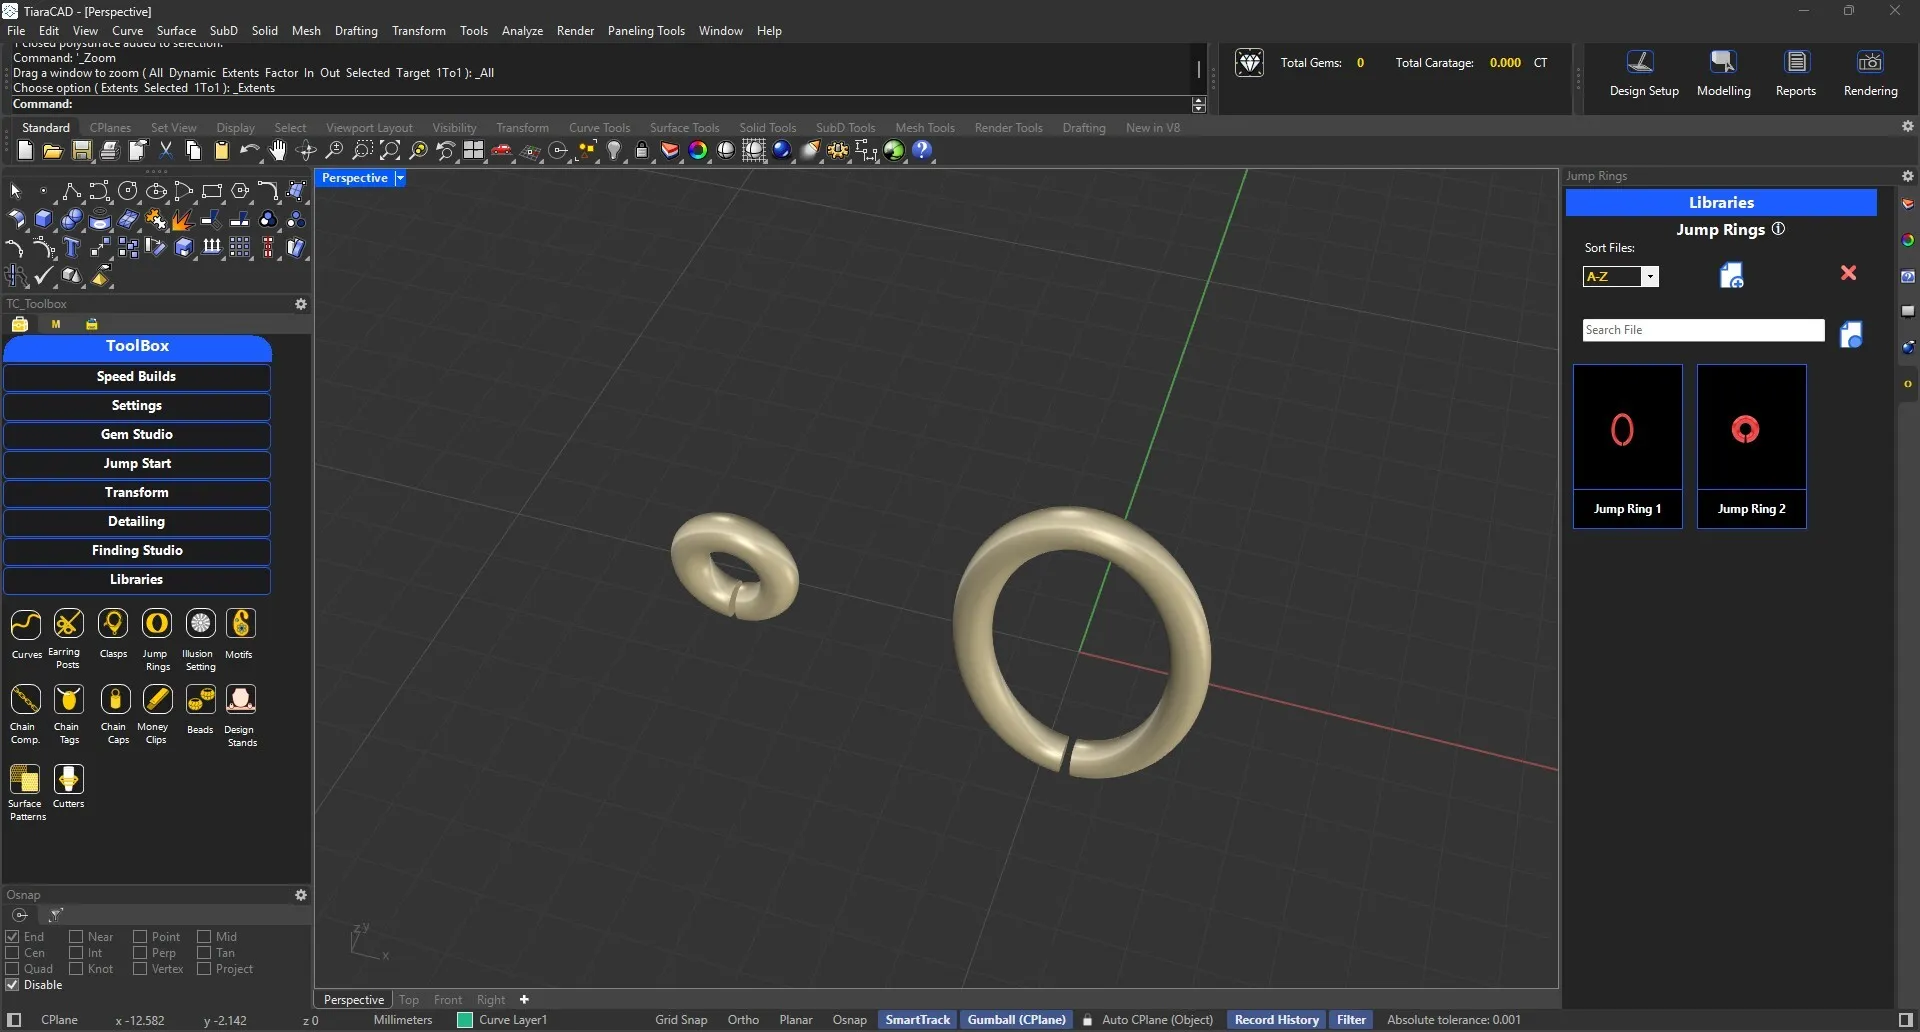
Insert the jumpring in assembled designs as required.
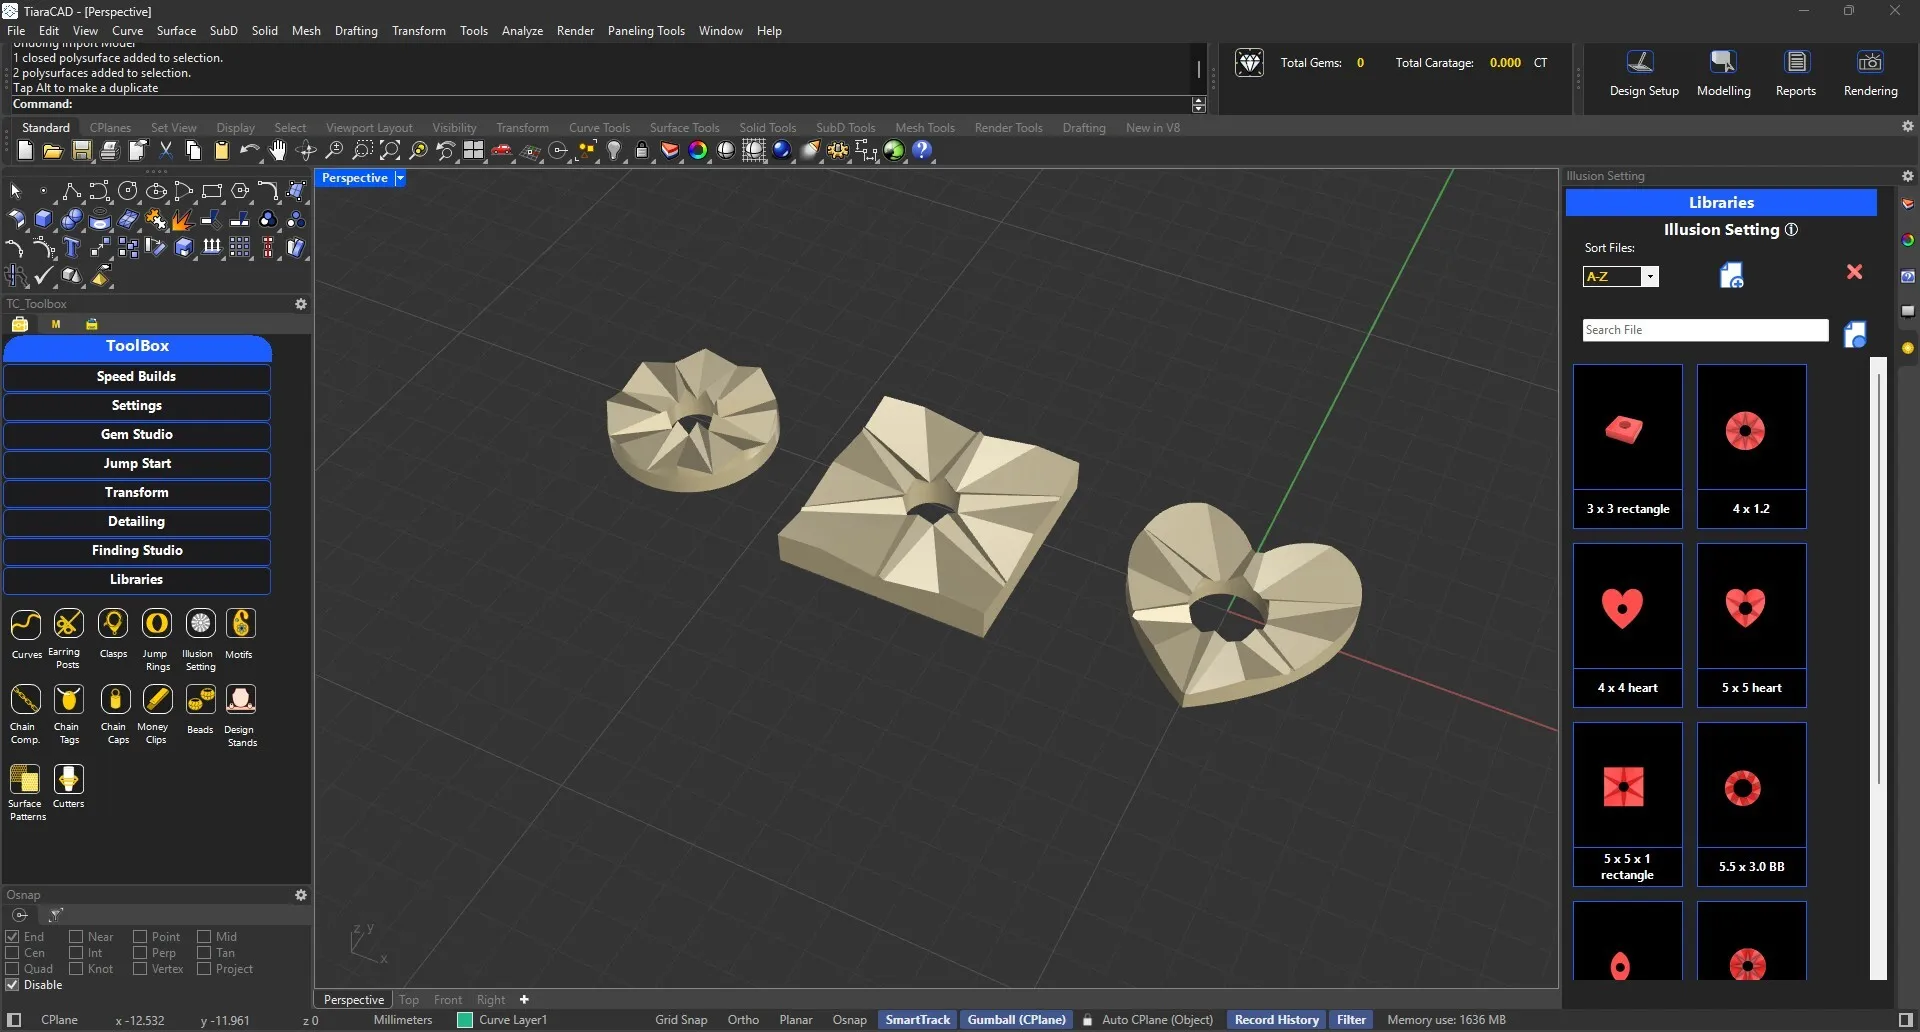
Ready plates for illusion setting to be used.
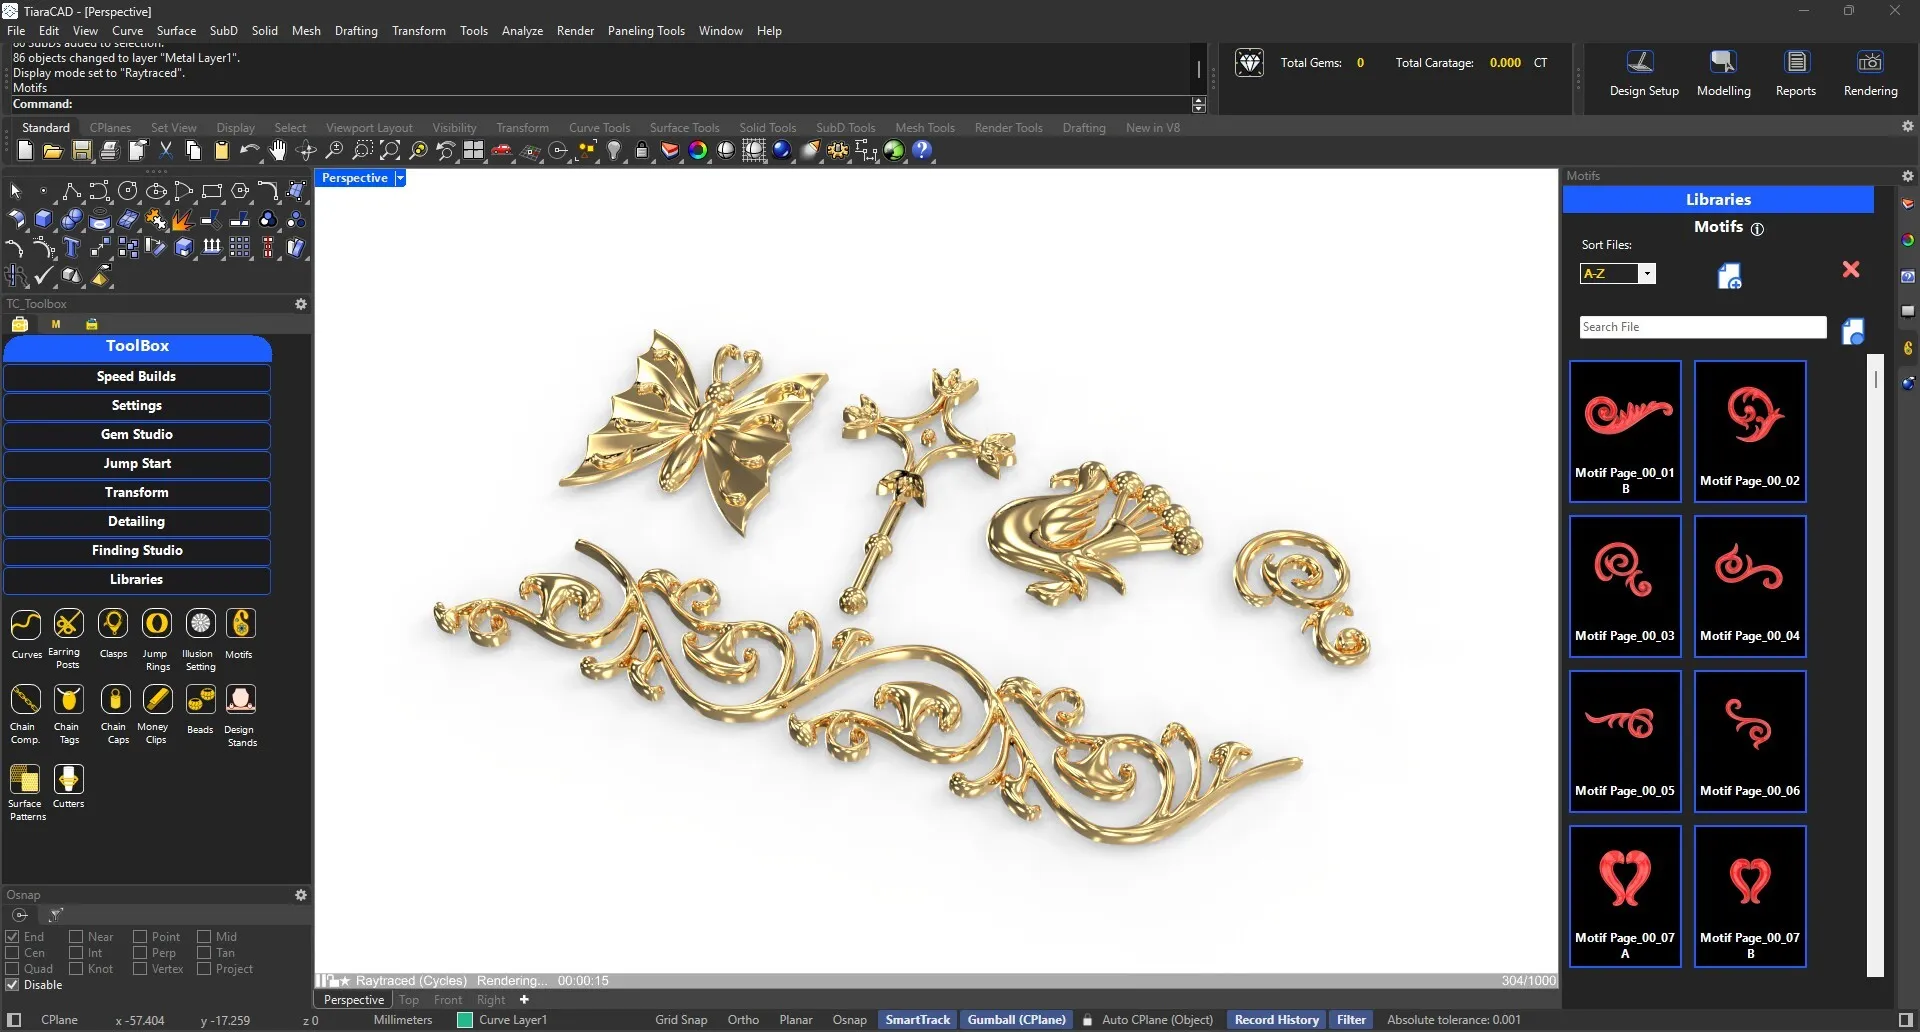
Choose from 500 + organic designs, Chains, Earring Posts, Beads and much more, which you can modify as per your requirements.
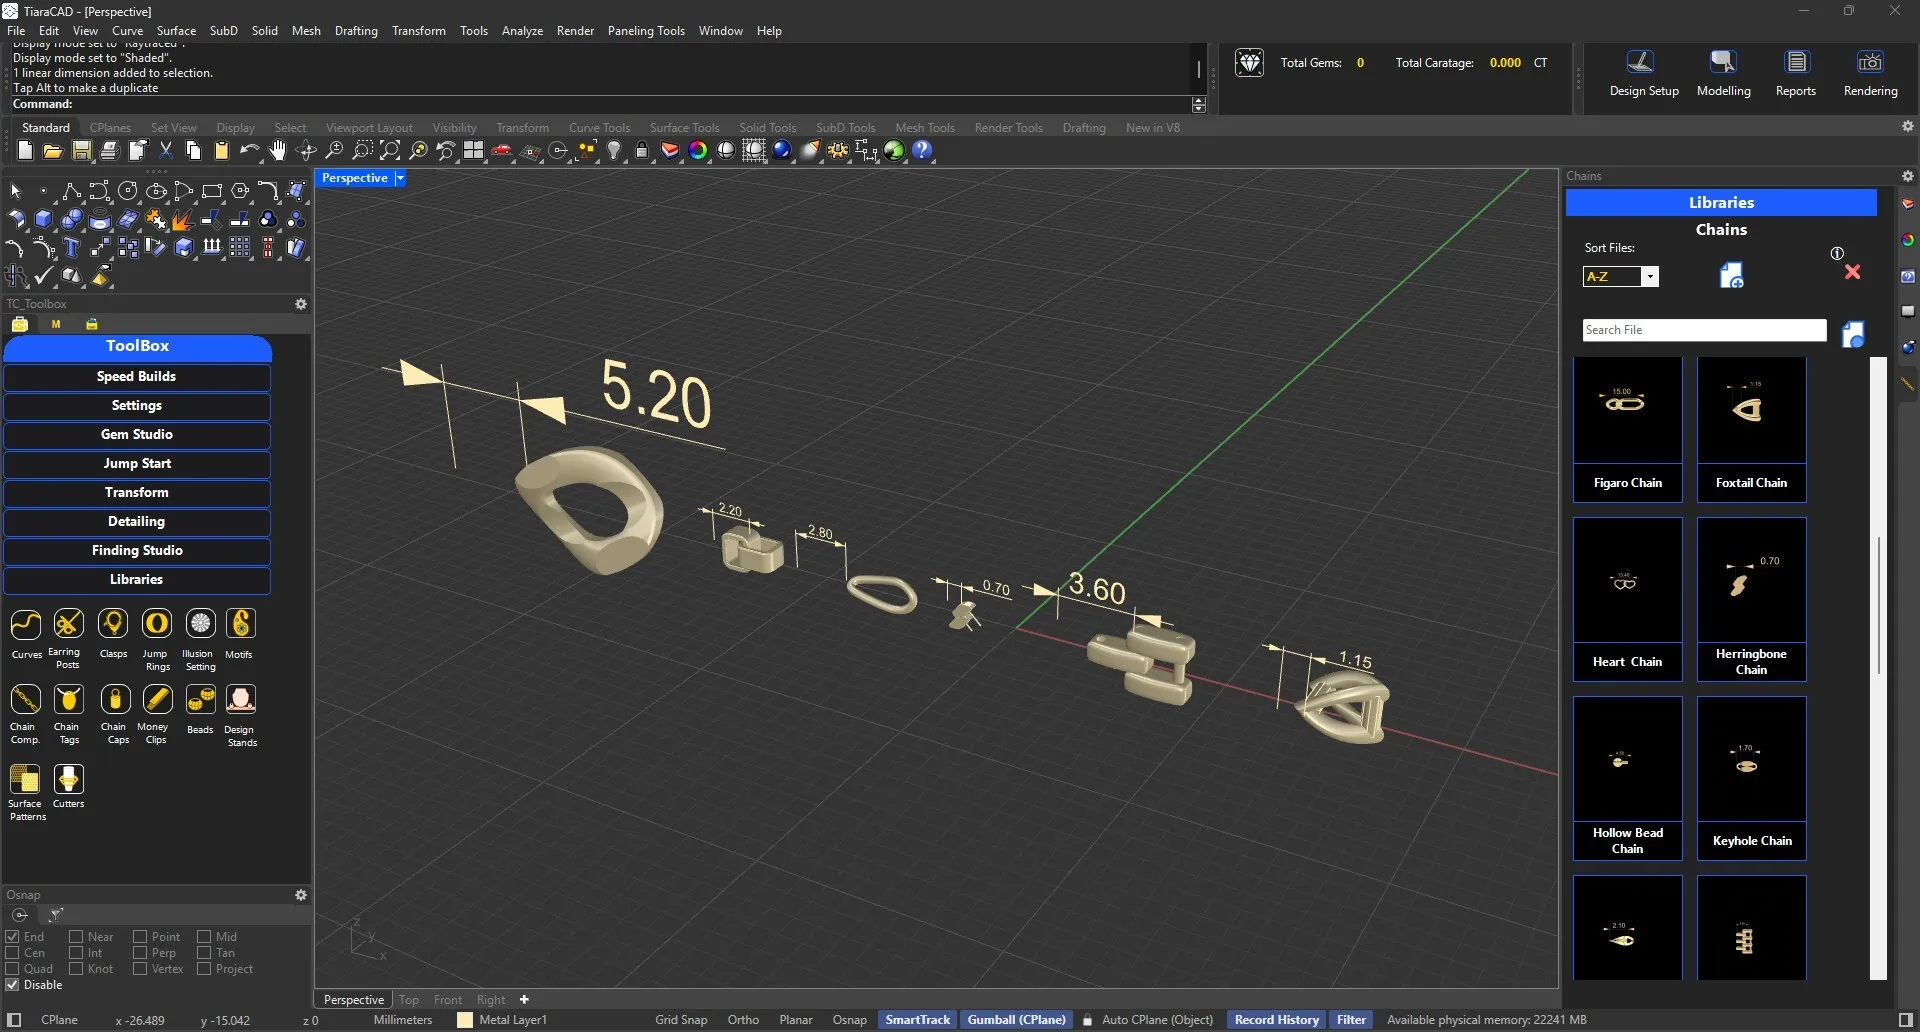
34+ chain components created for ready use in presentation along with the specification of spacing per component.
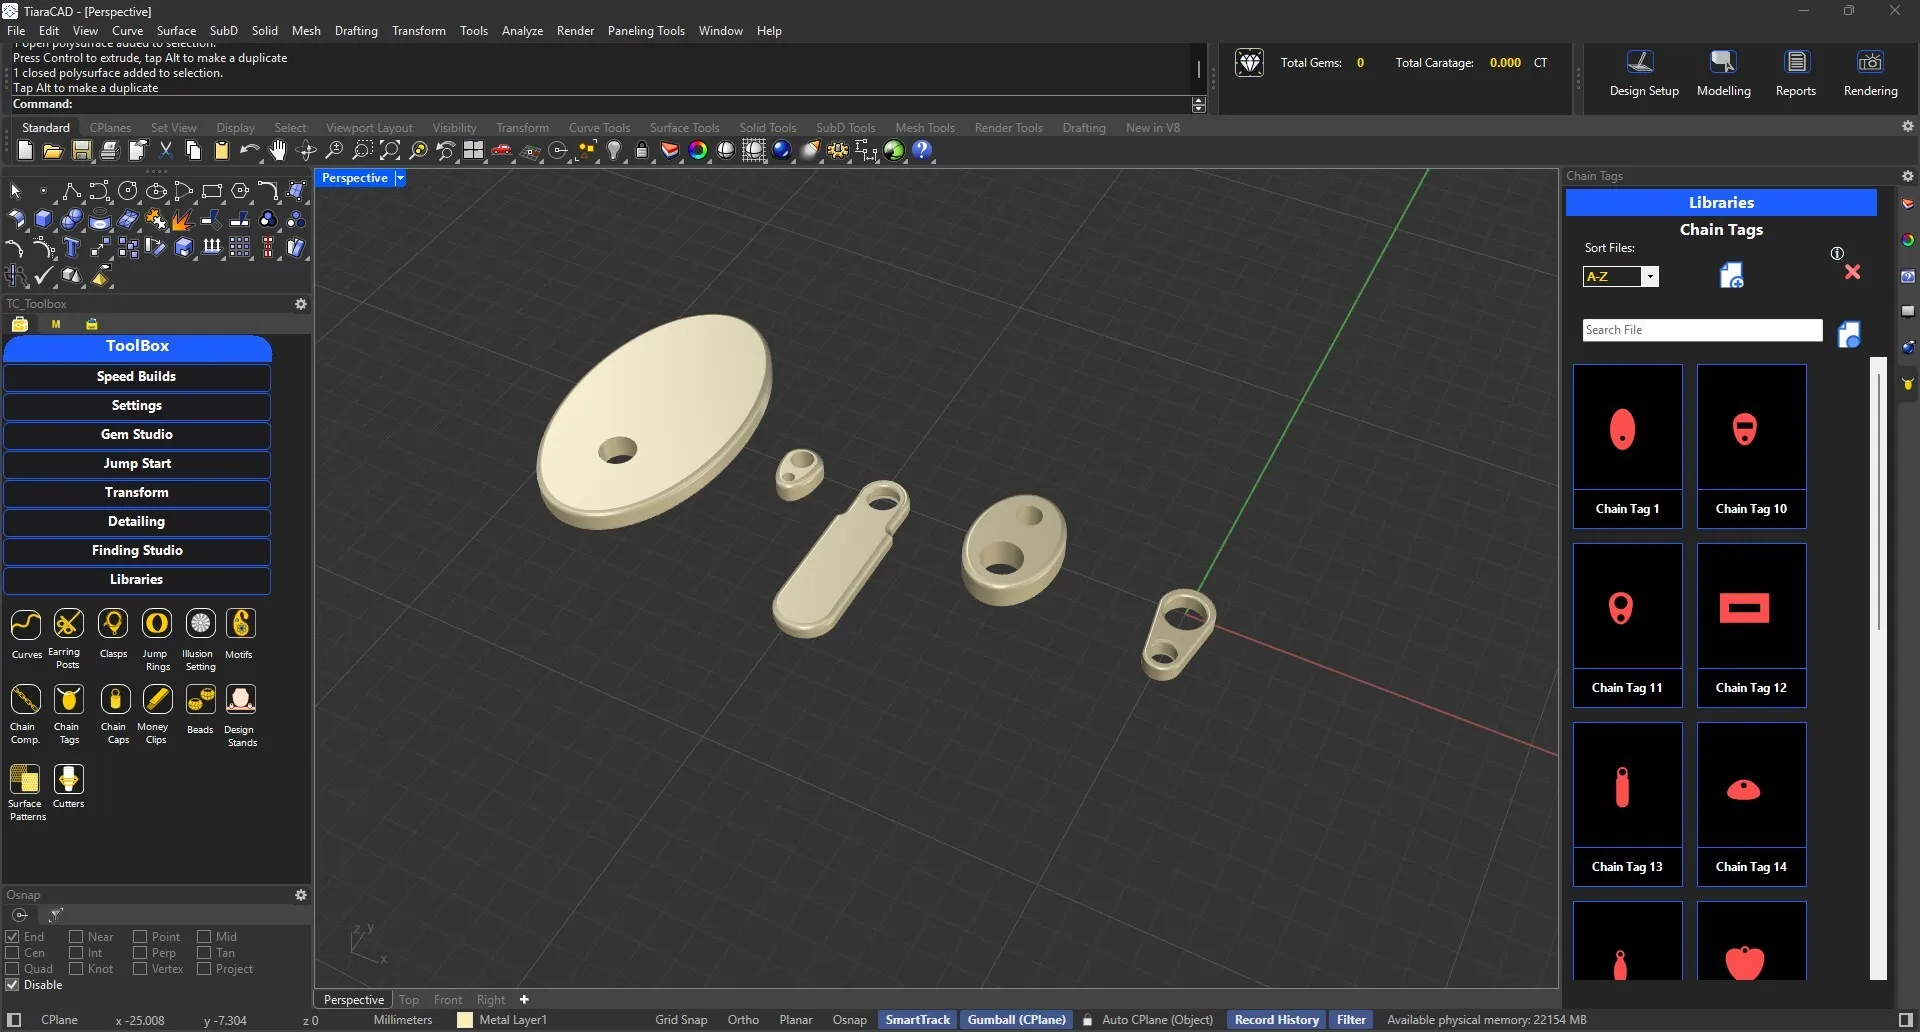
Chain Tags in different shapes available for use.
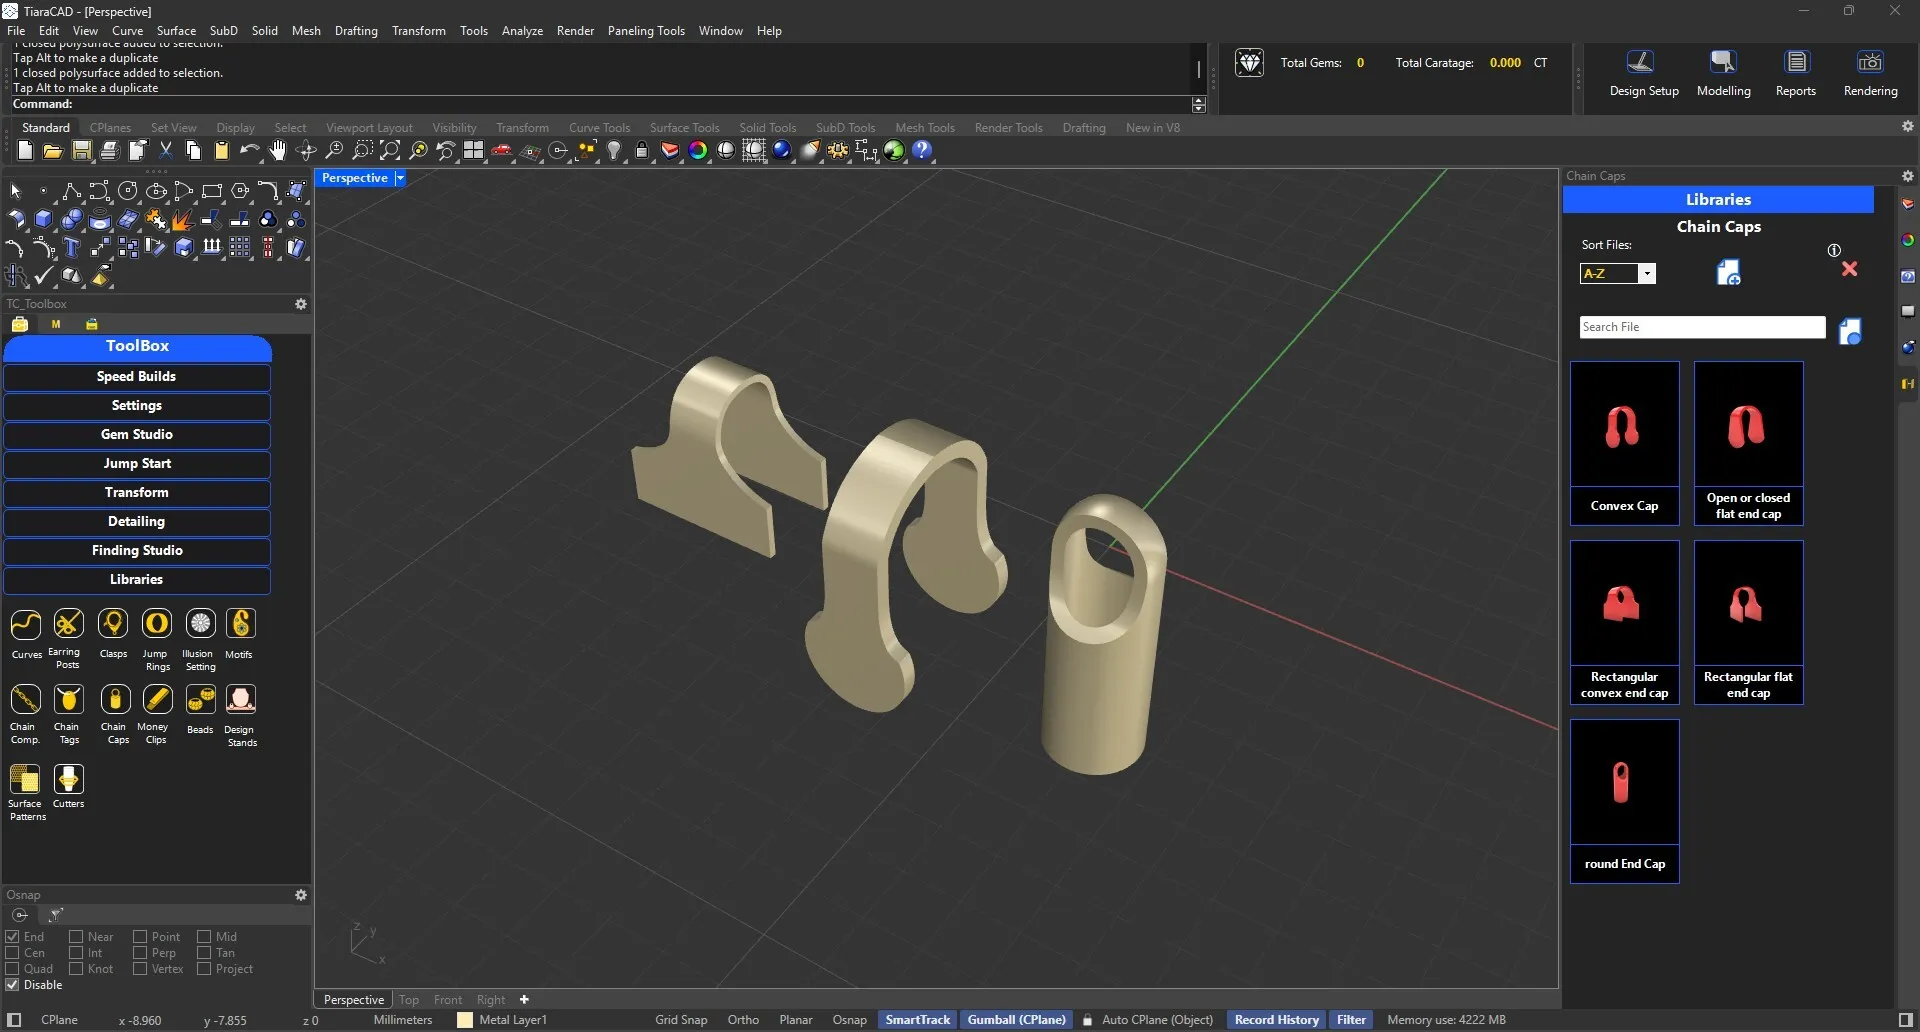
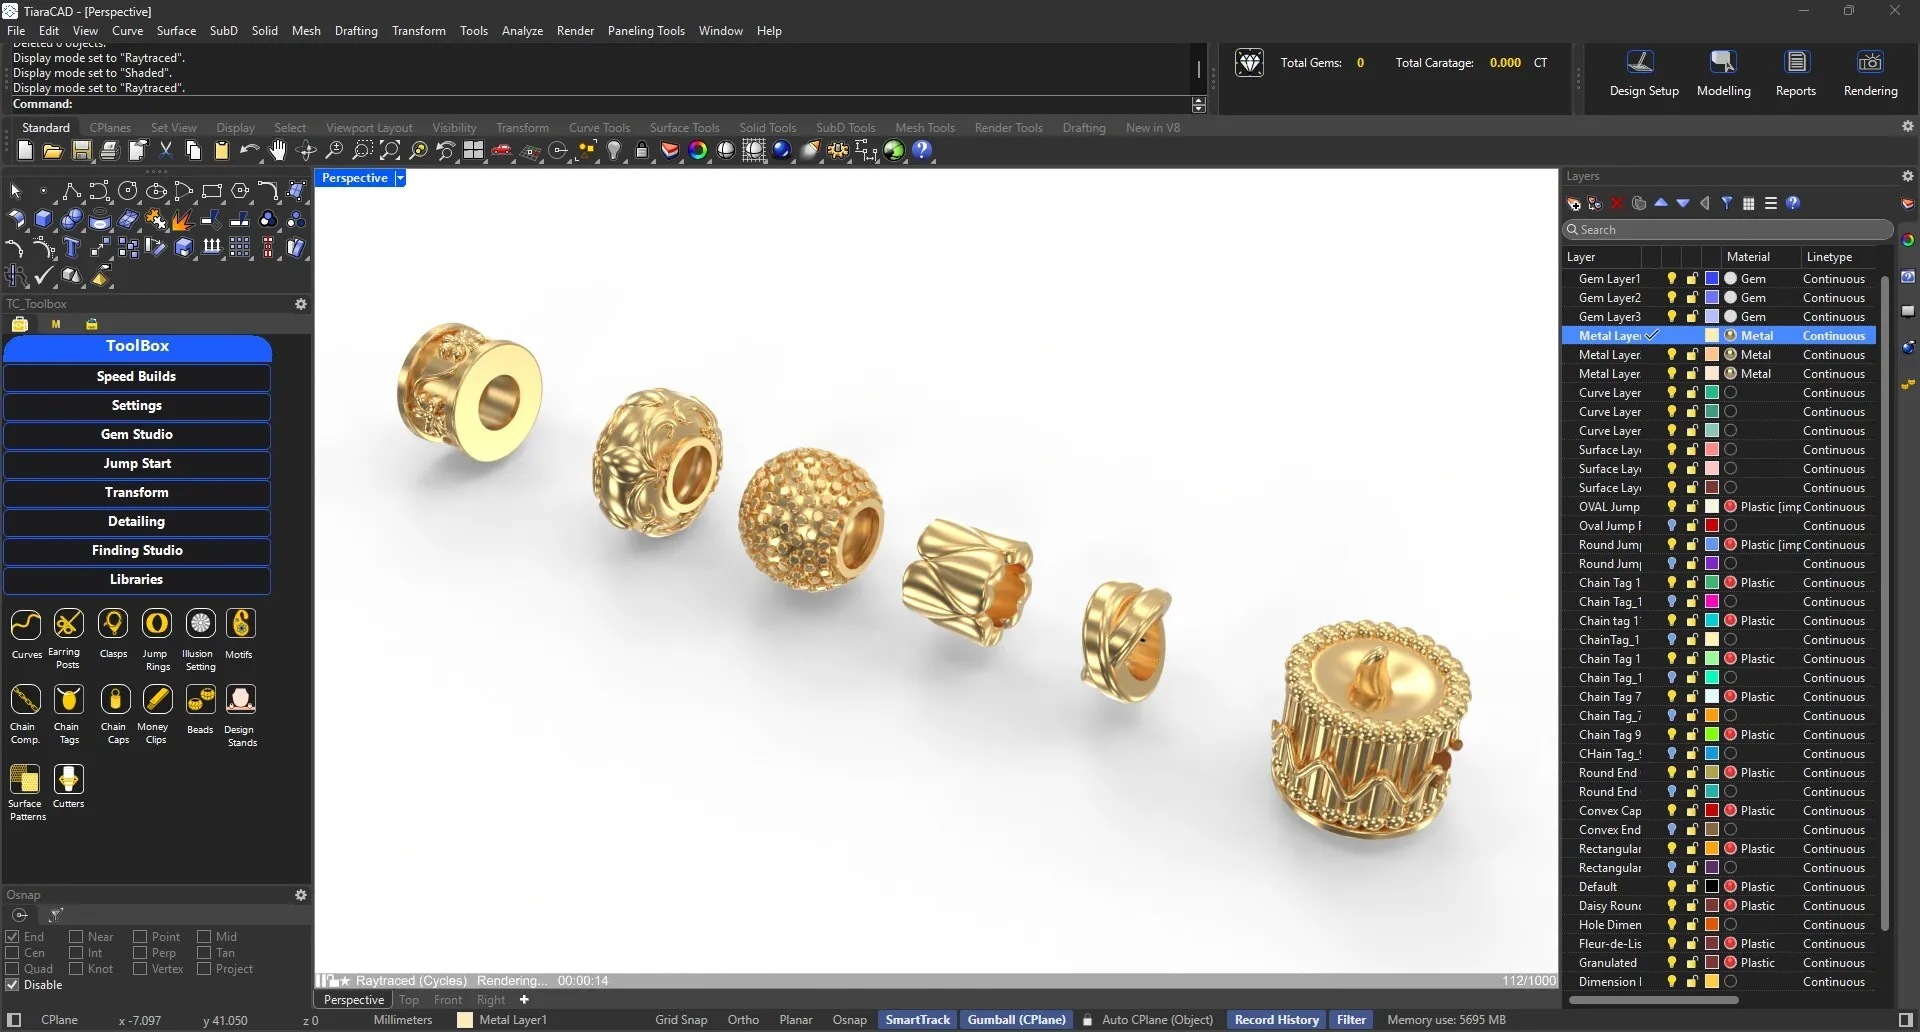
A few chain caps available for ready use.
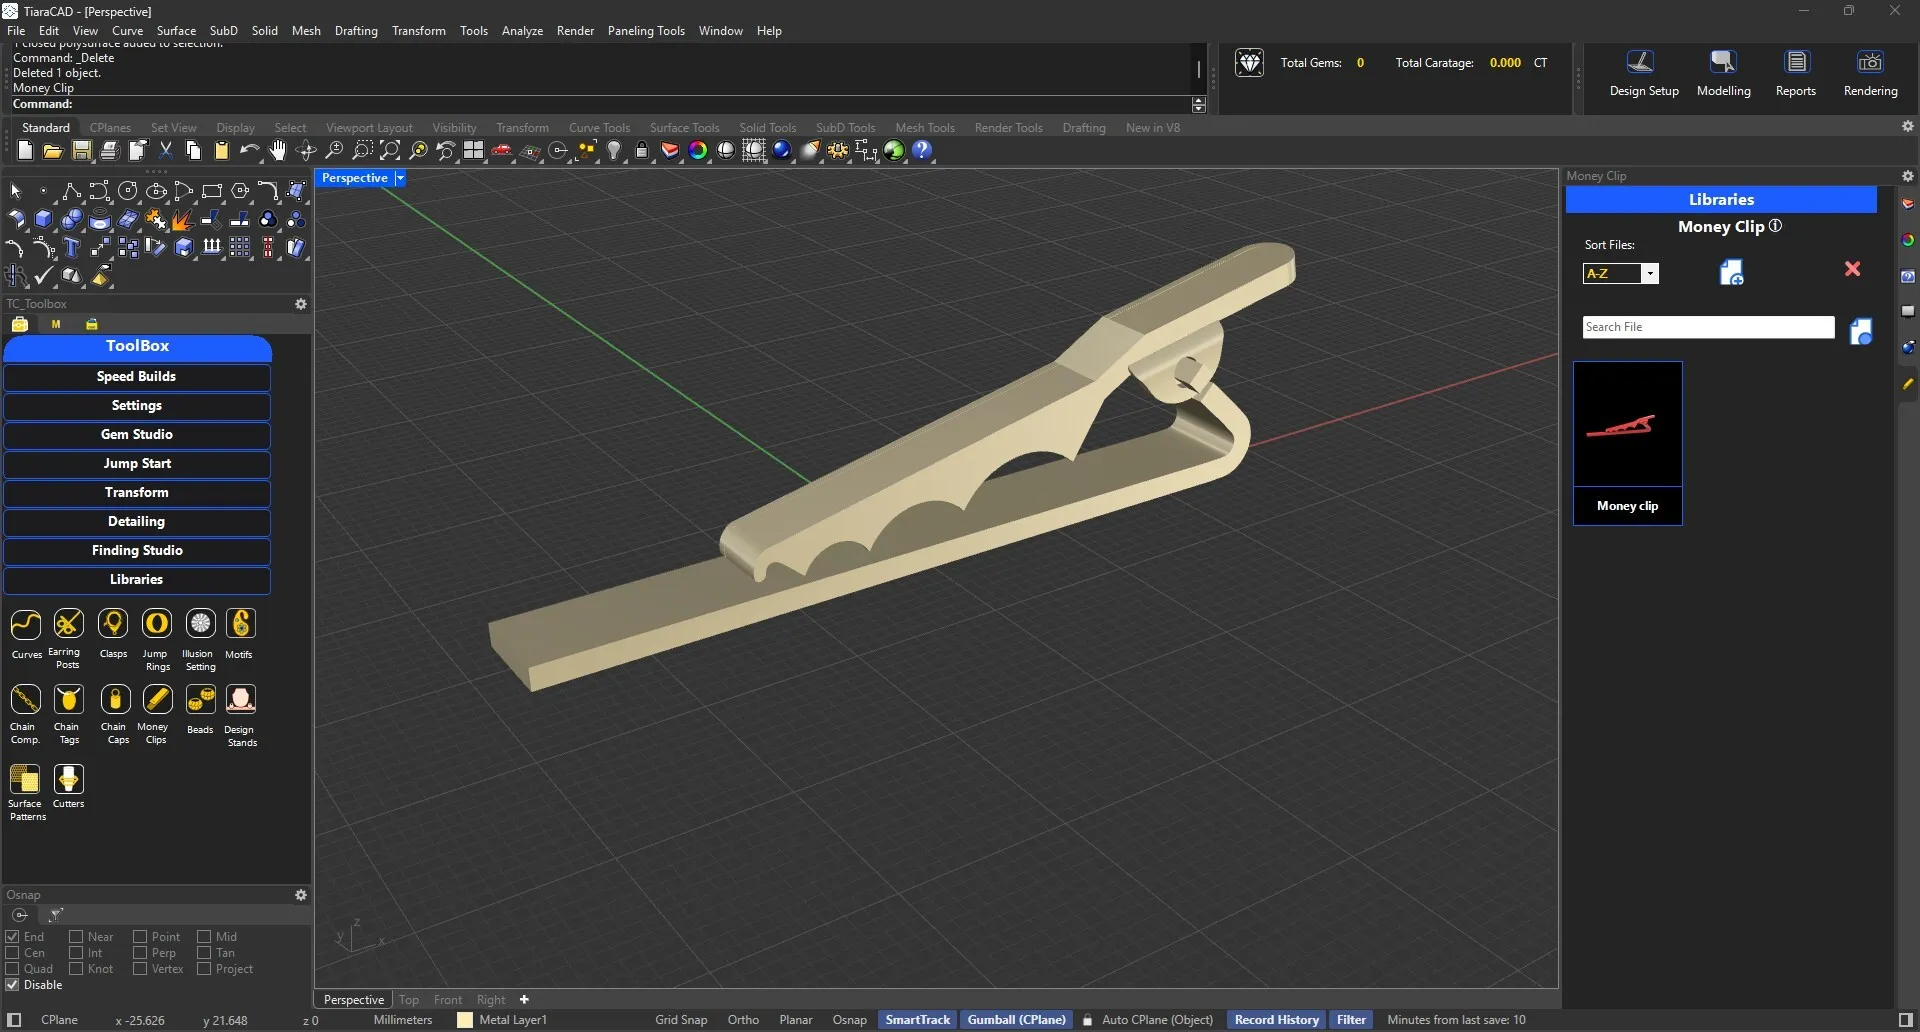
A money clip is given. It can be modified as a polysurface to suit your size and thickness requirements.
50+ Beads of various shapes created for your perusal.
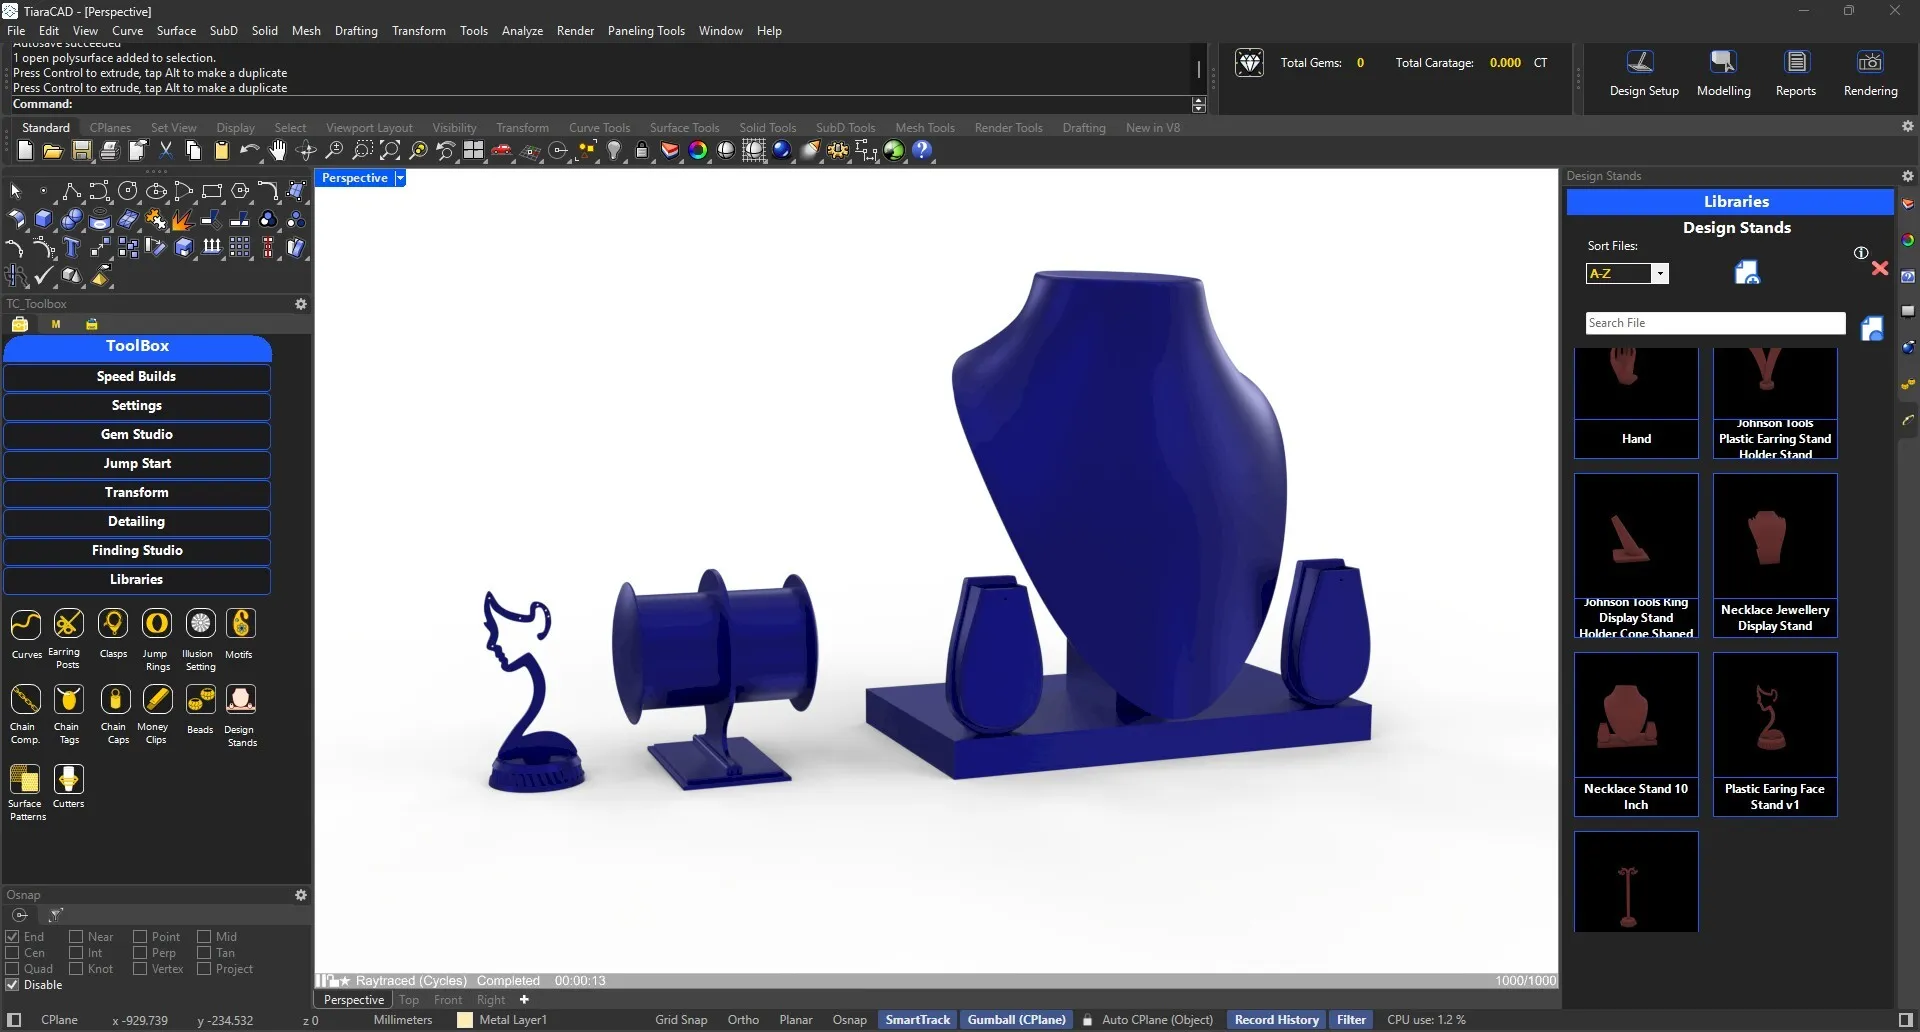
Ready standard sized stands created to be used for presentation.
Various curves or patterns available to be used on a surface.
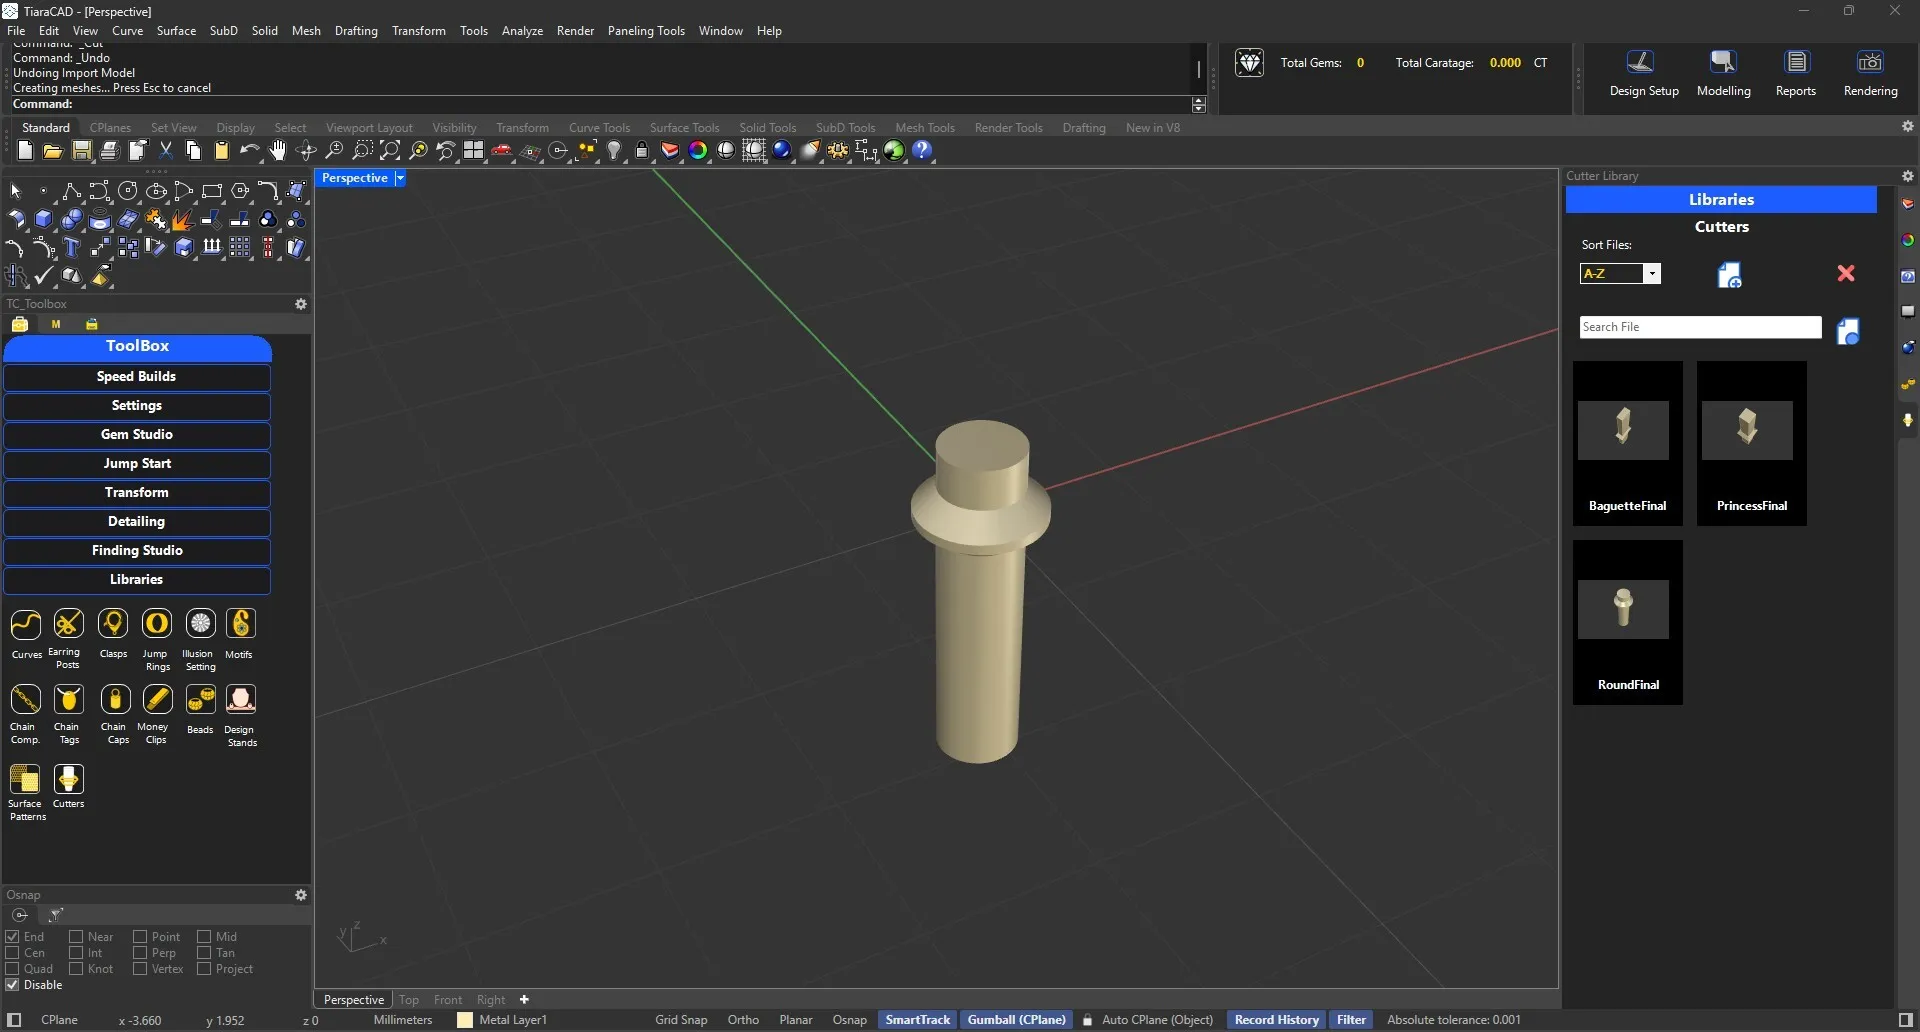
If you need any specific cutter shape other than the standards given, you can add the shape to this library and make use of it for your designs. Create a cutter for a 1 mm diamond so that it correctly gets scaled as per size. Place it exacly on the girdle. Vertical displacement can be handled in the settings.
Create and store customized Prongs in the library. Create a 1 mm prong with 1 mm ht. and 0.2 mm below the point of insertion for correct size and overlap in all settings.
Noise, Brick textures, etc. are added in the library. You can add images, preferably black & white and with high resolution to the library.
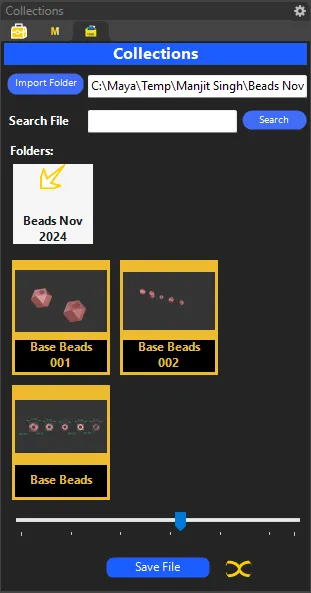
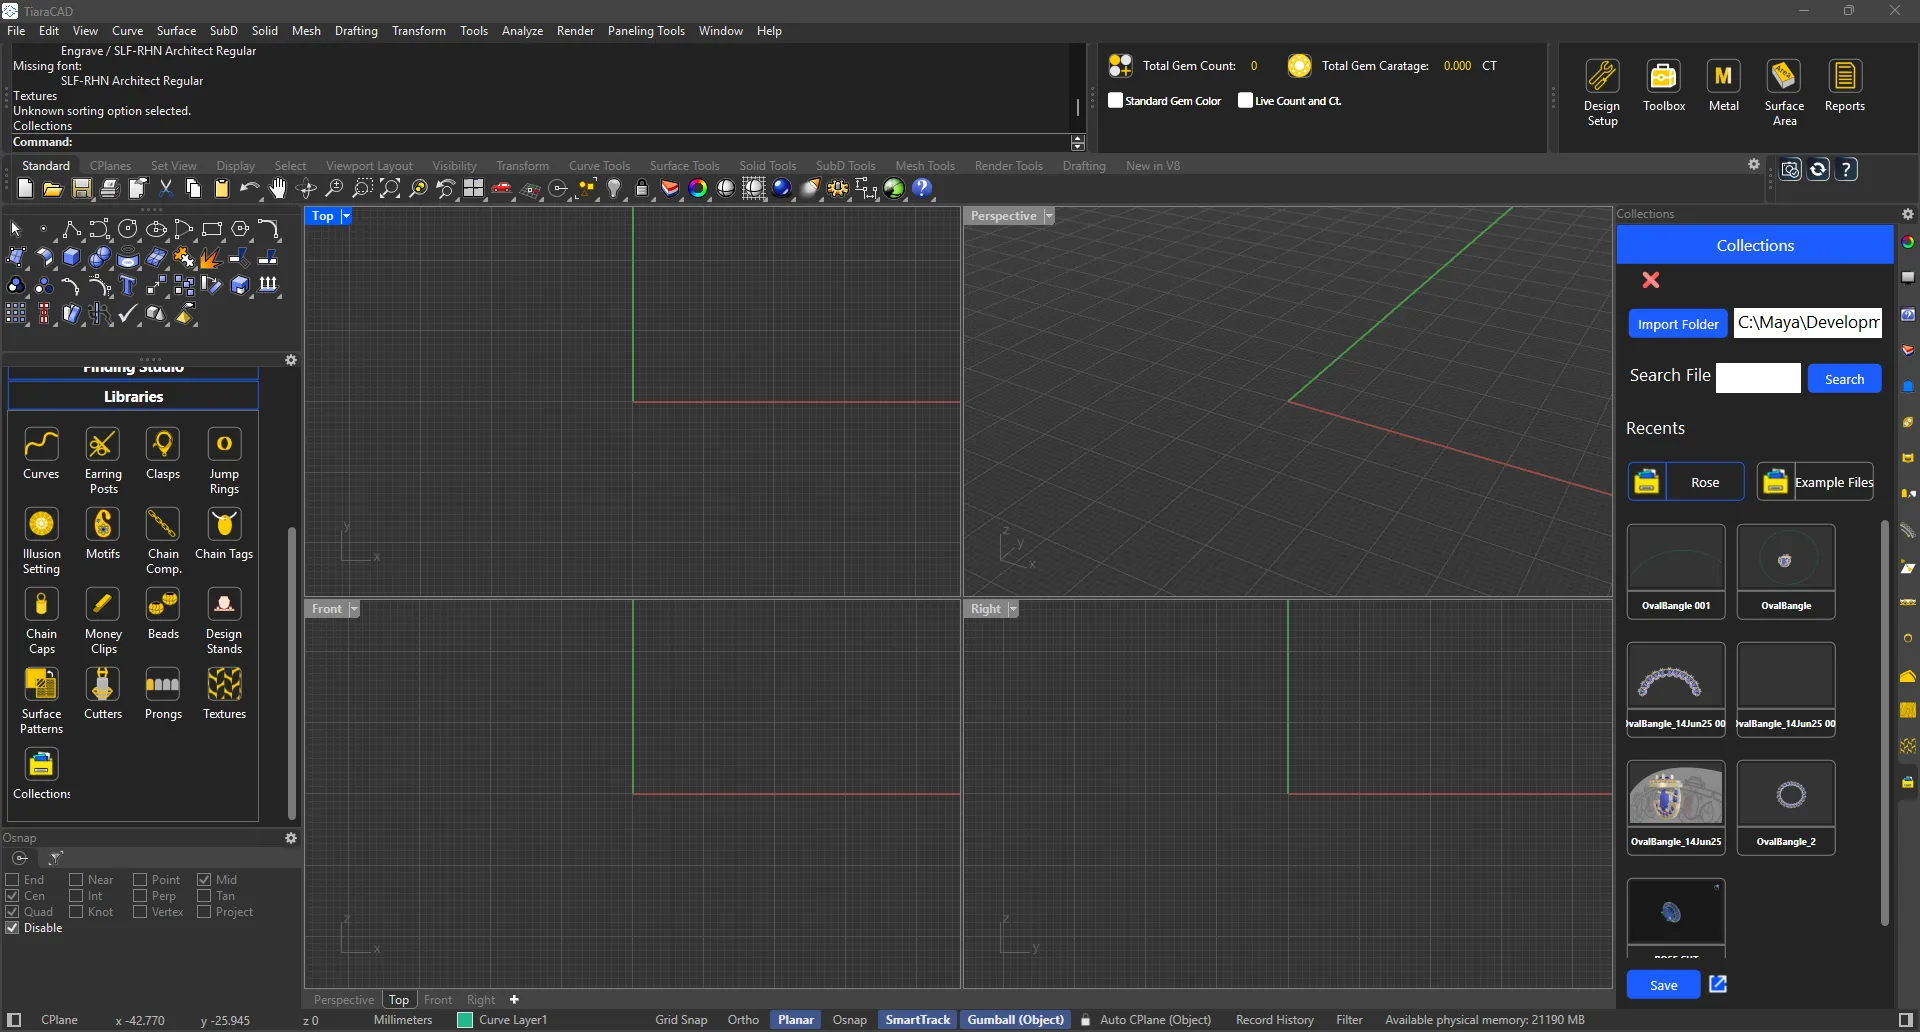
The folders you use often, can be added to Collections. You can see the preview of the files in it. You can Insert, Import or simply open the files from here.
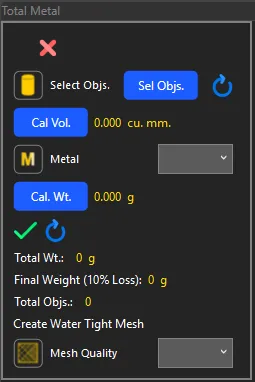
Volume calculation in Tiara CAD is based on the latest functionality. It allows for accurate volume detection. Based on the metal density chosen, weight of the chosen metal is calculated. Also, based on the approx. metal loss percentage, one gets reliable final weight calculation after manufacturing and finishing. You can also get a water-tight closed mesh ready for production.
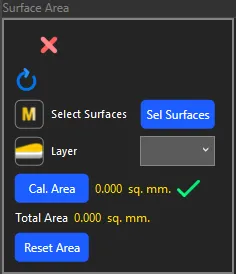
Choose the surfaces you need area calculations for. You can choose to copy it to a new layer as well for presentation. Ideal for estimation of plating service costs.
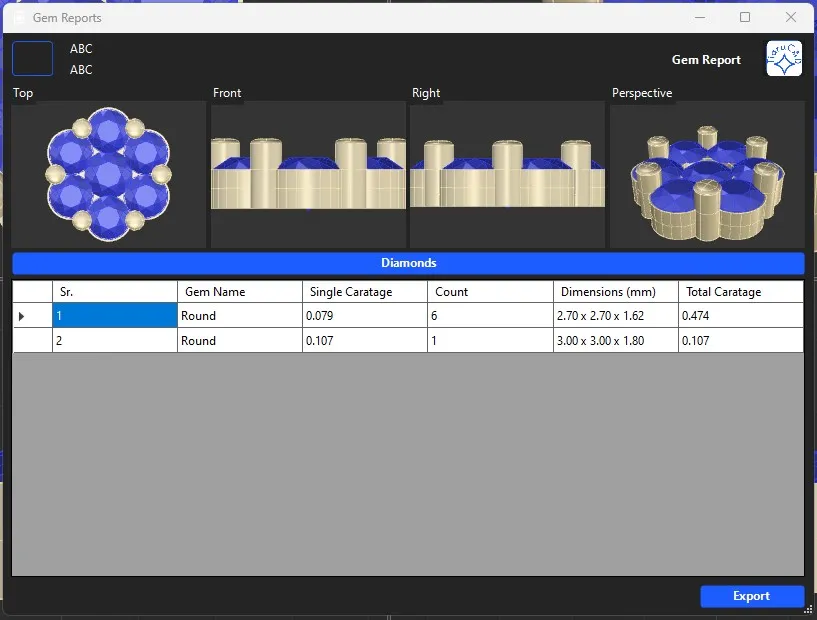
Based on the design, all gems used will be seen with details of Cut, size in mm and Carat weight.
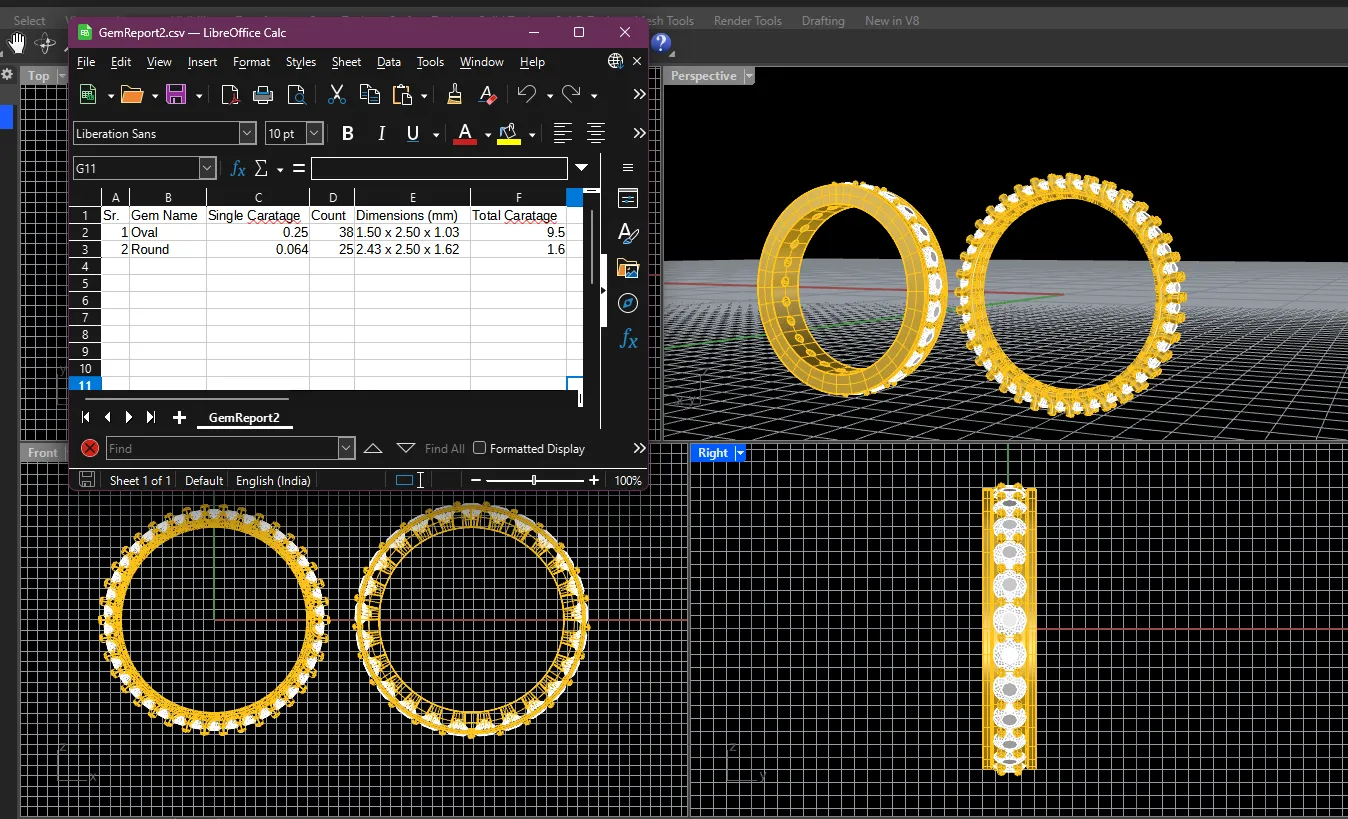
All relevant information of the file, the design details ready to be exported in a CSV or an XML format that can be further integrated with your ERP.

Once the Gem Map has been created, the metal weights have been calculated, we can proceed to export the designer report in PDF format or print. This will also include color-coded gem sizes and gem map for later setting processes.